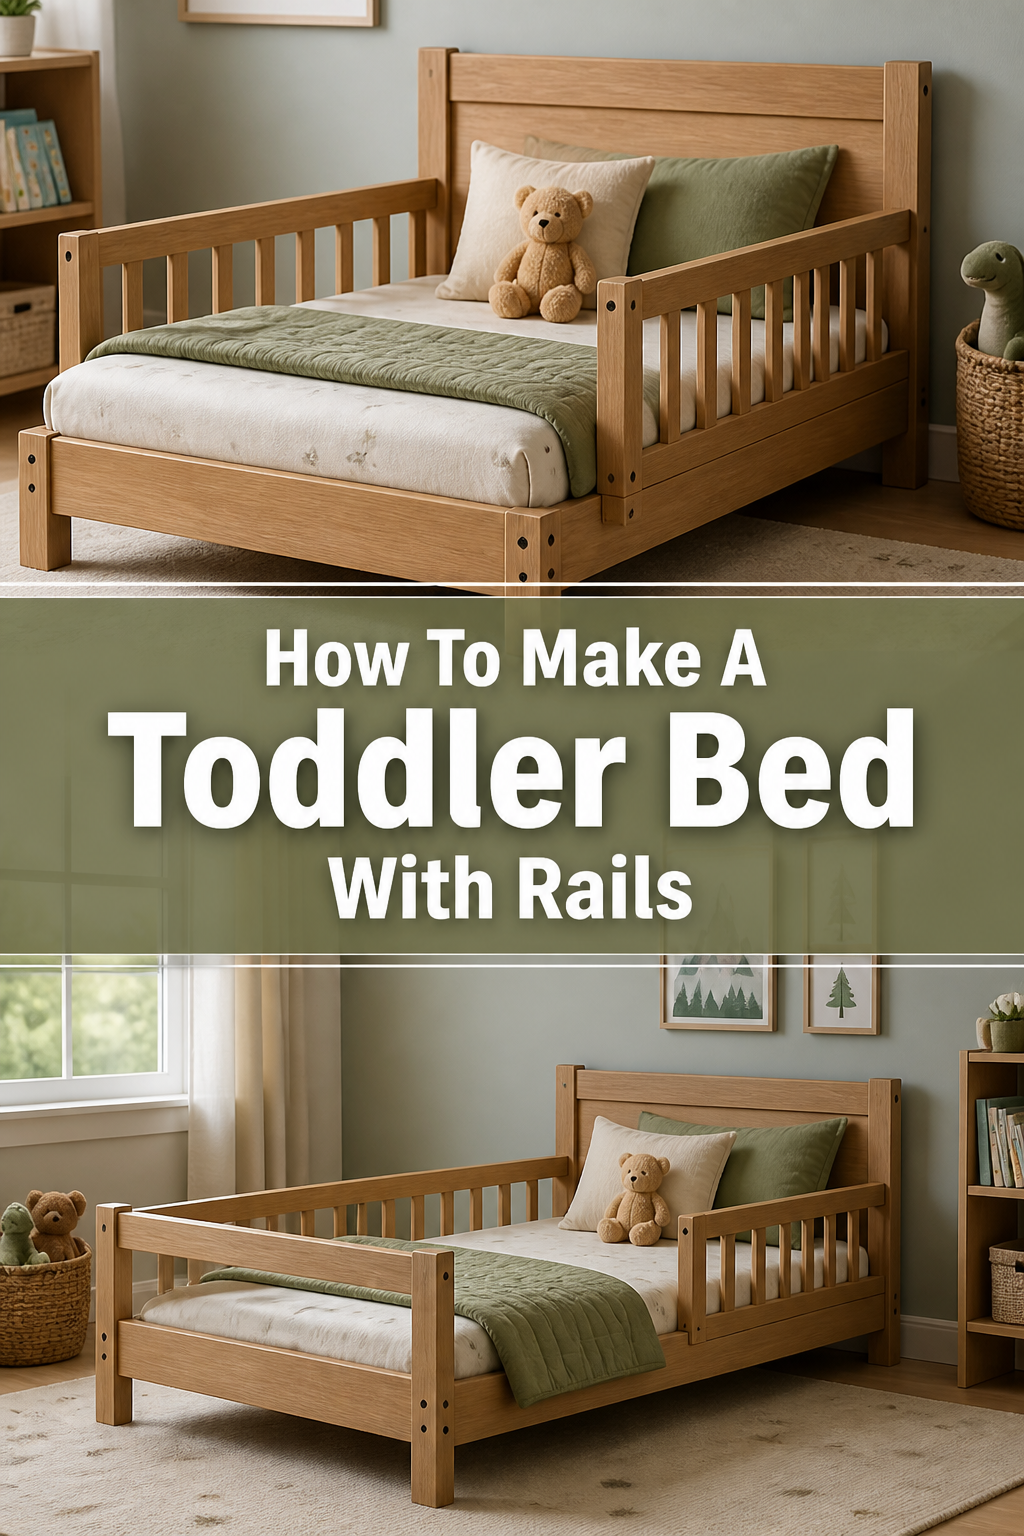
👶 How To Make A Toddler Bed With Rails
Transitioning your little one from a crib to a “big kid” bed is a huge milestone. It can feel daunting to ensure their new sleeping space is safe and secure. I remember the anxiety of my own child’s first night in a new bed, but building it myself gave me immense peace of mind.
This guide will walk you through creating a sturdy, safe, and beautiful toddler bed with essential rails. You’ll gain the confidence to craft a special place for your child.
Quick Overview
Building a toddler bed with rails is a rewarding DIY project that ensures safety and comfort. You’ll create a custom piece of furniture perfectly suited for your child’s room.
- Time needed: 8-12 hours (spread over a few days for drying times)
- Difficulty: Intermediate
- What you’ll need: Lumber, measuring tape, saw, drill, screws, wood glue, sander, non-toxic finish, safety gear.
Step-by-Step Instructions
Step 1: Plan Your Design and Gather Supplies
Start by sketching your bed design. Decide on the overall dimensions, ensuring it accommodates a standard crib mattress (typically 28″ x 52″). Consider the height of the bed and the rails for easy access and safety.
List all the lumber pieces you’ll need based on your design. Factor in the thickness of the wood for stability. A common rail height is around 6-8 inches above the mattress.
Purchase high-quality, solid wood, such as pine, maple, or poplar. Ensure all your tools are sharp and in good working order before you begin. Safety glasses and hearing protection are crucial for this project.
Pro Tip: Always draw a detailed plan with exact measurements for every piece of wood. This minimizes errors and material waste later on. Double-check your mattress dimensions before cutting any wood.
Step 2: Prepare and Cut Your Lumber
Measure each piece of wood precisely according to your plan. Use a miter saw or circular saw with a straight edge guide for accurate, clean cuts. Label each piece as you cut it to avoid confusion later.
Cut four legs to your desired bed height. Cut two long side rails and two shorter end rails for the main bed frame. Also, cut the pieces for your safety rails, which will run along the sides.
Remember to account for the thickness of the wood when calculating the length of your end rails, as they will fit between the legs. Precision here is key for a square, stable frame.
Step 3: Assemble the Main Bed Frame
Begin by attaching the side rails to the legs. Use wood glue and pocket hole screws for a strong, hidden joint. A Kreg Jig is excellent for creating these strong, invisible connections.
Ensure all joints are square before tightening the screws. Use a clamp to hold pieces firmly in place while drilling and screwing. Repeat this process for the end rails, connecting them to the legs as well.
This forms the basic rectangular frame of your toddler bed. Take your time to ensure everything is perfectly aligned and level. Any wobbles now will only worsen later.
Step 4: Construct and Attach Bed Rails
Measure and cut the pieces for your safety rails. These usually consist of a top rail, a bottom rail, and several vertical slats. The vertical slats should be spaced no more than 2-3/8 inches apart to prevent a child’s head from getting stuck.
Assemble the safety rails using wood glue and screws. You can use pocket holes again for a clean look, or simply screw through the top and bottom rails into the vertical slats. Create two separate rail sections, one for each side of the bed.
Attach these assembled rails to the main bed frame. You can use strong bolts or screws, making sure they are securely fastened and recessed. The rails should be positioned to provide adequate protection, typically extending above the mattress by several inches.
Pro Tip: Dry-fit all your rail components before gluing or screwing. This allows you to make any necessary adjustments to ensure perfect spacing and fit. Child safety is paramount, so double-check all measurements.
Step 5: Create and Install the Mattress Support
The mattress support can be a slatted base or a solid plywood sheet. For a slatted base, cut several evenly spaced wooden slats that fit across the width of the bed frame. These slats should be strong enough to support the mattress and child.
Attach ledger boards (small strips of wood) to the inside of the long side rails, about an inch below where you want the mattress to sit. These ledger boards will support the slats. Screw the slats directly to these ledger boards, ensuring even spacing.
If using plywood, cut a piece of plywood to fit snugly inside the frame. You might still want to use ledger boards for support. Drill ventilation holes into the plywood if it’s not a slatted base to prevent moisture buildup under the mattress.
Step 6: Sand and Finish the Bed
Once the bed frame and rails are fully assembled and stable, it’s time for sanding. Start with a coarser grit sandpaper (e.g., 100-120 grit) to smooth out any rough edges or imperfections. Gradually move to finer grits (e.g., 180-220 grit) for a silky smooth finish.
Pay special attention to all edges and corners, rounding them slightly to prevent sharp points. Dust thoroughly after sanding. Apply a non-toxic, child-safe finish. This could be a clear sealant, paint, or stain.
Follow the manufacturer’s instructions for application and drying times. You might need multiple coats, with light sanding between each coat for the best result. Ensure the bed is completely dry and aired out before placing a mattress.
Step 7: Final Assembly and Safety Check
Once the finish is fully cured, perform a final assembly if you painted components separately. Tighten all screws and bolts. Give the bed a good shake to test its stability.
Check all joints for any signs of weakness. Run your hands over every surface to ensure there are no splinters or sharp edges. Verify that the mattress fits snugly without large gaps around the perimeter where a child could get trapped.
Ensure the bed rails are firmly attached and that the spacing between any vertical slats meets safety standards. This final inspection is crucial for your child’s safety and your peace of mind.
Common Mistakes to Avoid
Ignoring Precise Measurements
Cutting wood without double-checking measurements leads to ill-fitting parts and a wobbly bed. Always measure twice, cut once. Use a reliable tape measure and a square to ensure all angles are true 90 degrees. This precision prevents frustrating rework and wasted materials.
Using Non-Child-Safe Finishes
Many paints, stains, and sealants contain volatile organic compounds (VOCs) that are harmful to children. Always choose products explicitly labeled as “non-toxic” or “child-safe.” Look for zero-VOC options to ensure your child isn’t exposed to harmful chemicals while they sleep.
Weak Rail Attachments
The safety rails are critical for preventing falls. Attaching them with only a few small screws can lead to failure. Use robust fasteners like bolts or long, thick screws that penetrate deep into the main frame. Ensure they are recessed so no sharp points are exposed.
Incorrect Slat Spacing
If you’re using vertical slats for your bed rails, their spacing is a major safety concern. Gaps that are too wide can allow a child’s head or limbs to get trapped. The industry standard for cribs (and a good guide for toddler beds) is no more than 2-3/8 inches between slats.
Troubleshooting
Bed Feels Wobbly
A wobbly bed usually indicates loose joints or imprecise cuts. Go back and check all screw connections, tightening them securely. If screws are stripped, replace them with slightly larger ones or use wood filler and re-drill. Ensure all corners are perfectly square. Adding corner braces to the inside of the frame can also significantly improve stability.
Rails Don’t Fit Snugly
If the rails have gaps or don’t sit flush against the frame, your measurements or cuts might be off. Use wood shims to fill small gaps if necessary, or carefully trim the rail pieces if they are too long. For gaps where the rail meets the bed frame, apply wood glue and clamp tightly, then reinforce with screws once dry.
Finish Is Uneven or Bumpy
An uneven finish often results from inadequate sanding or improper application. Ensure you sand thoroughly with progressively finer grits before applying any finish. If the finish is already uneven, lightly sand the affected areas with fine-grit sandpaper, clean the dust, and reapply a thin, even coat. Always apply finish in a well-ventilated area and avoid humidity.
Key Takeaways
- Detailed planning and precise measurements are fundamental to success.
- Always prioritize child safety by using non-toxic materials and secure construction.
- Proper sanding and finishing are crucial for both aesthetics and durability.
- Strong, securely attached bed rails with correct slat spacing are non-negotiable.
- Regularly inspect the bed for loose parts or wear and tear as your child grows.
- Building it yourself offers a custom fit and the satisfaction of a job well done.
Frequently Asked Questions
What is the ideal height for toddler bed rails?
Toddler bed rails should extend at least 5-6 inches above the mattress surface. This height effectively prevents a child from accidentally rolling out while still allowing them to climb in and out safely. Always consider your child’s height and agility.
Can I convert a crib into a toddler bed with rails?
Many modern cribs are designed to convert into toddler beds, often requiring a conversion kit. If your crib doesn’t have a specific kit, you can often adapt it by removing one side and adding a custom-built rail in its place. Ensure the remaining crib structure is sturdy enough.
What type of wood is best for a toddler bed?
Hardwoods like maple, oak, or birch are very durable and resistant to dents, making them excellent choices. Softer woods like pine are more affordable and easier to work with but can dent more easily. Always choose solid wood over particle board for strength and longevity.
How long will a homemade toddler bed last?
A well-constructed toddler bed, made from quality materials and finished properly, can last for many years. It can easily serve multiple children or be passed down. Its longevity depends heavily on the initial craftsmanship and the care it receives.
Our Top Recommended Finds
- Kreg Pocket-Hole Jig: Essential for strong, hidden joints, making your bed look professional and incredibly sturdy.
- Random Orbital Sander: Makes sanding much faster and smoother, ensuring a safe, splinter-free finish for little hands.
- Non-Toxic Water-Based Polyurethane: Provides a durable, child-safe finish that protects the wood without harmful fumes.
Your Child’s New Sleep Space Awaits!
Crafting a toddler bed with rails is more than just a woodworking project; it’s an act of love. You’re building a safe haven where your child will dream and grow. The satisfaction of seeing your little one snug in a bed you made yourself is truly unmatched.
Don’t let the thought of tools or lumber intimidate you. Take this guide step by step, and you’ll create a beautiful, functional piece of furniture. Start planning your project today and give your child the gift of a special, custom-made bed!