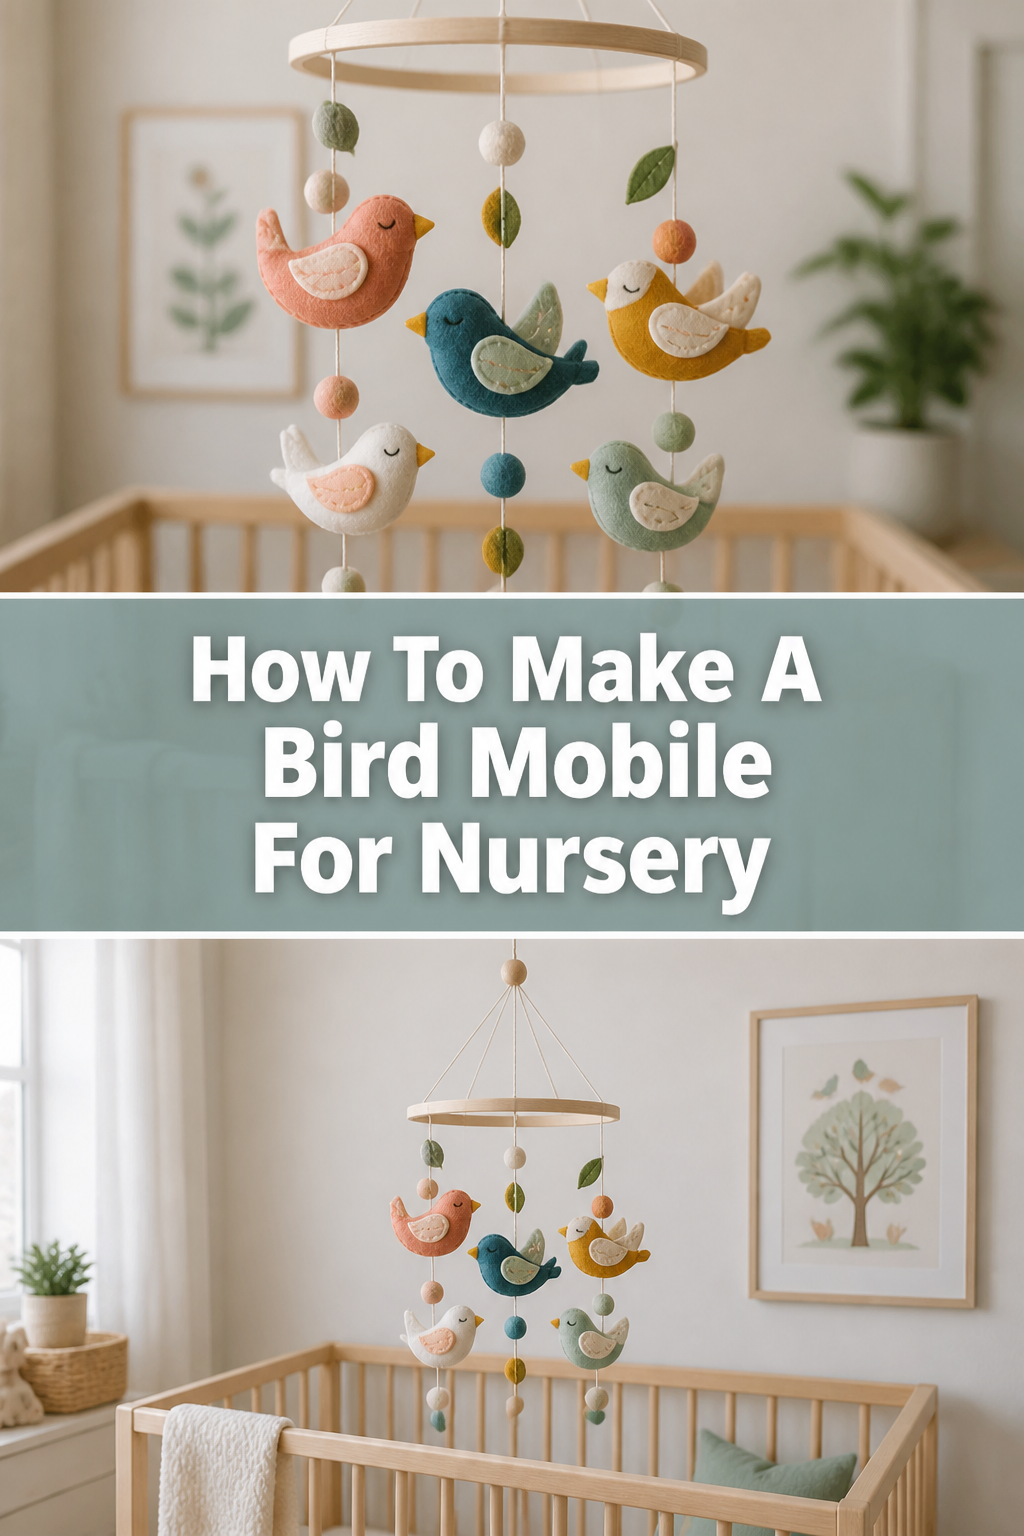
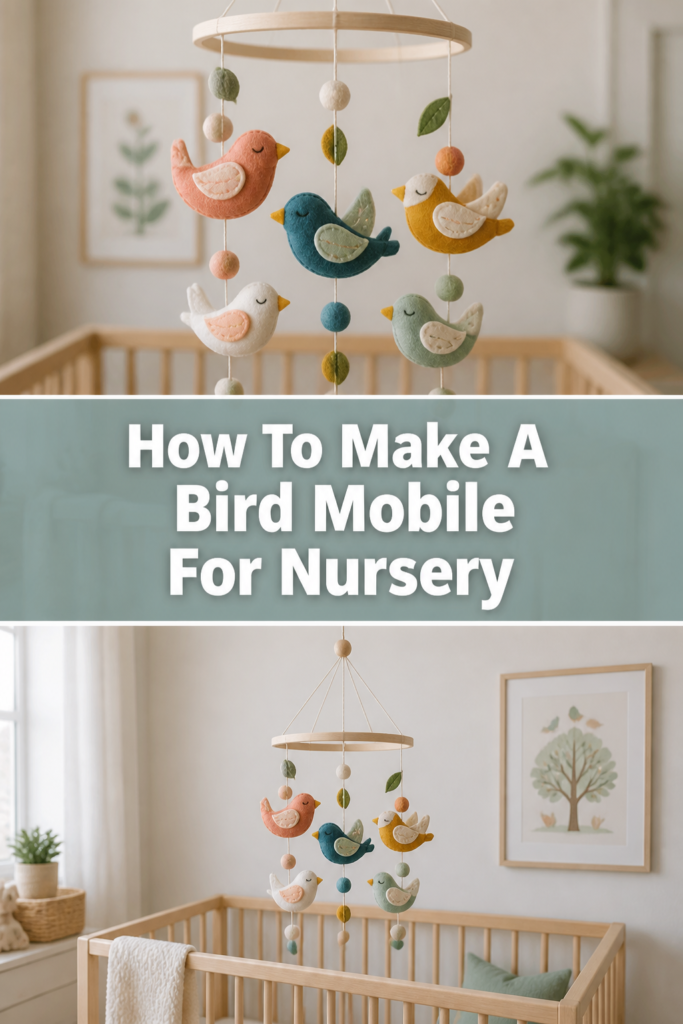
🐦 How To Make A Bird Mobile For Nursery
Creating a beautiful bird mobile for a nursery is a truly rewarding project. It adds a touch of handmade charm and a serene focal point above your baby’s crib. I remember the joy of seeing my own little one gaze up at the gentle birds, a simple creation bringing so much wonder.
This guide will walk you through every step, ensuring you can craft a delightful mobile with confidence. You’ll soon have a unique, personalized piece that’s both safe and enchanting. Trust me, if I can do it, you can too!
Quick Overview
This project will guide you through creating a charming, handmade bird mobile. You’ll learn to craft soft felt birds and assemble them into a balanced, visually appealing display for a nursery. It’s a lovely way to add a personal touch to your baby’s space.
- Time needed: 4-6 hours (spread over a couple of days if preferred)
- Difficulty: Beginner to Intermediate
- What you’ll need: Felt, embroidery floss, stuffing, a craft hoop, string, scissors, needle, fabric glue (optional).
Step-by-Step Instructions
Step 1: Gather Your Materials and Plan Your Design
Before starting, lay out all your supplies. This helps ensure you have everything on hand and visualize your project. Choose a color palette that complements the nursery decor.
Consider the size and number of birds you want for your mobile. A good starting point is usually 4-6 birds of varying sizes for visual interest. Sketch out a few bird shapes to find your preferred style.
Pro Tip: Select felt colors that offer gentle contrast. Soft pastels work beautifully for a calming nursery aesthetic, but a pop of brighter color can also be charming.
Step 2: Create Your Bird Templates
Draw bird shapes onto cardstock or thick paper. Aim for simple, symmetrical designs that are easy to cut and sew. You might want a main body, a wing, and perhaps a small belly piece.
Cut out these paper templates carefully. These will be your guides for cutting the felt, ensuring consistency in your bird shapes. Experiment with different sizes for variety.
Step 3: Cut Your Felt Pieces
Pin your paper templates onto your chosen felt colors. Use sharp fabric scissors to cut out two body pieces for each bird. If you’re adding wings or belly details, cut those out as well.
Accuracy in cutting helps achieve a neat, professional finish. Take your time and make clean cuts to avoid frayed edges. You’ll need two identical body pieces for each bird you plan to make.
Step 4: Decorate and Prepare Bird Bodies
Before sewing the birds together, add any decorative elements to one side of each body piece. This might include sewing on felt wings, adding a small contrasting belly, or embroidering tiny eyes. Use embroidery floss for these details.
Small French knots make excellent eyes, or you can cut tiny felt circles. Secure all decorative pieces firmly so they don’t detach later. This step allows for personalization before the birds are assembled.
Step 5: Sew and Stuff Your Birds
Place two identical bird body pieces together, lining up the edges perfectly. Using embroidery floss that matches or contrasts, begin to stitch around the perimeter of the bird. A blanket stitch creates a lovely decorative edge, but a simple running stitch also works well.
Leave a small opening (about 1-2 inches) as you sew. Once most of the bird is stitched, gently stuff it with polyester fiberfill. Don’t overstuff; you want the birds to be soft and plump, not rigid.
After stuffing, carefully stitch the opening closed. Ensure all stitches are secure and the stuffing is evenly distributed. Repeat this process for all your birds until they are complete.
Pro Tip: Use a chopstick or the blunt end of a pencil to push stuffing into smaller areas like tails or beaks. This ensures a smooth, even finish.
Step 6: Prepare the Mobile Hoop
Take your craft hoop (wood or metal works best). Wrap it tightly with ribbon or fabric strips to give it a softer, more finished look. Secure the ends with fabric glue or by stitching them down.
This step not only enhances the aesthetic but also provides a safer, softer surface. Choose ribbon colors that complement your felt birds. Ensure the wrapping is smooth and even all around the hoop.
Step 7: Attach Hanging Strings to Birds
Cut lengths of clear fishing line or strong embroidery floss. The lengths will vary depending on how low you want each bird to hang. Thread a needle through the top center of each bird.
Knot the string securely on the bird, then tie a loop at the other end. Alternatively, you can create a small loop and then stitch it directly into the bird’s back for a cleaner look. Ensure each bird has a secure hanging point.
Step 8: Assemble the Mobile
Decide on the placement of your birds around the hoop. You might want them evenly spaced, or clustered in groups. Tie the looped strings from your birds onto the wrapped hoop.
Vary the hanging heights of the birds to create visual depth and movement. Step back frequently to check the balance and arrangement. Adjust string lengths as needed until you’re happy with the composition.
Step 9: Create the Main Hanging Mechanism
Cut three or four equal lengths of strong string or fishing line, about 18-24 inches long each. Tie these strings to the hoop at equidistant points around the circumference. This creates the main support for the mobile.
Gather these strings together directly above the center of the hoop. Tie them securely in a knot, forming a single loop at the top for hanging. Ensure this knot is very strong and can support the entire mobile’s weight.
Step 10: Final Inspection and Hanging
Hold the mobile by its main hanging loop and check for balance. If it tilts, adjust the main support strings or the placement of your birds until it hangs level. Give the birds a gentle tap to ensure they move freely.
Hang your finished bird mobile securely from a ceiling hook, ensuring it’s well out of reach of tiny hands. It should be high enough that a standing baby cannot grab it. Enjoy the charming addition to your nursery!
Common Mistakes to Avoid
Using Unsafe Materials
Avoid using small beads, buttons, or any tiny embellishments that could become a choking hazard if they detach. While they might look cute, safety should always be your top priority for a nursery item. Stick to securely sewn felt pieces or embroidery for details.
Poorly Balanced Mobile
A mobile that leans significantly to one side looks unfinished and can be frustrating. This often happens when birds are too heavy on one side or the main hanging strings aren’t evenly spaced. Take your time to balance the mobile during assembly, adjusting string lengths and bird positions until it hangs level.
Flimsy Construction
If your stitches are too loose or your knots aren’t secure, parts of your mobile could fall apart over time. Use strong embroidery floss and make sure all stitches are tight and even. Double-knot all hanging strings to ensure the birds and the entire mobile remain safely suspended.
Hanging Too Low
Placing the mobile within a baby’s reach is a significant safety risk. As babies grow, they can grab and pull on items, potentially bringing the mobile down or getting tangled. Always hang the mobile high enough that a baby, even when standing in the crib, cannot touch it.
Troubleshooting
Mobile is Lopsided
If your mobile isn’t hanging straight, the weight distribution is off. First, check if your main hanging strings are tied at truly equidistant points on the hoop. Adjust these slightly if needed.
Next, examine the individual bird placements. You might need to move a heavier bird to balance out lighter ones, or adjust the length of a bird’s string to shift its center of gravity. Sometimes, simply repositioning one or two birds can make a big difference.
Birds Keep Falling Off
This usually indicates that the knots attaching the birds to their strings, or the strings to the hoop, are not secure enough. Untie and re-tie any suspect knots, ensuring they are tight double knots.
You might also consider adding a tiny drop of fabric glue to the knot once it’s tied, but ensure it’s completely dry and non-toxic if used near a baby. For a more robust connection, consider stitching the hanging string directly into the bird’s stuffing.
Mobile Isn’t Spinning Freely
A mobile that doesn’t spin might be too close to a wall or another object, or the main hanging loop might be too tight against the ceiling hook. Ensure there’s ample clearance around the mobile for it to rotate.
Sometimes, the main hanging strings can get twisted. Gently untwist them and ensure they are loose enough at the top connection point to allow movement. A light breeze from an open window or fan can also help a mobile spin.
Key Takeaways
- Prioritize safety by avoiding small, detachable embellishments on your mobile.
- Careful cutting and stitching lead to a polished, professional-looking finished product.
- Take your time to balance the mobile, adjusting bird placement and string lengths for an even hang.
- Secure all knots and stitches firmly to prevent pieces from detaching over time.
- Always hang the mobile well out of reach of curious little hands for maximum safety.
- Personalize your mobile with a unique color scheme and bird designs to match your nursery.
Frequently Asked Questions
What type of felt is best for a bird mobile?
Wool felt or a wool-blend felt is ideal. It’s durable, soft, and holds its shape well, making it perfect for crafting. Acrylic felt is a more affordable option and comes in a vast array of colors, also working very well for this project.
How high should I hang the mobile above the crib?
The general recommendation is to hang a mobile at least 12-16 inches above the baby’s reach. This ensures it’s high enough that even an older baby who can stand in the crib cannot grab it, preventing any safety hazards. Always check the height as your baby grows.
Can I wash the felt birds if they get dirty?
Felt can be delicate when wet. For minor dirt, spot cleaning with a damp cloth and mild soap is usually best. If a deeper clean is needed, hand washing gently in cool water with a mild detergent and air drying flat is possible, but be prepared for potential slight shrinkage or texture change.
What if I don’t want to sew? Can I use fabric glue?
Yes, you can absolutely use fabric glue instead of sewing! Choose a strong, non-toxic fabric glue. Apply a thin bead along the edges of the felt pieces, pressing them firmly together. Allow ample drying time before stuffing and assembling. Sewing provides more durability, but glue is a viable alternative for a no-sew option.
Our Top Recommended Finds
- Assorted Felt Sheets: A good quality pack of various felt colors provides creative freedom and ensures a soft, durable finish for your birds.
- Embroidery Floss Set: A multi-color set of embroidery floss allows you to match or contrast your felt colors, adding intricate details and strong stitching.
- Wooden Craft Hoop: A simple, unfinished wooden hoop (around 8-10 inches in diameter) serves as a sturdy and classic base for your mobile.
Crafting Joy for Little Eyes
You’ve now got all the knowledge to create a truly special bird mobile. Imagine the sweet dreams your little one will have, gazing up at your handmade creation. This project isn’t just about crafting; it’s about infusing love and personality into your nursery.
Why not pick out your favorite felt colors today and start bringing these charming birds to life? Whether you’re a seasoned crafter or just starting, the satisfaction of creating something beautiful for your baby is immeasurable. Dive in and let your creativity take flight!