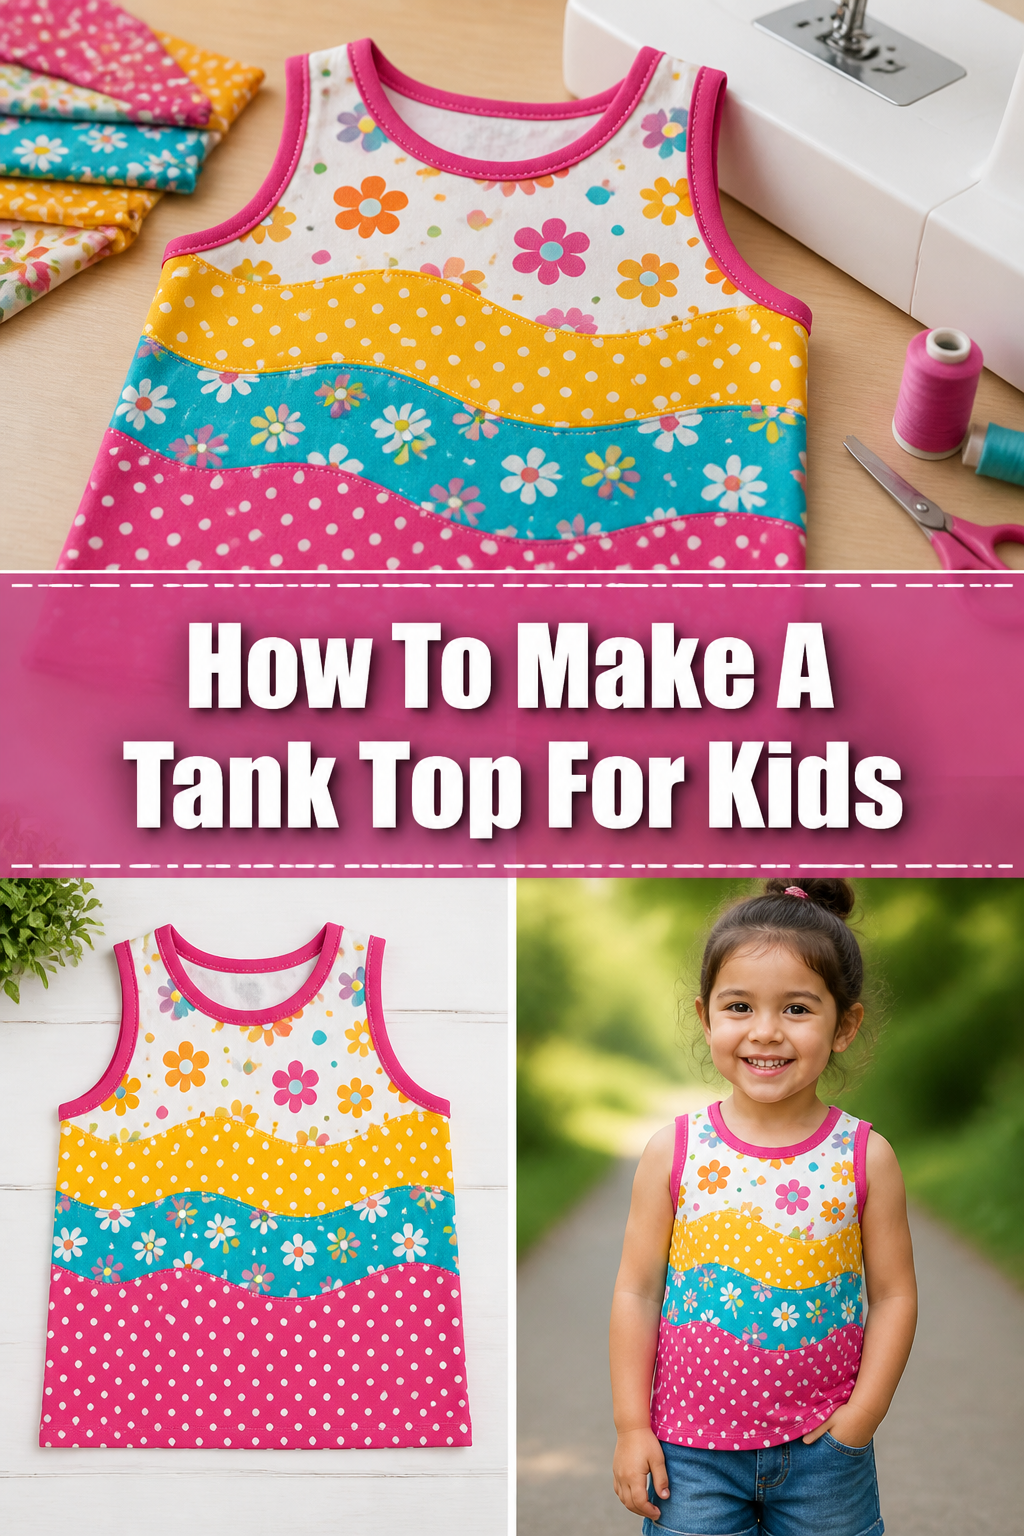
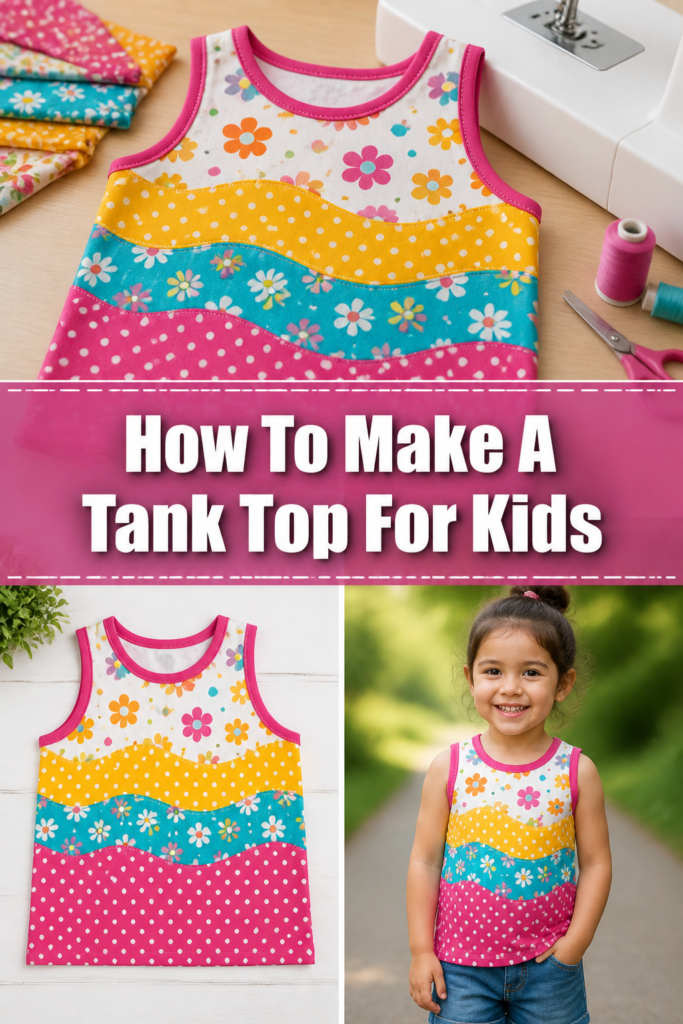
👕 How To Make A Tank Top For Kids
There’s something truly special about creating handmade clothes for the little ones in your life.
I remember the first time I sewed a tank top for my niece; her eyes lit up, and that joy is something I want everyone to experience.
This guide will walk you through each step, making it simple and fun to craft a custom tank top your child will adore.
Quick Overview
You’re about to embark on a rewarding project, resulting in a unique, comfortable tank top for a child.
It’s a fantastic way to personalize their wardrobe and practice your sewing skills.
- Time needed: 2-4 hours (depending on experience)
- Difficulty: Beginner
- What you’ll need: Fabric, sewing machine, thread, scissors, pins, measuring tape, existing tank top for a pattern.
Step-by-Step Instructions
Step 1: Gather Your Materials
Before you begin, make sure you have everything laid out and ready to go.
Having all your tools nearby saves time and prevents interruptions during your sewing flow.
Choose a soft, comfortable knit fabric. Cotton jersey, interlock knit, or even a lightweight French terry are excellent choices for kids’ clothing.
Select a coordinating thread. Polyester thread is strong and works well with most knit fabrics.
Prepare your sewing machine by threading it and winding a bobbin. Make sure you have a ballpoint or stretch needle installed, as these are crucial for knits.
Pro Tip: Always pre-wash and dry your fabric before cutting. This prevents shrinkage later and ensures your finished tank top will maintain its size.
Step 2: Prepare Your Pattern
Using an existing tank top that fits the child well is the easiest way to create a pattern.
This method ensures a comfortable and familiar fit without complex measurements.
Fold the existing tank top in half lengthwise, aligning the shoulder seams and side seams.
Lay your chosen fabric flat on a large surface, folded in half with the selvages (finished edges) together, or folded crosswise if your fabric is wide enough.
Place the folded tank top onto the folded fabric. Align the folded edge of the tank top with the folded edge of your fabric.
Trace around the tank top, leaving a seam allowance. A 1/2 inch (1.25 cm) allowance is standard for most seams, and a 1-inch (2.5 cm) allowance for the bottom hem.
Mark the armholes, neckline, and shoulder seams carefully. You’ll trace two pieces: a front and a back.
Step 3: Cut Your Fabric Pieces
Precision in cutting makes all the difference in how your finished garment will look and fit.
Take your time with this step to ensure clean, even edges.
Use sharp fabric scissors or a rotary cutter. A rotary cutter with a mat can be very helpful for cutting knit fabrics smoothly.
Cut along your traced lines, making sure not to cut through the folded edge where the tank top’s center is.
Unfold your fabric. You should now have two identical tank top shapes: one for the front and one for the back.
Cut two strips of fabric for the neck and armhole bindings. These strips should be 1.5 to 2 inches (3.8 to 5 cm) wide and long enough to go around the neck and armholes plus an inch or two for joining.
Step 4: Sew the Shoulder Seams
The shoulder seams are the first structural seams of your tank top.
They bring the front and back pieces together.
Place the front and back tank top pieces right sides together.
Align the shoulder seams perfectly. Pin them in place to prevent shifting.
Sew the shoulder seams using a stretch stitch or a narrow zigzag stitch on your sewing machine. This type of stitch allows the fabric to stretch without breaking the thread.
Press the seams open or to one side. Pressing helps the garment lay flat and gives it a professional finish.
Step 5: Attach the Neckline Binding
The neckline binding provides a neat finish and prevents the fabric from stretching out of shape.
It’s a crucial step for a professional-looking garment.
Take one of your binding strips. Fold it in half lengthwise, wrong sides together, and press.
Measure the neckline opening. Cut your binding strip to be about 85-90% of this measurement. This slight tension helps the neckline lie flat.
Join the short ends of the binding strip to form a loop, right sides together. Sew with a 1/2 inch (1.25 cm) seam allowance, then press the seam open.
Divide both the neckline opening and the binding loop into quarters (front center, back center, and two shoulder seams). Mark these points with pins.
Align the raw edges of the binding loop with the raw edge of the neckline, matching the quarter marks. Pin the binding to the neckline, stretching the binding slightly to fit the neckline evenly.
Sew the binding to the neckline using a stretch stitch or zigzag. Be careful not to stretch the tank top fabric itself, only the binding.
Trim the seam allowance if necessary, then press the binding up and away from the tank top. You can topstitch the binding down for an even flatter finish.
Step 6: Attach the Armhole Bindings
Finishing the armholes is similar to the neckline, ensuring a clean and comfortable fit around the arms.
Repeat the same process for both armholes.
Take your remaining binding strips. Fold each in half lengthwise, wrong sides together, and press.
Measure each armhole opening. Cut each binding strip to be about 85-90% of its armhole’s measurement.
Join the short ends of each binding strip to form a loop, right sides together. Sew with a 1/2 inch (1.25 cm) seam allowance, then press the seam open.
Divide each armhole opening and its corresponding binding loop into quarters. Mark these points with pins.
Align the raw edges of each binding loop with the raw edge of each armhole, matching the quarter marks. Pin the binding to the armhole, stretching the binding slightly to fit.
Sew the binding to the armhole using a stretch stitch or zigzag. Again, only stretch the binding, not the tank top fabric.
Trim the seam allowance and press the binding up and away. Consider topstitching for a professional look.
Step 7: Sew the Side Seams
With the neckline and armholes finished, you can now close the sides of the tank top.
This step brings the garment together into its final shape.
Place the front and back tank top pieces right sides together again.
Align the side seams from the armhole down to the bottom hem. Pin them carefully.
Sew the side seams using a stretch stitch or a narrow zigzag stitch. Use your 1/2 inch (1.25 cm) seam allowance.
Press the side seams open or to one side. This creates a smooth finish and helps the tank top hang nicely.
Step 8: Hem the Bottom
The final sewing step is to create a neat hem at the bottom of the tank top.
This gives the garment a polished and durable edge.
Turn the bottom edge of the tank top up towards the wrong side by 1 inch (2.5 cm).
Press this fold firmly to create a crisp hemline.
Pin the hem in place all the way around the bottom edge.
Sew the hem using a twin needle (for a professional look on knits), a stretch stitch, or a zigzag stitch. Sew from the right side of the fabric, about 7/8 inch (2.2 cm) from the folded edge.
Trim any excess thread and give the entire tank top a final press.
Common Mistakes to Avoid
Not Pre-Washing Fabric
Skipping the pre-wash step is a common error that can lead to disappointment. Fabric often shrinks when first washed and dried.
If you sew your garment before washing, it might not fit correctly after its first laundry cycle. Always wash and dry your fabric using the same method you’ll use for the finished garment to ensure it’s preshrunk and stable.
Using a Regular Needle on Knits
A standard universal needle has a sharp point that can pierce and break the fibers of knit fabric. This leads to skipped stitches, holes, and runs in your fabric.
Always use a ballpoint or stretch needle when sewing knits. These needles have a rounded tip that pushes the fabric fibers aside instead of piercing them, resulting in clean stitches and preventing damage.
Stretching Fabric While Sewing
It’s easy to accidentally stretch knit fabric as it goes under the presser foot, especially when sewing bindings or long seams. This stretching can cause wavy, distorted seams that don’t lay flat.
Try to guide the fabric gently without pulling or pushing. Let your sewing machine do the work. If your machine has a walking foot, it can be very helpful for feeding knit fabrics evenly.
Incorrect Seam Allowances
Inconsistent seam allowances can lead to a garment that is either too small or too large, or seams that don’t match up properly. This is particularly noticeable at the side seams and when attaching bindings.
Pay close attention to your seam allowance markings. Use the guidelines on your sewing machine’s needle plate or mark your fabric clearly before sewing to maintain an accurate and consistent seam allowance throughout the project.
Troubleshooting
Wavy Seams
If your seams look wavy after sewing, it’s usually because the fabric was stretched while being sewn. Knit fabrics are prone to this.
To fix this, try pressing the seam with a good amount of steam. If it’s still very wavy, you might need to unpick the seam and resew it, being extra careful not to stretch the fabric. Using a walking foot on your machine can also prevent this issue.
Skipped Stitches
Skipped stitches often indicate that your needle is not suitable for the fabric, or it might be dull. When sewing knits, a regular sharp needle can’t properly form a stitch.
Ensure you are using a fresh ballpoint or stretch needle. Also, check that your machine is threaded correctly and your tension settings are appropriate for the fabric. Sometimes, increasing the presser foot pressure slightly can help.
Binding Doesn’t Lay Flat
If your neckline or armhole binding is gapping or puckering, it means the binding strip was either cut too long or too short, or it wasn’t evenly stretched when sewn.
Unpick the binding and re-measure. The binding strip should be slightly shorter than the opening it’s being attached to (about 85-90% of the opening’s length). Distribute the stretch evenly around the entire opening as you pin and sew.
Key Takeaways
- Always pre-wash your fabric to prevent shrinkage after the garment is made.
- Use a ballpoint or stretch needle for knit fabrics to avoid damaging the material.
- Gentle handling of knit fabrics prevents stretching and wavy seams.
- Accurate seam allowances are crucial for a well-fitting and professional-looking garment.
- Pressing seams as you go improves the overall appearance and finish of your tank top.
- A zigzag or stretch stitch is essential for seams on knit fabrics, allowing them to stretch.
Frequently Asked Questions
What type of fabric is best for a kids’ tank top?
Soft, breathable knit fabrics are ideal for children’s tank tops. Cotton jersey, interlock knit, and lightweight French terry are excellent choices. They offer comfort, stretch, and are easy to care for, which is perfect for active kids.
Can I make this tank top without a sewing machine?
While a sewing machine makes the process much faster and easier, you can technically hand-sew a tank top. You would need to use a backstitch for strong seams and a catch stitch for the hem. Be aware that hand sewing will be significantly more time-consuming and require patience.
How do I choose the right size for my child?
The best way to ensure a good fit is to use an existing tank top that currently fits the child well as your pattern guide. If you don’t have one, measure the child’s chest and length, then compare it to a commercial pattern size chart, adding seam allowances.
What if my sewing machine struggles with knit fabric?
If your machine is having trouble, first ensure you’re using a ballpoint or stretch needle. Check your tension settings and consider using a walking foot if you have one, as it helps feed multiple layers of fabric evenly. Sometimes, placing tissue paper or tear-away stabilizer under the fabric can help it feed more smoothly.
Our Top Recommended Finds
- Ballpoint/Stretch Needles: Essential for sewing knits without damaging the fabric or skipping stitches. They glide between fibers instead of piercing them.
- Rotary Cutter and Mat: Provides clean, precise cuts on knit fabrics, which can be tricky with scissors due to their stretchiness. It makes pattern cutting much faster.
- Walking Foot: An attachment for your sewing machine that helps feed multiple layers of fabric, especially slippery or stretchy knits, evenly, preventing stretching and puckering.
Your Child’s New Favorite Top Awaits
You’ve just learned how to create a custom tank top, a truly rewarding project that combines practicality with personal touch.
Imagine the smiles and pride when your child wears something made especially for them by you.
Now is the perfect time to pick out that perfect fabric and get started. Who knows, this might be the beginning of a wonderful new sewing adventure!