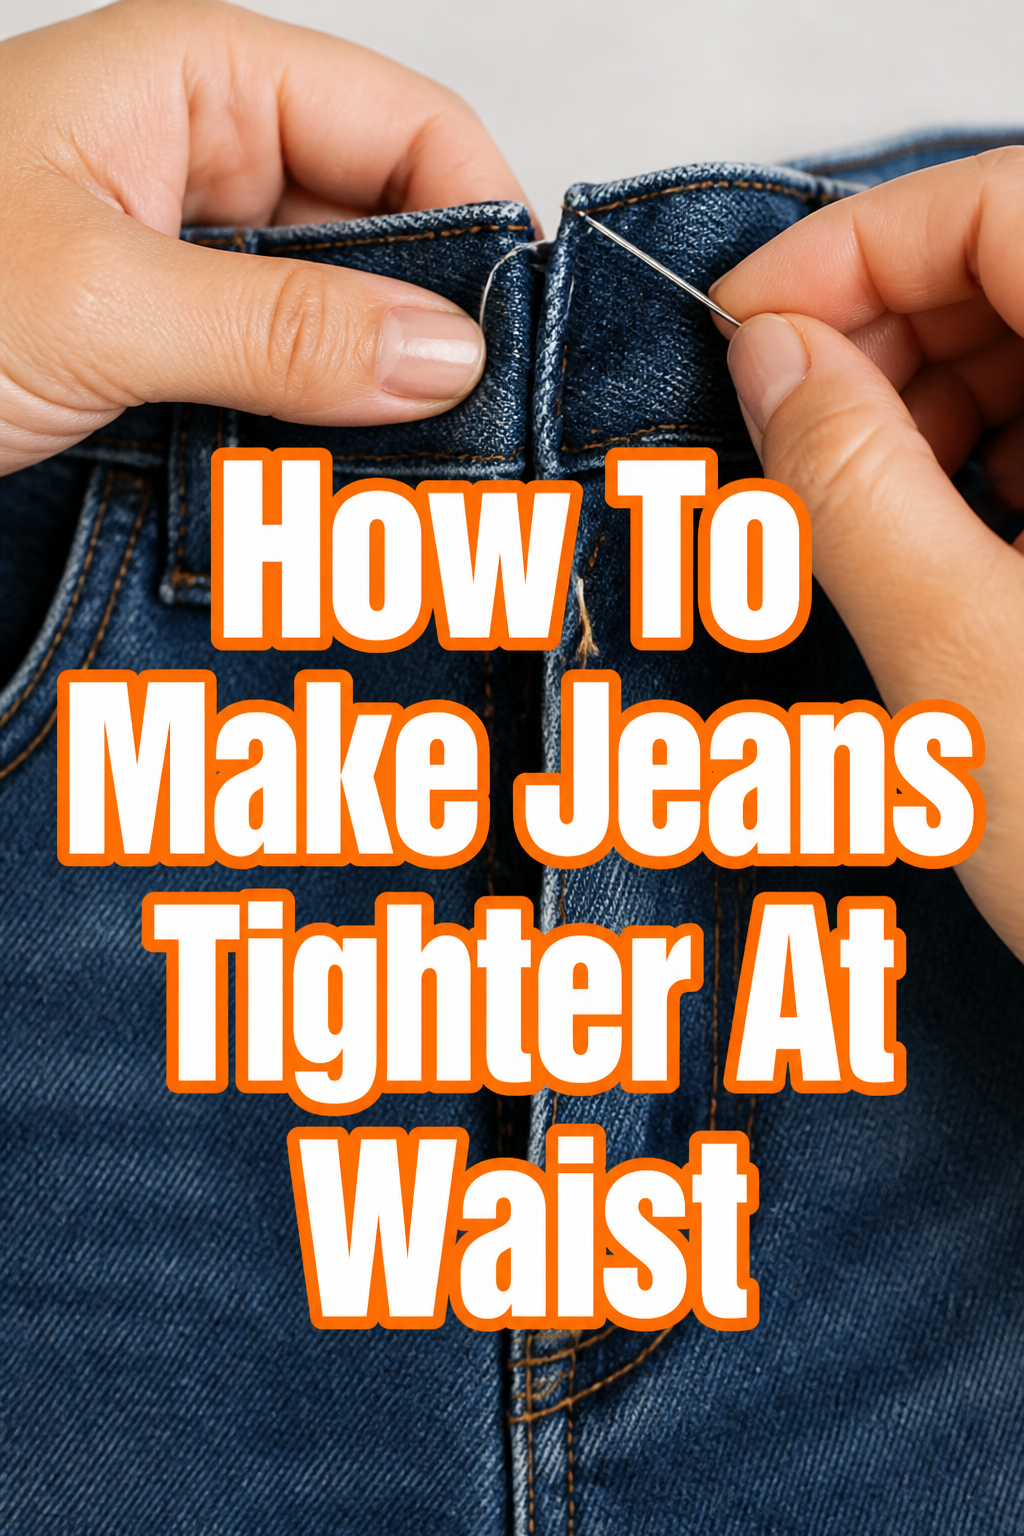
👖 How To Make Jeans Tighter At Waist
There’s nothing quite as frustrating as pulling on your favorite jeans only to find the waistband gaping at the back.
I’ve been there, admiring a perfect wash and fit everywhere else, but the waist just wouldn’t cooperate.
This guide comes from countless hours at my sewing machine, transforming ill-fitting denim into perfectly tailored pieces, so you can trust these practical steps.
Quick Overview
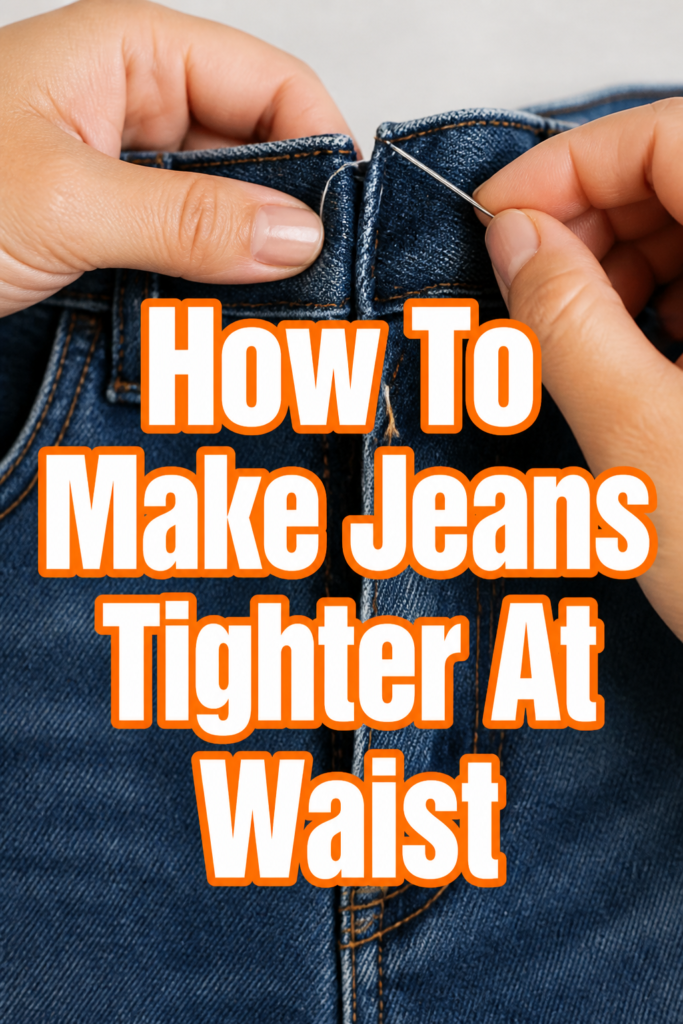
This guide will walk you through the most effective and professional method to tighten your jeans’ waistband: creating darts. You’ll learn how to measure, mark, sew, and finish your jeans for a custom fit.
- Time needed: 1-2 hours (for beginners)
- Difficulty: Intermediate (requires basic sewing skills)
- What you’ll need: Sewing machine (or needle), heavy-duty thread, fabric pins, measuring tape, fabric chalk/marker, sharp scissors, seam ripper, iron.
Step-by-Step Instructions
Step 1: Prepare Your Jeans
Begin by ensuring your jeans are clean and dry. Any alterations made to dirty or damp fabric might result in an inaccurate fit later on.
Give them a good press with an iron to smooth out any wrinkles, especially around the waistband area.
- Wash and dry your jeans thoroughly.
- Iron the entire waistband flat for precise marking.
Step 2: Try On and Pin
This is the most crucial step for accurate sizing. Put on your jeans inside out, as this makes pinning and marking easier.
Stand naturally and pull the excess fabric from the center back of the waistband. Pinch it evenly on both sides of the center back seam.
- Wear the jeans inside out.
- Stand in a relaxed, comfortable position.
- Pinch the excess fabric at the center back, forming two small triangles (darts) on either side of the belt loop.
- Pin these folds vertically, starting from the top of the waistband and extending down about 3-4 inches into the yoke area.
Pro Tip: Ensure the pins are vertical to avoid poking yourself and to hold the fabric securely. Aim for a snug, but not constricting, fit when pinning.
Step 3: Mark Your Darts
Carefully remove the jeans while keeping the pins intact. Lay them flat on a table, still inside out.
You will now transfer your pinned adjustments into clear markings using fabric chalk or a washable marker.
- Remove the jeans carefully, keeping all pins in place.
- Lay them flat on a work surface, inside out.
- Draw a straight line along the fold created by your pins, from the top of the waistband down to the point where the pin ends.
- Mark the exact width of the dart opening at the top of the waistband.
- Measure the total width of the dart at the waistband. This measurement will be split evenly for two darts.
Step 4: Measure and Transfer
If you’re creating two darts, you’ll want them to be symmetrical. Measure the total excess fabric you’ve pinned out at the waistband.
Divide this measurement by two to determine the width of each individual dart at the top of the waistband.
- Take the jeans off and carefully remove the pins.
- Measure the total amount of fabric you pinched out at the waistband. For example, if you pinned out 2 inches total, each dart will be 1 inch wide at the top.
- Transfer these measurements to create two identical dart shapes on the back of your jeans, extending from the waistband down into the yoke.
- Mark the center point of each dart at the waistband, and then mark half of your dart width on either side of that center point.
- Draw a line from each of these top marks, tapering down to a single point about 3-4 inches below the waistband.
Pro Tip: For a cleaner look, try to place your darts slightly to the side of the center back belt loop, if possible, for better concealment.
Step 5: Sew the Darts
Now it’s time to sew the darts you’ve marked. Use a heavy-duty needle and strong thread suitable for denim.
Start sewing from the top of the waistband and gradually taper your stitch towards the point you marked.
- Thread your sewing machine with a color that matches your jeans or a contrasting color if you prefer a subtle design element.
- Select a straight stitch setting.
- Start sewing from the top edge of the waistband, backstitching at the beginning to secure the stitches.
- Stitch slowly and carefully along your marked line, gradually tapering to the point at the bottom of the dart.
- Backstitch again at the dart’s point to prevent unraveling.
- Repeat this process for the second dart, ensuring both are sewn identically.
Step 6: Trim and Finish
After sewing, you’ll have excess fabric on the inside of your jeans. This needs to be trimmed and finished to prevent bulk and fraying.
A neat finish ensures comfort and a professional appearance.
- Trim the excess fabric inside each dart, leaving about a 1/2-inch seam allowance.
- Press the dart seams flat using an iron. You can press them towards the center back or outward, whichever creates less bulk.
- Finish the raw edges of the seam allowance. You can use a zigzag stitch on your sewing machine, an overlock stitch if available, or simply fold the raw edge under and stitch it down.
Pro Tip: For very thick denim, you might consider trimming the seam allowance even narrower (1/4 inch) before finishing to reduce bulk.
Step 7: Try On and Adjust
Once your darts are sewn and finished, it’s time for the final fitting. Put on your jeans right side out.
Check the fit around the waist and hips. If it’s still a little loose, you can slightly deepen your darts.
- Put the jeans on right side out.
- Assess the fit. Does the waistband now sit snugly without gaping?
- Check for any pulling or tightness in other areas, especially around the hips.
- Make minor adjustments if needed. You can carefully unpick a small section of the dart with a seam ripper to release tension or sew a new, slightly deeper line if it’s still loose.
Common Mistakes to Avoid
Not Trying On Properly
Many people rush the pinning stage or try to guess the amount of fabric to remove. This often leads to an uneven or incorrect fit.
Always wear the jeans inside out and pin them while standing naturally to get the most accurate measurement of excess fabric.
Sewing Too Much at Once
It’s tempting to remove a large amount of fabric if your jeans are very loose. However, sewing too deep of a dart can distort the fit of the jeans around the hips and rear, making them uncomfortable.
Start with a conservative amount, and remember you can always take them in a little more if needed, but letting them out is much harder.
Using the Wrong Thread or Needle
Denim is a tough fabric, and using regular all-purpose thread or a standard needle can lead to broken stitches or damaged needles. Your alteration won’t hold up.
Always opt for heavy-duty polyester thread and a denim-specific needle (usually size 16 or 18) for durability.
Ignoring Seam Finishing
Leaving raw edges inside your darts will cause the fabric to fray over time, weakening your alteration and creating an untidy interior. This can lead to the dart unraveling.
Always trim excess fabric and finish the raw edges with a zigzag stitch, serger, or by folding and stitching for a clean, long-lasting finish.
Troubleshooting
Jeans Are Still Too Loose
If your jeans still feel a bit loose after the first alteration, don’t worry. This is a common issue and easily fixed.
Put the jeans back on inside out and pin a slightly deeper dart. Unpick your original stitches carefully with a seam ripper, then re-sew along your new, deeper marked line. Remember to only take in a small amount at a time.
Jeans Are Now Too Tight
Sometimes, we get a little overzealous with the pins. If your jeans feel too snug after sewing, you’ll need to release some of the tension.
Carefully use a seam ripper to unpick a small portion of the dart stitches, particularly at the top of the waistband. Try them on again and adjust until comfortable, then re-stitch the dart at the new, looser line.
Bulky Seams Inside the Darts
Thick denim can create bulky seams, which might feel uncomfortable or show through the fabric. This often happens if the seam allowance is too wide.
Trim your dart seam allowances narrower, down to about 1/4 inch. Then, press the seams open or to one side very flat with a hot iron. You can also grade the seam allowance by trimming one side slightly shorter than the other before pressing, which reduces bulk.
Key Takeaways
- The dart method provides a professional and lasting solution for a gapping waistband.
- Accurate pinning while wearing the jeans inside out is the most critical step for success.
- Always use heavy-duty thread and a denim needle for durability.
- Sewing slowly and tapering your stitches ensures a smooth, non-bulky dart.
- Finishing raw edges inside the darts prevents fraying and maintains a tidy look.
- Patience and small adjustments are key to achieving the perfect custom fit.
Frequently Asked Questions
Can I make jeans tighter at the waist without a sewing machine?
Yes, you can hand-sew darts, but it will take longer and require more precision. Use a strong needle and a backstitch for durability, replicating the machine stitch. It’s also possible to use temporary solutions like button pins or elastic threaded through the waistband, but these aren’t permanent alterations.
Will this alteration look professional?
When done carefully and with attention to detail, especially with proper marking, neat stitching, and finishing the seams, the dart alteration can look very professional. The darts blend into the back of the jeans, creating a tailored appearance that looks like it was always meant to be there.
Can I reverse this alteration if I change my mind?
Yes, darts are generally reversible. You can use a seam ripper to carefully remove the stitches. However, if you trimmed the seam allowance or if the denim has faded in the altered area, there might be slight marks or color differences where the dart was. Be gentle to avoid damaging the fabric.
What about shrinking jeans in the wash?
While washing jeans in hot water and tumble drying on high heat can cause them to shrink, this method is unreliable for targeting just the waist. Shrinkage often occurs unevenly throughout the entire garment, potentially making them too tight elsewhere or distorting the fit. Darts offer a controlled, precise way to tighten only the waist.
Our Top Recommended Finds
- Heavy-Duty Denim Needles: Essential for piercing tough denim without breaking or bending.
- Strong Polyester Thread: Ensures your stitches hold up to the wear and tear denim receives.
- Fabric Chalk or Washable Fabric Pen: Perfect for precise marking that disappears after washing or brushing.
Take Control of Your Wardrobe
You’ve now got the skills to transform ill-fitting jeans into a perfectly tailored pair. No more gaping waistbands or uncomfortable fits.
Embrace the satisfaction of wearing clothes that truly fit your body shape.
Don’t stop here; consider how these basic sewing skills can empower you to tackle other clothing alterations and personalize your entire wardrobe.