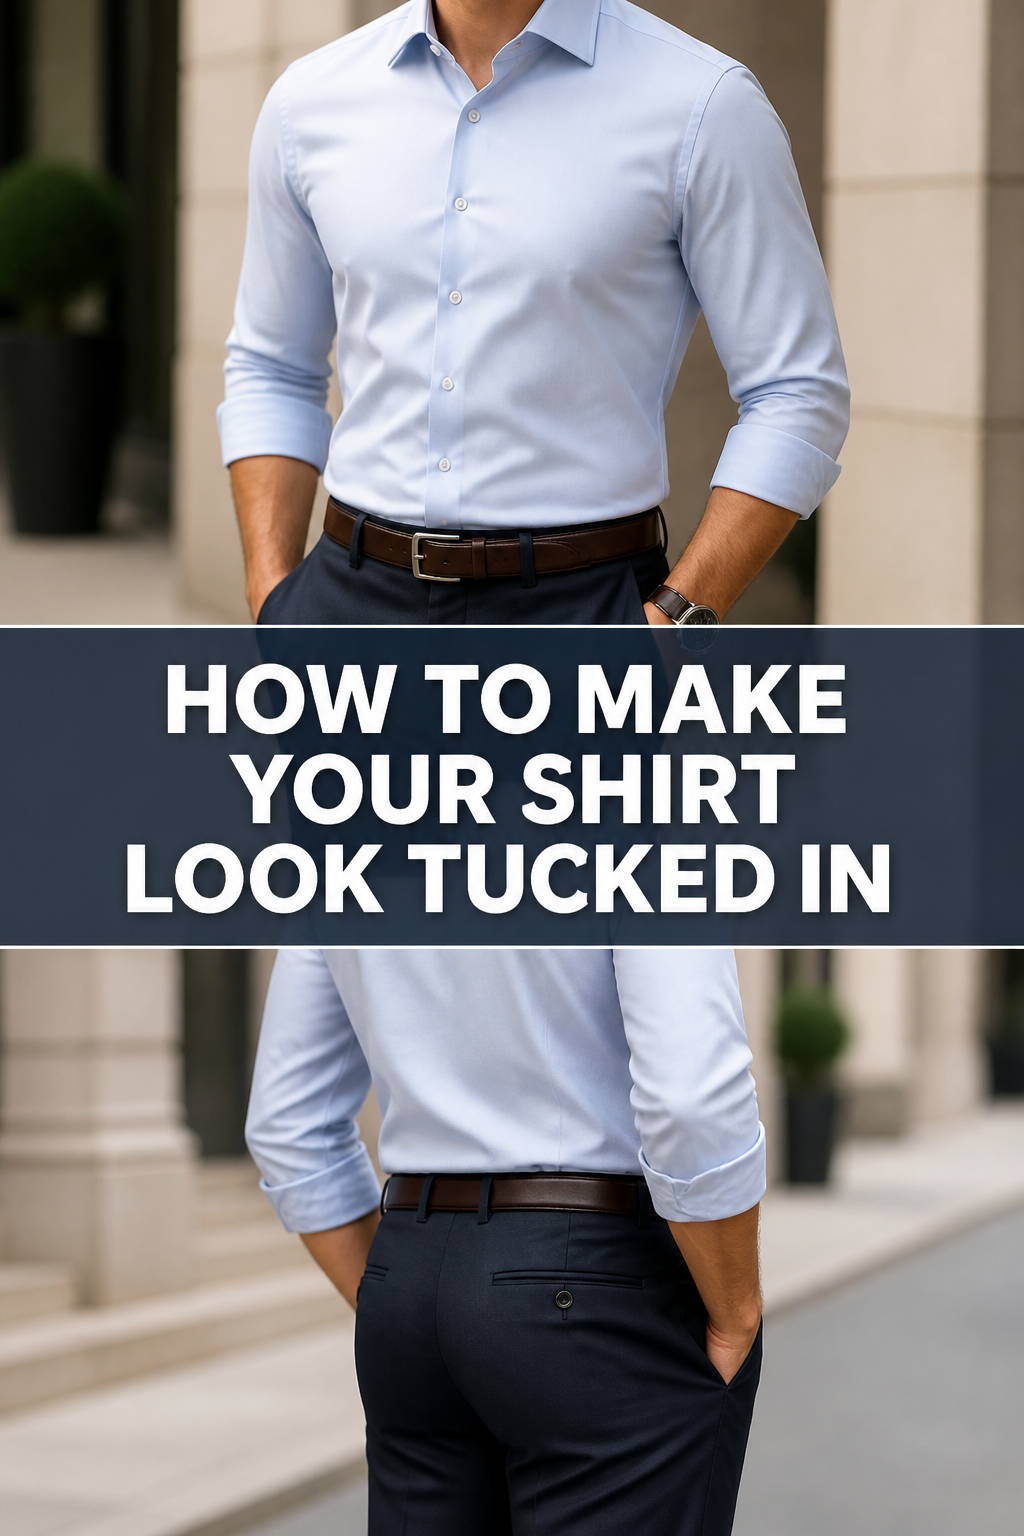
👕 How To Make Your Shirt Look Tucked In
I remember countless times struggling with a shirt that just wouldn’t stay put, or worse, looked like a messy balloon around my waist. After years of trial and error, I’ve found the secrets to a crisp, clean tuck that lasts all day. This guide will share those practical, proven methods with you.
Quick Overview
Achieving a perfectly tucked-in shirt look is easier than you think, transforming your appearance from sloppy to sharp in minutes. You’ll learn the techniques to keep your shirt smooth, secure, and stylish.
- Time needed: 5-10 minutes (initially), 1-2 minutes (once mastered)
- Difficulty: Beginner
- What you’ll need: A shirt, trousers/skirt, a belt, a mirror (optional: shirt stays/garters)
Step-by-Step Instructions
Step 1: Choose the Right Shirt and Bottoms
The foundation of a good tuck starts before you even put the shirt on. Not all shirts are made for tucking, and your bottoms play a crucial role.
Select shirts with enough length to stay tucked comfortably throughout the day. Dress shirts are typically designed for tucking, while many casual shirts are cut shorter for an untucked look.
Ensure your trousers or skirt fit well around the waist. If they are too loose, your shirt will have too much room to billow and come untucked easily.
Pro Tip: Look for shirts with a “tailored fit” or “slim fit” for less excess fabric around the torso, which naturally reduces bulk when tucked. Some shirts even have a slightly longer back hem to prevent untucking.
Step 2: Master the Basic Tuck (The Military Tuck)
This is the most common and effective method for a clean, sharp look. It creates a neat pleat on the sides of your body.
- Put on your shirt and trousers or skirt. Do not fasten your bottoms yet.
- Tuck your shirt evenly into your trousers, making sure the placket (the buttoned strip) aligns with your fly.
- Smooth the front and back of the shirt, pulling it down tautly.
- Pinch the excess fabric at each side seam, creating a vertical fold or pleat.
- Fold these pleats backward, towards your body, and tuck them into your trousers.
- Fasten your trousers or skirt, then your belt, securing the tuck.
Step 3: The “Shirt Stay” Method (For Extra Security)
If you need an absolutely flawless, all-day tuck, shirt stays are your secret weapon. These elastic garters connect your shirt to your socks.
- Attach one end of the shirt stay clip to the bottom hem of your shirt, near the side seam or front/back.
- Pull the shirt stay down your leg and clip the other end to the top of your sock.
- Repeat for all four shirt stays (two per leg is common).
- Adjust the length of the stays so they pull your shirt taut without being uncomfortable.
- Put on your trousers and perform your chosen tuck method (like the Military Tuck).
Pro Tip: There are different types of shirt stays, including stirrup styles that go under your foot. Experiment to find which type offers the most comfort and security for you.
Step 4: Smooth and Adjust
Once your shirt is tucked, it’s time for the final touches to ensure a sleek appearance.
Run your hands down the sides of your body, from your armpits to your hips, smoothing out any bumps or wrinkles. Ensure the fabric lies flat against your waist.
Check the back for any unevenness or bulges. Gently pull up on the back of the shirt if it feels too tight or if there’s excess fabric gathering.
Step 5: The Blouse or Gather (For a Softer Look)
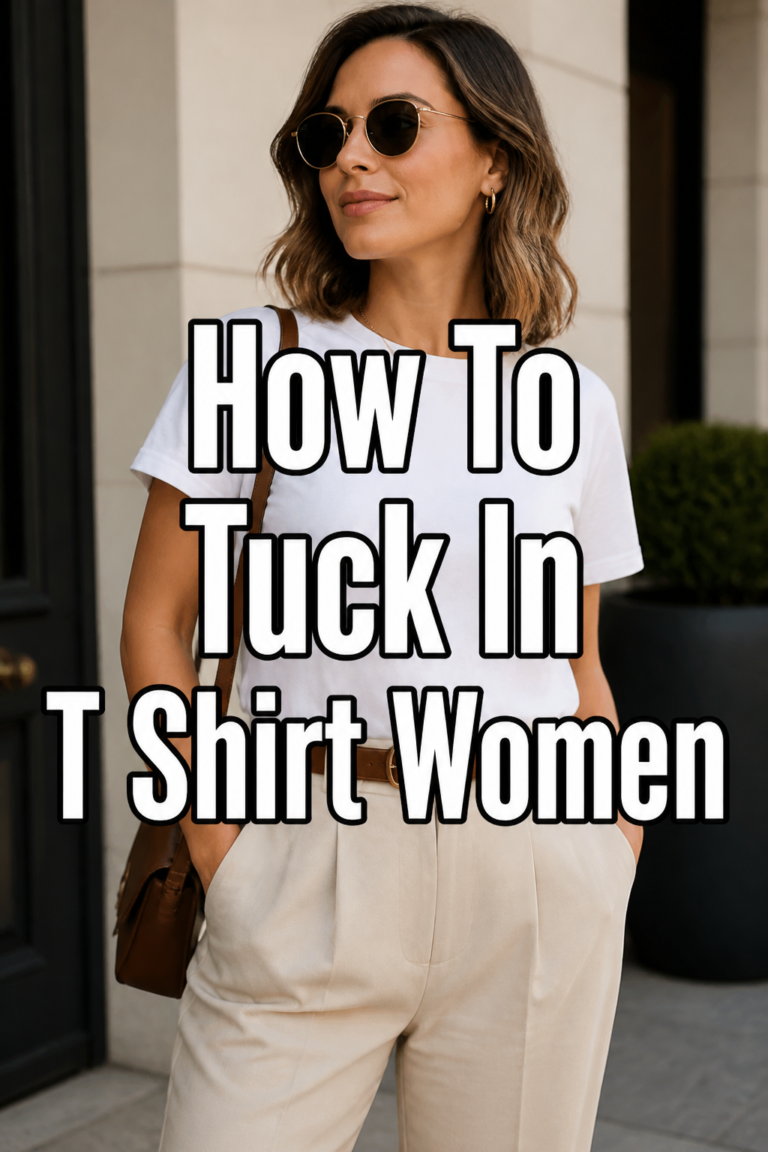
Sometimes, a perfectly taut tuck can look a little too stiff. A slight blouse adds comfort and a touch of relaxed elegance, especially for women.
After performing your basic tuck, gently pull up a tiny bit of fabric (about half an inch) from all around your waist. This creates a subtle, soft gather.
Distribute this slight looseness evenly around your waistline. The goal is to avoid a tight, stretched look without letting the shirt become sloppy.
Pro Tip: This technique is particularly useful with blouses or softer fabrics. It prevents the shirt from pulling uncomfortably when you move or sit.
Step 6: Check Your Reflection
A full-length mirror is your best friend for perfecting your tucked-in look.
Stand in front of the mirror and turn slowly, observing your front, sides, and back. Look for any wrinkles, bulges, or unevenness.
Sit down and stand up a few times. This helps you see how the shirt behaves with movement and if it stays tucked securely.
Step 7: The Belt Test
Your belt is the final element securing your tuck. It should complement your outfit and hold everything in place.
Thread your belt through your belt loops and fasten it to a comfortable but snug fit. It shouldn’t be so tight that it pinches, but firm enough to keep the shirt down.
Adjust your belt so the buckle aligns with your fly and the placket of your shirt. This creates a cohesive and polished line down your front.
Common Mistakes to Avoid
The “Muffin Top” Tuck
This happens when you tuck in a shirt that’s too tight or pull it too taut around your waist. It accentuates the waistline in an unflattering way, creating bulges.
Instead, ensure your shirt has a comfortable amount of fabric. Use the slight blouse technique (Step 5) to give a little breathing room and create a smoother line over your hips. The goal is a clean line, not a vacuum-sealed fit.
The Uneven or Sloppy Tuck
One side of your shirt looks neat, the other is billowing or coming untucked. This often occurs when you rush the tuck or don’t distribute the fabric evenly.
Take your time with the initial tuck. Always start by ensuring the front placket is perfectly aligned with your fly. Use the military tuck technique consistently on both sides, making sure the pleats are similar in size and placement.
Ignoring Shirt Length
Trying to tuck in a shirt that’s simply too short is a losing battle. It will constantly come untucked, especially when you move your arms or sit down.
Always choose shirts specifically designed for tucking, which have a longer hem. If a casual shirt is too short, accept that it’s meant to be worn untucked. Don’t force a tuck that won’t hold.
Over-Tucking into Tight Pants
While well-fitting pants are crucial, pants that are excessively tight will make any tucked shirt look bulky and uncomfortable. The fabric has nowhere to go but to bunch up.
Opt for trousers or skirts that have enough room for your tucked shirt without being loose. A slight bit of ease around the waist allows the shirt fabric to lie smoothly without creating uncomfortable pressure or visible lines.
Troubleshooting
My shirt keeps coming untucked!
This is a common frustration, often due to insufficient shirt length or overly loose bottoms. Your shirt might also be coming untucked if you’re very active.
First, check if your shirt is long enough. If it’s a borderline length, consider using shirt stays (Step 3) for extra grip. Ensure your belt is snug enough to hold the shirt in place without being uncomfortable.
I have a bulky waistline after tucking.
Excess fabric gathering around your waist can create an unflattering bulk. This usually means there’s too much material or the tuck isn’t smooth.
Revisit the Military Tuck (Step 2) and ensure you’re creating neat, backward-facing pleats at the sides. If your shirt is a “regular” or “classic” fit, it might have more fabric. Consider a “slim fit” shirt for less bulk. The slight blouse (Step 5) can also help distribute the fabric more evenly.
Wrinkles reappear quickly, especially in the back.
Wrinkling can happen if the shirt fabric is prone to creasing or if the tuck is too tight in certain areas. Movement will naturally cause some creasing.
Before tucking, make sure your shirt is freshly ironed or steamed. When you tuck, ensure there’s a tiny bit of ease (the blouse technique) to allow for movement without immediately creating deep creases. Some fabrics, like linen or certain cottons, are simply more prone to wrinkling, so choose your shirt fabric wisely for wrinkle resistance.
Key Takeaways
- Always start with a shirt that’s long enough and bottoms that fit well.
- The Military Tuck creates a clean, sharp line by folding excess fabric backward.
- Shirt stays are highly effective for keeping shirts perfectly tucked all day.
- Smooth out wrinkles and adjust for comfort immediately after tucking.
- A slight “blouse” can add comfort and a softer, more relaxed aesthetic.
- Regularly check your appearance in a mirror from all angles.
Frequently Asked Questions
What types of shirts are best for tucking?
Dress shirts, button-downs, polo shirts, and blouses are generally designed to be tucked in. Look for shirts with a longer hem that extends past your fly and hip bones. T-shirts can be tucked for a very casual look, but they often lack the structure to stay neatly tucked.
Can I tuck in an untucked shirt?
You can, but it depends on the shirt’s original design. If an “untucked shirt” is specifically cut shorter, it will likely come untucked quickly and look bulky. If it’s just a casual shirt that happens to be worn untucked, and it has sufficient length, then yes, you can tuck it in using the methods described.
How tight should my pants be for a good tuck?
Your pants should fit comfortably around your waist without being restrictive. They should be snug enough to hold the shirt fabric against your body, but not so tight that they pinch or create bulges when the shirt is tucked. A good fit allows for smooth lines.
Is there a difference in tucking for men and women?
The basic principles of tucking (length, fit, smoothing) apply to everyone. However, women often use the “blouse” or “gather” technique more frequently for a softer, more feminine silhouette, especially with blouses and skirts. Men typically aim for a crisper, more tailored military tuck.
Our Top Recommended Finds
- High-Quality Shirt Stays: Essential for a consistently crisp, secure tuck, especially for formal wear or active days.
- A Well-Fitting Belt: Not just an accessory, a good belt helps cinch your waist and hold your shirt firmly in place.
- Handheld Steamer: Quickly removes creases from your shirt before tucking, ensuring a smooth foundation for your look.
Elevate Your Everyday Style
Now that you have the tools and techniques, it’s time to put them into practice. A perfectly tucked shirt isn’t just about neatness; it’s about confidence, professionalism, and showing attention to detail. Don’t underestimate the power of a clean line.
Start experimenting with these methods today. Try different shirts, different tucks, and see what works best for your body and your wardrobe. You might be surprised at how such a small adjustment can make a huge impact on your overall appearance.