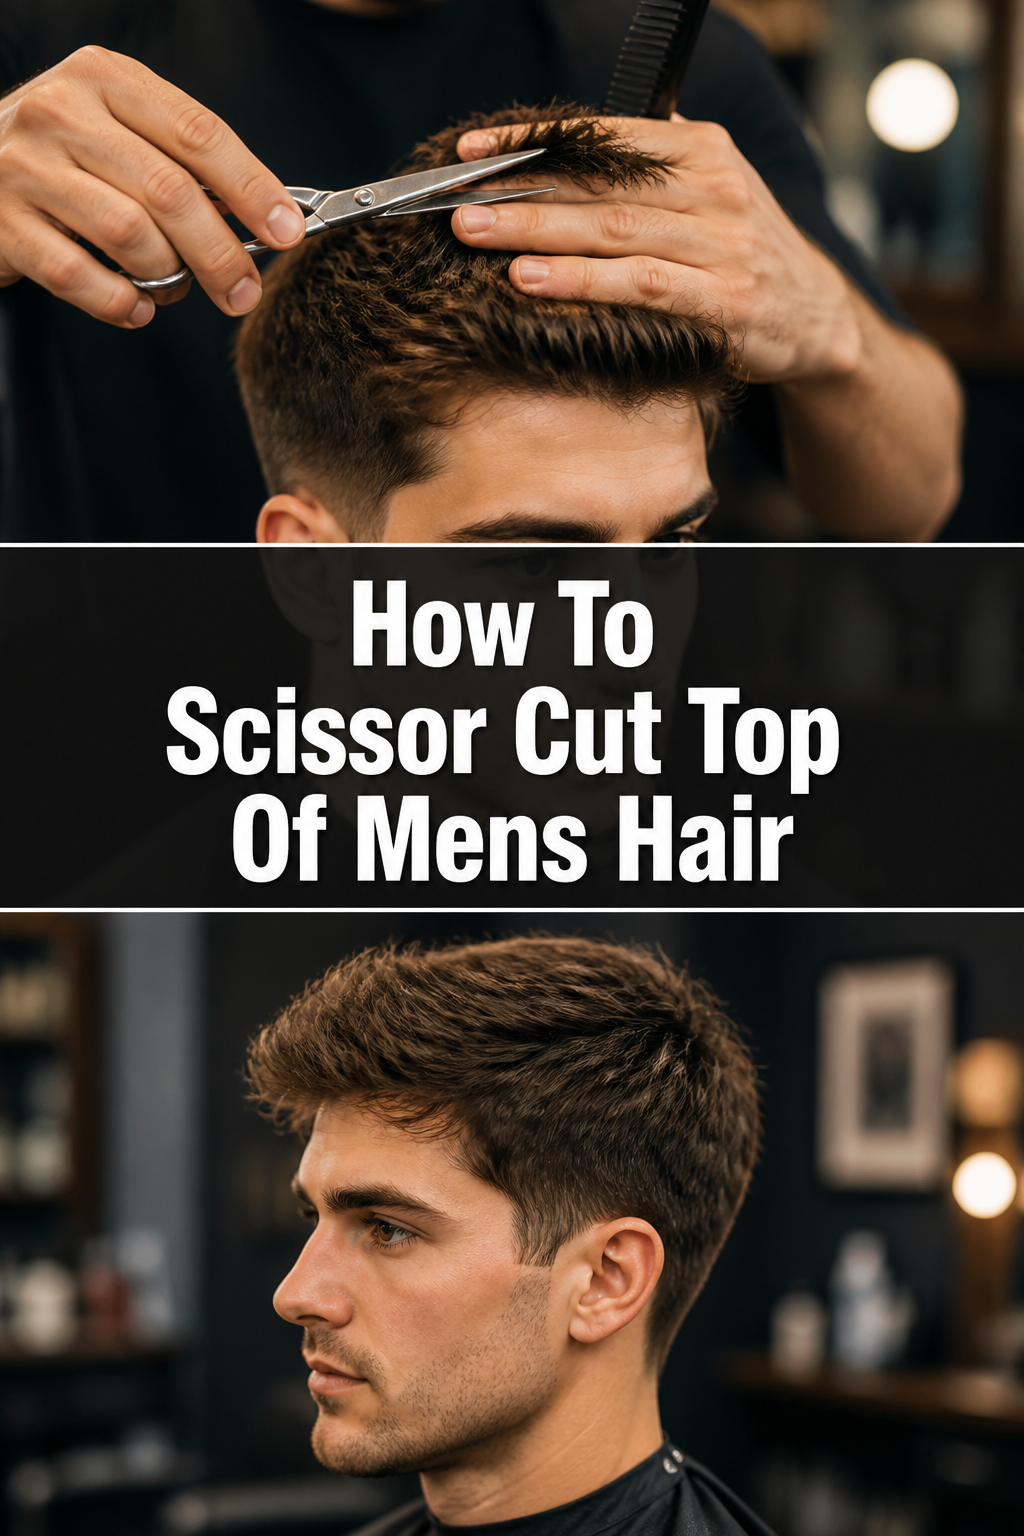
✂️ How To Scissor Cut Top Of Mens Hair
Learning to cut hair at home was a game-changer for me, saving countless hours and dollars over the years.
I’ve honed my skills in creating natural, scissor-cut tops on men, understanding the nuances that make a great haircut.
This guide distills my hands-on experience into simple, actionable steps, empowering you to achieve professional-looking results right at home.
Quick Overview
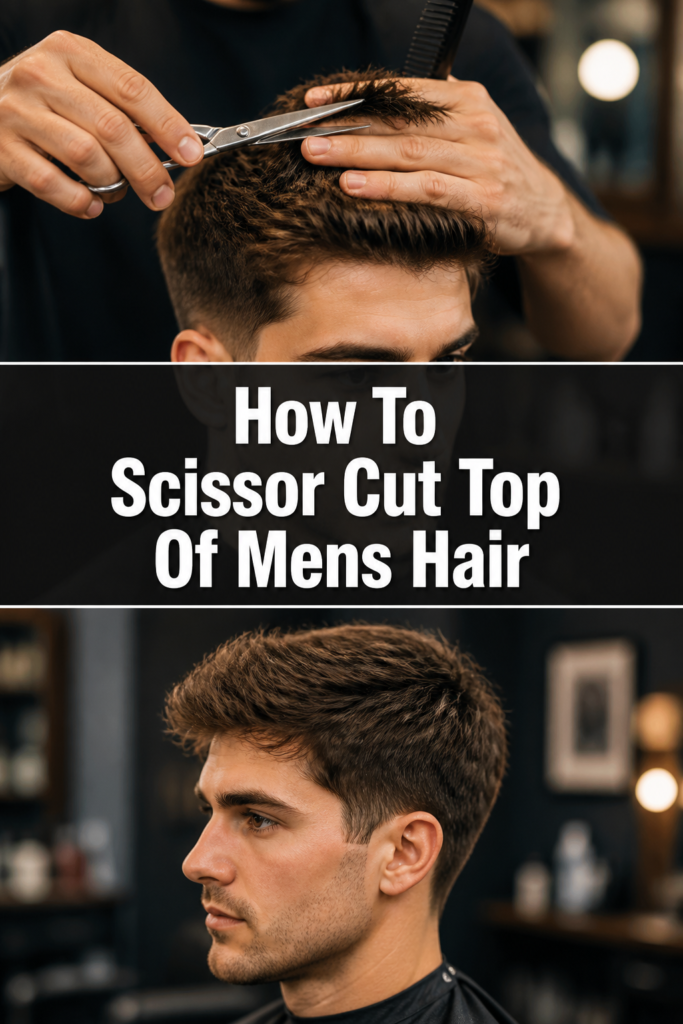
This guide will walk you through the process of cutting the top of men’s hair with scissors, focusing on precision and a natural finish.
You’ll learn how to section hair, establish guide lengths, and blend effectively for a clean, stylish look.
- Time needed: 30-60 minutes (depending on experience)
- Difficulty: Intermediate
- What you’ll need: Sharp hair shears, fine-tooth comb, spray bottle with water, sectioning clips, handheld mirror
Step-by-Step Instructions
Step 1: Gather Your Tools and Set Up Your Space
Collect all your necessary tools before you begin. Having everything within reach streamlines the cutting process.
Choose a well-lit area, ideally with natural light, to ensure you can clearly see the hair from all angles.
Pro Tip: A clean, uncluttered workspace helps you focus and prevents distractions, leading to a more precise cut.
Step 2: Prepare the Hair
Start with clean, dry hair. This allows for precise sections and an accurate cut, as wet hair can stretch and appear longer than it truly is.
Ensure the hair is free of products, which can make it sticky or difficult to comb through, hindering your progress.
Lightly mist the hair with water from a spray bottle if it becomes too dry during the cutting process. This helps with control and keeps the hair in place.
Step 3: Section the Top Hair
Identify the parietal ridge, which is the widest part of the head, typically running from the temples to the crown.
Create a horseshoe-shaped section on the top of the head, separating the hair that will be cut from the sides and back.
Use sectioning clips to secure the hair on the sides and back, keeping it completely out of your working area.
Pro Tip: Precise sectioning is fundamental for an even cut. Take your time to make clean lines.
Step 4: Establish Your First Guide Length
Take a small, vertical section of hair from the very front of the top section, about 1/2 to 1 inch wide.
Comb this section straight up, perpendicular to the scalp, using your fine-tooth comb.
Decide on your desired length for the front of the hair. This will be your initial guide.
Hold the hair between your index and middle fingers, pulling it taut. Your fingers will act as a barrier, preventing you from cutting too much.
Cut the hair straight across, just above your fingers, using the tips of your shears. Do not cut with the entire blade; small snips are more precise.
Step 5: Create a Traveling Guide
Take a new, small section of hair directly behind your first guide. This new section should include a small portion of the hair you just cut.
Comb this new section straight up, aligning it with the first guide section.
Use the previously cut hair as your visual reference for the new length.
Cut the new hair to match the length of the guide, continuing this process as you work your way back towards the crown.
Maintain consistent tension and finger angle throughout this step to ensure an even length.
Pro Tip: Always cut less than you think you need. You can always remove more hair, but you can’t put it back.
Step 6: Work Across the Top
Return to the front of the head. Take a new vertical section parallel to your first guide, moving slightly to one side.
Include a small piece of the previously cut hair from your first guide section within this new section.
Comb the hair straight up and cut it to match the length of your established guide.
Continue this technique, working your way across the top of the head in parallel sections until you reach the other side.
Repeat the entire process on the opposite side of the initial guide section, ensuring symmetry.
Step 7: Check for Evenness and Refine
Comb all the top hair straight up from the scalp. Look for any inconsistencies or longer pieces.
Cross-check your work by taking horizontal sections of hair and combing them straight out. Any unevenness will become apparent.
Point cut into any areas that appear too blunt or heavy. This technique involves holding the shears vertically and snipping into the ends, creating a softer, more textured finish.
Use the handheld mirror to view the back of the top section and ensure it blends seamlessly into the crown.
Step 8: Blend the Top to the Sides
Release one of the side sections you previously clipped away.
Take a small, diagonal section of hair where the top meets the side, including some of the longer top hair and some of the shorter side hair.
Comb this section up and out, following the head shape. Your fingers will guide you, holding the hair at an angle.
Cut along your fingers, blending the longer top hair into the shorter side hair. This creates a smooth transition.
Repeat this blending technique around the entire perimeter of the top section, from temple to temple, ensuring a seamless connection.
Pro Tip: Blending is where the haircut truly comes together. Focus on creating a gradual transition rather than a sharp line.
Step 9: Detail and Finish
Comb all the hair into its natural style. Observe how it falls and if any areas need further attention.
Look for any stray hairs or uneven spots that might have been missed.
Perform a final point cut or deep notching to add texture and remove bulk, especially in thicker areas, if desired.
Style the hair as usual to see the final result. Sometimes, styling reveals minor adjustments needed.
Common Mistakes to Avoid
Cutting Wet Hair Too Short
Hair appears longer when wet because it stretches. Cutting wet hair to a desired dry length often results in a cut that is much shorter than intended once it dries and shrinks.
Always account for shrinkage. It’s safer to cut hair slightly longer when wet, or even better, cut it dry for more accurate results. If you must cut wet, remember that dry hair will sit about 1/2 inch shorter.
Inconsistent Finger Angle and Tension
Holding your fingers at different angles or applying varying tension when pulling the hair leads to an uneven cut. If your fingers tilt up in one section and down in another, the hair length will be inconsistent.
Maintain a consistent finger angle and apply even tension across all sections. This ensures that each piece of hair is cut to the same relative length, creating a balanced and uniform haircut.
Cutting Too Much at Once
Attempting to cut large sections of hair at once makes it difficult to control the length and angle, often leading to mistakes that are hard to correct.
Always work with small, manageable sections. Take your time and make small snips. It’s always easier to remove more hair than to try and fix an overly short cut.
Skipping the Cross-Check
Failing to cross-check your work means you might miss uneven spots or areas that are too bulky. This can result in a lopsided or unbalanced haircut that only becomes apparent after styling.
Always cross-check your cut by combing hair in different directions (e.g., horizontally after cutting vertically) and examining it from all angles. This reveals hidden imperfections and allows for precise adjustments.
Troubleshooting
The Hair Looks Uneven After Drying
This often happens when hair was cut wet and then shrunk, or if tension/angle was inconsistent. It can be frustrating to see after all your effort.
Mist the hair lightly with water again and comb it thoroughly. Isolate the longer sections by combing the hair straight up or out. Carefully point cut into these longer pieces to blend them in. Work slowly and check your progress frequently.
The Blend Between Top and Sides Has a Visible Line
A harsh line usually indicates that the transition wasn’t gradual enough, or the angles used for blending were too blunt. This is a common challenge for beginners.
Re-wet the area where the line appears. Take small, diagonal sections encompassing both the top and side hair. Use a deep point cutting technique or a diagonal cutting angle to soften the line and create a more seamless graduation. Focus on feathering the ends rather than cutting straight across.
The Hair Feels Too Heavy or Bulky
This can occur with thick hair, even if the length is correct, if too much density remains. It makes styling difficult and can look less refined.
Once the cut is complete and dry, lift small sections of hair and use a point cutting or notching technique deep into the middle of the hair shaft (not the ends). This removes bulk from within the haircut without affecting the overall length. Be careful not to cut too close to the scalp.
Key Takeaways
- Preparation is key: Start with clean, dry, well-sectioned hair for accuracy.
- Establish a guide: Your first cut sets the standard for the entire top length.
- Use a traveling guide: Always include previously cut hair in your new section for consistency.
- Maintain consistent technique: Even tension and finger angle are crucial for uniform results.
- Cross-check thoroughly: Review your work from multiple angles to catch unevenness.
- Blend carefully: Create seamless transitions between the top and sides for a professional finish.
Frequently Asked Questions
Should I use thinning shears on the top?
Thinning shears can be used on the top to remove bulk and add texture, especially for very thick hair. Use them sparingly and carefully, focusing on the mid-shaft of the hair rather than the ends or roots, to avoid creating holes or frizz.
How do I know what length to cut the top?
The ideal length depends on the desired style and hair type. For a classic look, aim for 2-4 inches. Always consult with the person getting the haircut, discussing their preferences and showing them how different lengths might look by pulling the hair up.
What’s the difference between blunt cutting and point cutting?
Blunt cutting involves cutting the hair straight across, creating a sharp, solid line. Point cutting involves holding the shears vertically or diagonally and snipping into the ends of the hair, which creates a softer line, adds texture, and removes bulk without significantly shortening the length.
Can I do this cut on curly hair?
Cutting curly hair requires a slightly different approach. It’s often best to cut curly hair dry, in its natural curl pattern, as wet curls can spring up dramatically. Cut curl by curl, following the natural shape, and avoid pulling the hair taut to prevent cutting it too short.
Our Top Recommended Finds
- Professional Hair Shears: Sharp, high-quality shears are paramount for clean cuts and preventing split ends.
- Fine-Tooth Comb: Essential for precise sectioning and holding hair taut for an accurate cut.
- Hairdressing Spray Bottle: Keeps hair perfectly damp for control without soaking it, improving manageability.
Master Your Craft: Take the Next Step
Taking control of your hair cutting at home offers immense satisfaction and a practical skill.
With practice, you’ll gain confidence and precision, allowing you to tailor haircuts perfectly to individual preferences.
Don’t wait to start. Gather your tools today and apply these steps to achieve a sharp, scissor-cut top on men’s hair, right in your own space.