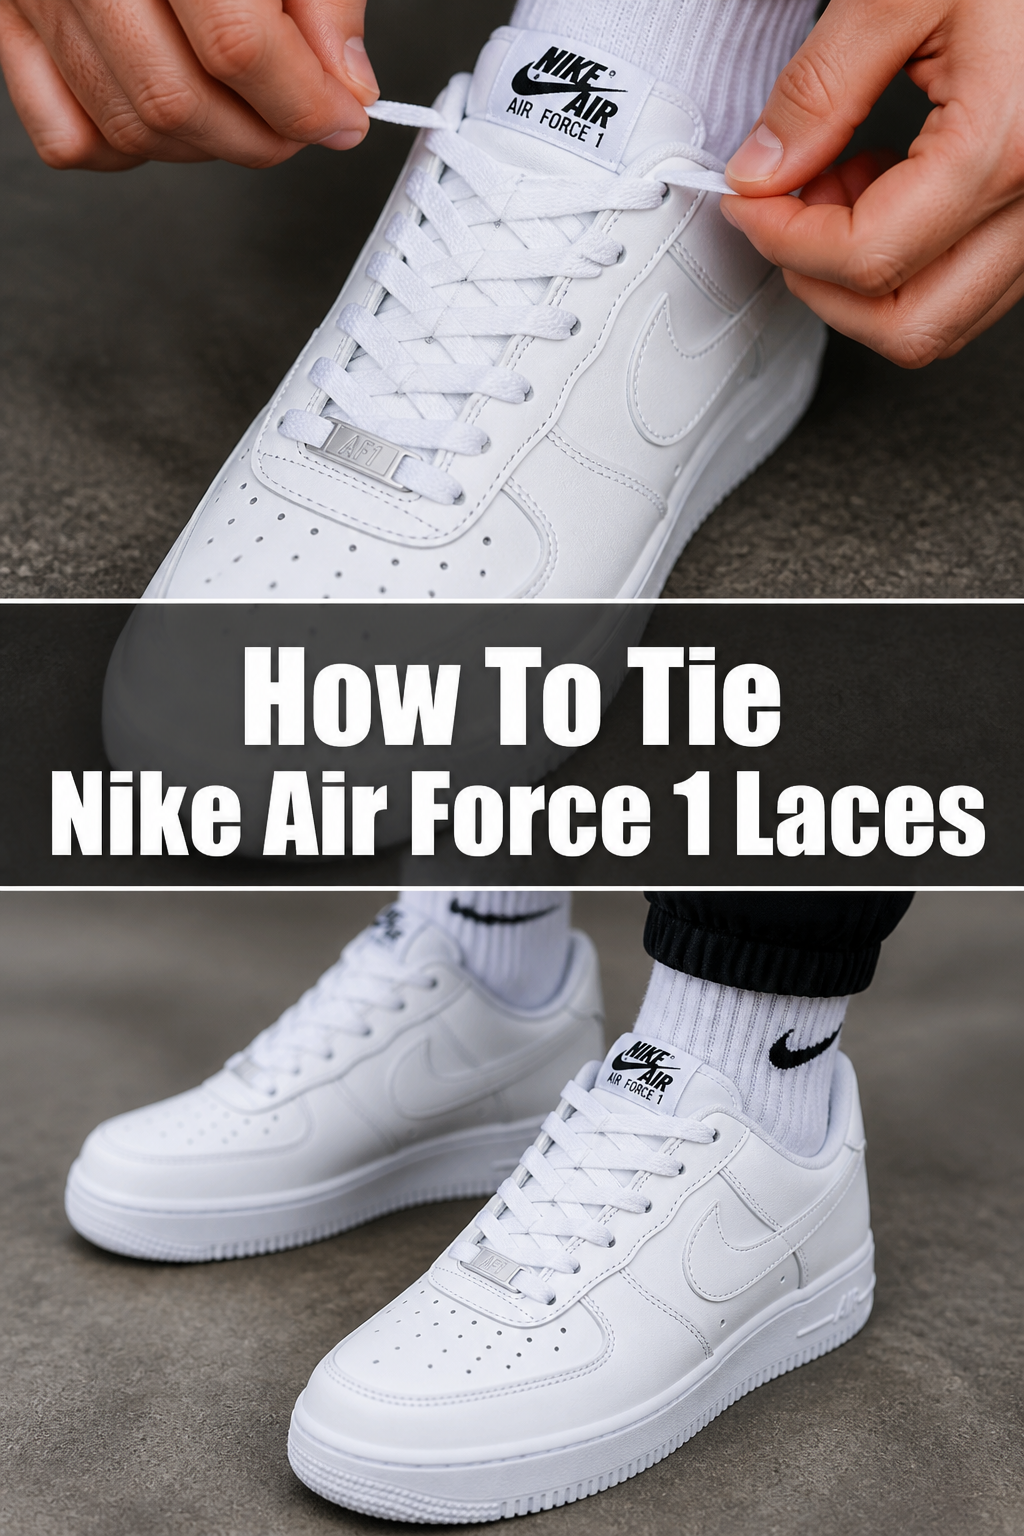
👟 How To Tie Nike Air Force 1 Laces
I remember pulling my first pair of “Triple White” Air Force 1s out of the box and feeling that mix of excitement and pressure.
The leather was pristine, but the factory lacing looked a bit stiff and didn’t quite match the relaxed streetwear vibe I wanted.
Over the years, I have laced dozens of pairs, experimenting with everything from the “loose-hang” look to the classic “deadstock” knot to ensure they stay looking fresh.
Getting the lacing right is the difference between a shoe that looks like a generic gym sneaker and a pair that defines your entire outfit.
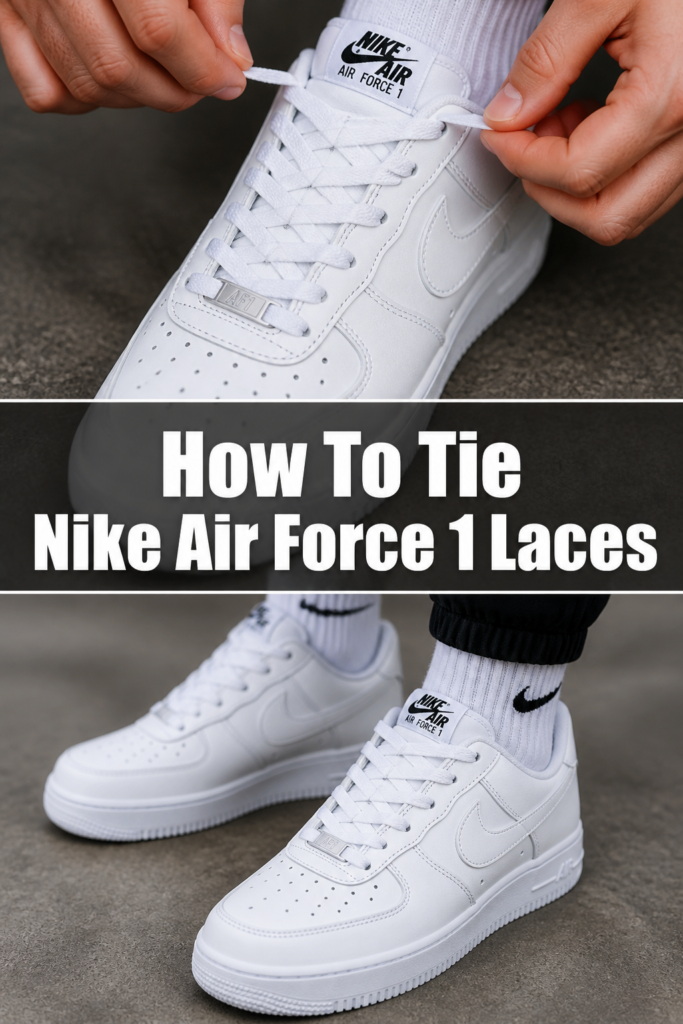
Quick Overview
This guide will show you how to achieve the perfect balance between comfort and that iconic aesthetic that has made the AF1 a staple for decades.
- Time needed: 10 to 15 minutes
- Difficulty: Beginner
- What you’ll need: A pair of Nike Air Force 1s and the original flat cotton laces
Step-by-Step Instructions
Step 1: Start With a Blank Canvas
Remove the existing laces entirely from the shoe if they are already threaded in a way you don’t like.
Starting from scratch ensures that you don’t have any hidden twists near the bottom eyelets that will annoy you later.
Lay the shoe on a flat surface in front of you with the toe pointing away from your body.
Pro Tip: Check your laces for any dirt or fraying before you start; if they aren’t “crispy” white, a quick soak in warm soapy water makes a huge difference.
Step 2: Thread the Bottom Eyelets
Insert the lace ends into the two bottom eyelets, pushing them from the outside of the shoe toward the inside.
This creates a clean horizontal bar across the bottom of the tongue, which is the signature starting point for the AF1.
Pull both ends of the laces upward to ensure they are exactly the same length before moving to the next hole.
If one side is longer than the other now, it will be a massive headache by the time you reach the top.
Step 3: Position the Silver Dubrae
Slide the metal lace tag, officially known as the “dubrae,” onto one side of the lace before you cross them over.
The dubrae should sit right in the center of that first horizontal bar you just created.
Center the tag so the “AF-1” text is facing upright and readable from the perspective of someone looking at your shoes.
Many people forget this step and have to unlace the whole shoe just to put the tag back on.
Step 4: Begin the Criss-Cross Pattern
Take the lace from the right side and cross it over to the second eyelet on the left side.
Feed the lace from the outside of the eyelet toward the inside to keep the pattern consistent.
Repeat this with the left lace, crossing it over to the second eyelet on the right side.
Always keep the same side on top for every cross (for example, right over left) to maintain a symmetrical, professional look.
Pro Tip: Keep the laces flat against the tongue as you pull them through to prevent the “rope” look that happens when laces get twisted.
Step 5: Utilize the Tongue Loop
Identify the small fabric loop located in the middle of the shoe’s tongue.
When you reach the eyelet level that aligns with this loop, thread both laces through it before heading to the next eyelet.
Thread the laces through the loop to prevent the tongue from sliding down into the shoe or shifting to the side while you walk.
This is a functional step that also adds a bit of structure to the lacing architecture.
Step 6: Maintain Consistent Tension
Pull the laces firmly but not tightly as you move up the shoe.
Air Force 1s have a chunky silhouette, so if you pull the laces too tight, the leather will bunch up and ruin the shape.
Check the width between the eyelet panels periodically to make sure they are parallel to each other.
You want enough room for your foot to breathe while keeping the shoe’s iconic “boxy” look intact.
Step 7: Navigate the Top Eyelets
Decide how high you want to lace the shoes based on your personal style preference.
Most enthusiasts stop at the second-to-last eyelet for a more relaxed, “street” appearance.
Thread the laces through the final chosen eyelet from the inside out if you plan on tying a traditional bow.
If you prefer the “loose-hang” look, thread them from the outside in so the lace tips hang naturally toward the floor.
Step 8: Choose Your Finishing Knot
Tie a standard double knot if you want maximum security and a classic look.
Alternatively, you can do the “factory knot,” which involves looping the lace around your fingers to create a small, tight bundle.
Tuck the excess lace behind the tongue if you want a “laceless” look while still keeping the shoe snug on your foot.
This “hidden knot” style is very popular for keeping the silhouette as clean as possible.
Pro Tip: If you choose the loose-hang style, make sure the laces aren’t so long that you step on them, as this can cause you to trip or ruin the lace tips.
Common Mistakes to Avoid
The Twisted Lace Trap
One of the most common issues is allowing the flat lace to twist into a cord-like shape as it passes through the eyelets. This makes the shoe look messy and can actually cause uncomfortable pressure points on the top of your foot. Always run your thumb and forefinger along the lace to flatten it out before pulling it through the next hole.
Skipping the Dubrae
Leaving off the silver metal tag is a missed opportunity to showcase the heritage of the Air Force 1. Some people think it looks too “busy,” but it is a signature element that balances the toe box. If you do use it, ensure it is perfectly centered, or the whole lacing job will look lopsided.
Overtightening the Midfoot
Air Force 1s are made of relatively thick leather that needs space to flex. If you pull the middle section too tight, you will see the leather “choke” and create deep creases near the toe box much faster than usual. Keep the tension even and moderate to preserve the life of the leather and the shape of the shoe.
Ignoring Symmetry
If you cross the left lace over the right on one shoe, but the right over the left on the other, your eyes will notice the inconsistency. It creates a subtle visual “noise” that makes the shoes look “off.” Pick a pattern—either left over right or right over left—and stick to it for both shoes and every single eyelet.
Troubleshooting
Laces Are Different Lengths
If you reach the top and realize one lace is six inches longer than the other, you likely didn’t center them at Step 2. You don’t necessarily have to unlace the whole shoe. You can “walk” the extra length back down through the eyelets by loosening each row and pulling the slack toward the shorter side.
The Tongue Is Sliding
If your tongue keeps falling to the left or right, you probably skipped the tongue loop or didn’t pull the laces through it with enough tension. Make sure the laces cross through that loop securely. This anchors the tongue to the center of your foot and prevents that annoying bunching at the bottom of the shoe.
The Heel Is Slipping
If the shoes feel like they are falling off your feet while you walk, you might have laced them too loosely or stopped too low on the eyelets. Try threading the laces through the very top eyelet to pull the collar of the shoe closer to your ankle. This provides the “lockdown” feel necessary for a comfortable stride in a heavier shoe like the AF1.
Key Takeaways
- Always start from the bottom and work your way up to ensure the lace lengths remain even.
- Keep the laces flat at all times to maintain the clean, “out of the box” aesthetic.
- Don’t forget the dubrae as it is a foundational part of the Air Force 1’s design language.
- Use the tongue loop to keep the shoe structured and prevent the tongue from shifting during movement.
- Choose a lacing style that matches your outfit, whether it is a tight knot for performance or a loose hang for style.
- Maintain symmetry by crossing the laces in the same direction on both the left and right shoes.
Frequently Asked Questions
What length laces do I need for Air Force 1s?
For the standard Low-top Air Force 1, you typically need 54-inch laces. If you have the Mid or High-top versions, you will want to look for 63-inch or 72-inch laces to accommodate the extra eyelets and the ankle strap. Using laces that are too short will prevent you from reaching the top holes, while laces that are too long will drag on the ground.
How do I keep my white laces clean?
White laces act like a magnet for dirt and dust. You can prevent them from getting dingy by applying a fabric protector spray as soon as you lace them up. If they do get dirty, removing them and washing them in a mesh bag in the laundry, or scrubbing them with a toothbrush and bleach-water solution, will bring back that original brightness.
Should I lace them all the way to the top hole?
This is mostly a matter of personal preference and comfort. Lacing to the very top provides the most ankle support and a very “secure” feel, which is great if you are actually playing sports. However, most people leave the top one or two eyelets empty to allow for a more casual look and easier “slip-on” access.
Can I lace Air Force 1s without a knot?
Yes, the “untied” look is incredibly popular in sneaker culture. To do this, lace the shoes slightly looser than normal and thread the ends through the top eyelets from the inside to the outside. Let the remaining couple of inches of lace hang freely. As long as the rest of the lacing is snug enough, the shoe will stay on your foot without needing a bow.
Our Top Recommended Finds
- Replacement Flat Cotton Laces: It is always a good idea to have a spare set of high-quality white laces on hand for when your current pair inevitably gets stained.
- Sneaker Crease Protectors: These plastic inserts sit inside the toe box and help maintain the shoe’s shape, which works in tandem with proper lacing to keep your AF1s looking new.
- Premium Sneaker Cleaning Kit: A kit with a soft-bristle brush and specialized solution is essential for keeping the leather and the laces in top-tier condition.
Elevating Your Sneaker Rotation
Now that your Air Force 1s are laced to perfection, you can walk out the door with the confidence that your footwear is on point.
Proper lacing isn’t just about aesthetics; it’s about respecting the history of the shoe and ensuring you get the most comfort out of every step.
If you enjoyed mastering this classic look, you might want to explore more advanced “hype” lacing techniques or even look into custom lace swaps to add a pop of color to your rotation.
Grab your cleaning kit, check your tension one last time, and go show off those crispy kicks today.