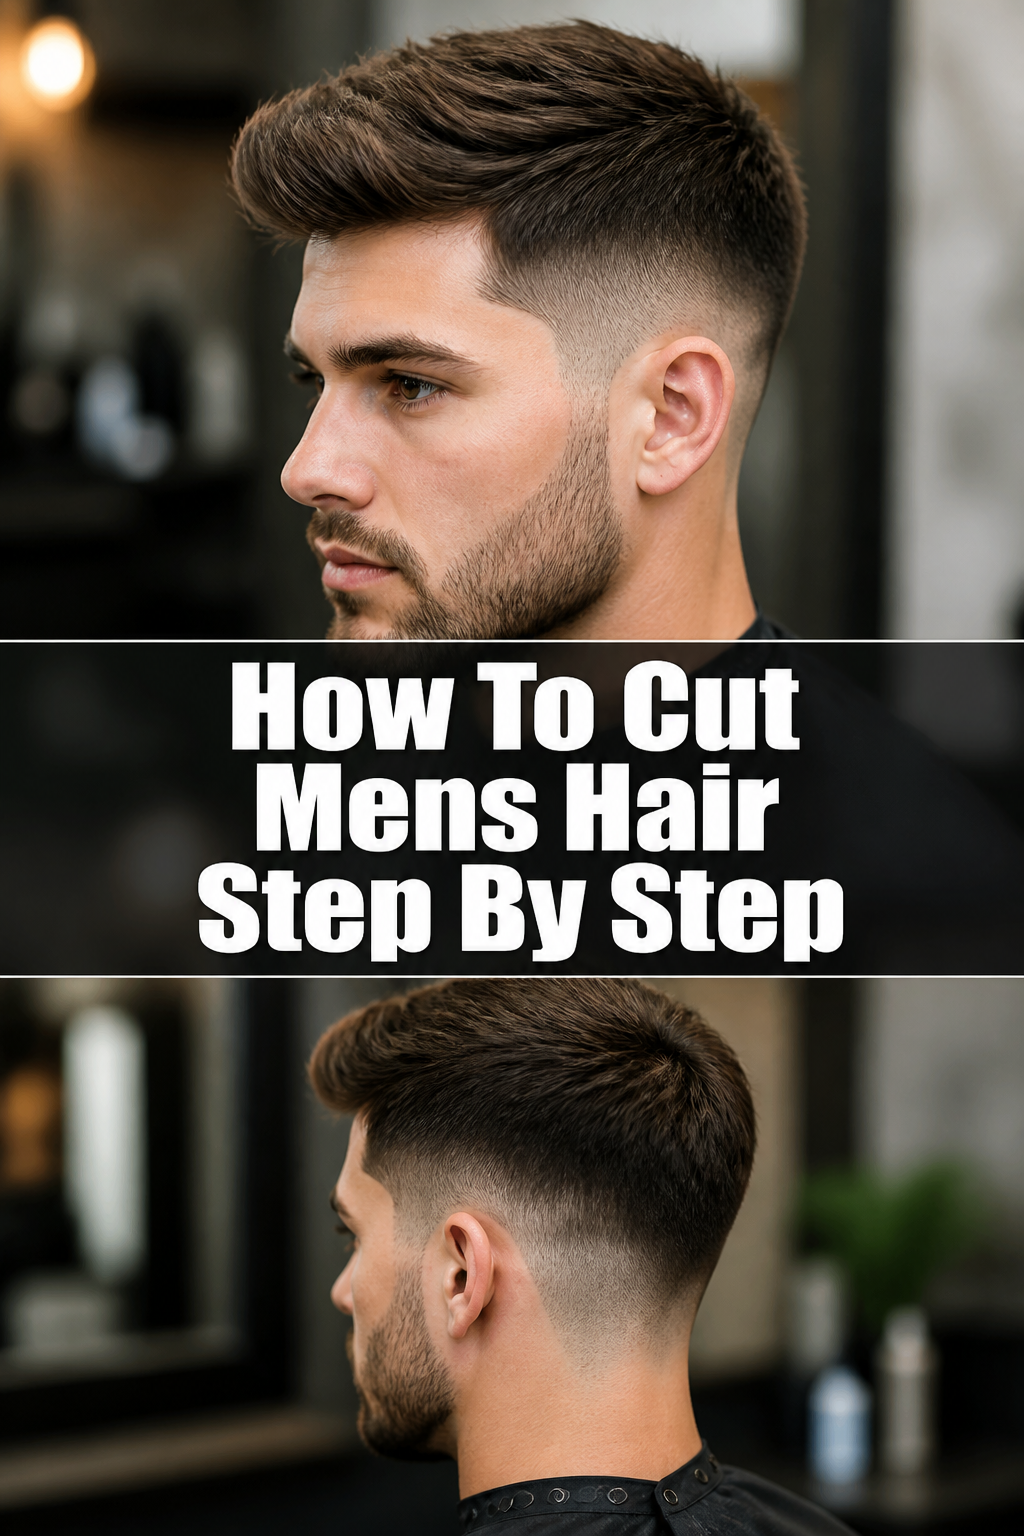
✂️ How To Cut Mens Hair Step By Step
Learning to cut men’s hair at home can feel daunting at first. Perhaps you’ve had a few less-than-perfect attempts, or you’re just starting out. I remember those initial hesitant snips, wondering if I’d create a disaster.
But with the right approach and a bit of practice, you can achieve professional-looking results. This guide draws from years of hands-on experience, providing the practical steps you need to cut hair with confidence and precision.
Quick Overview
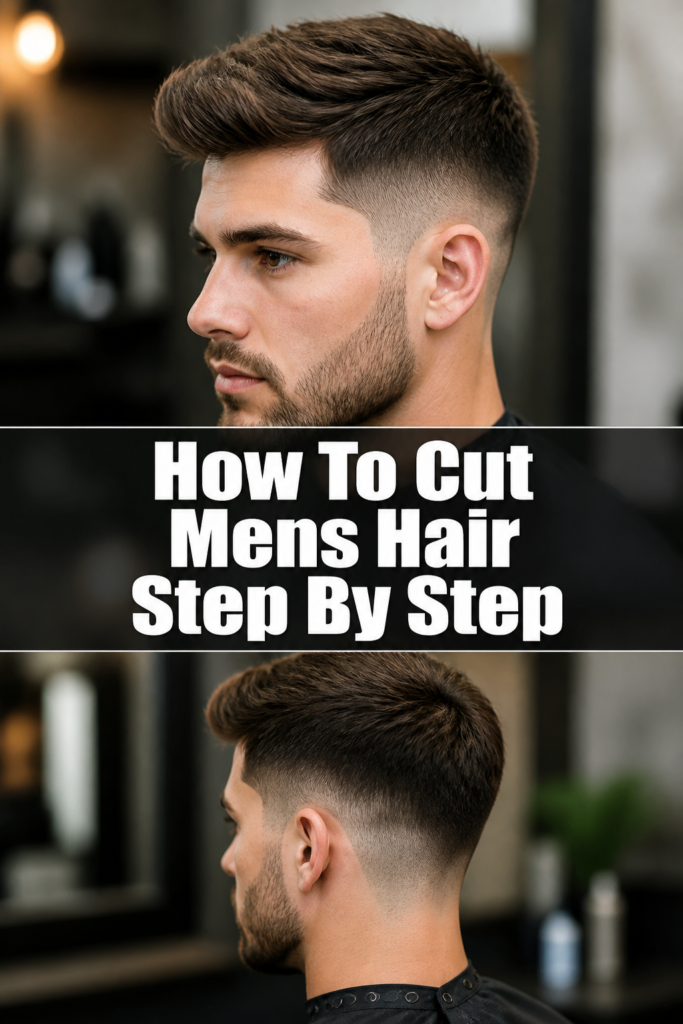
This guide will walk you through the process of giving a clean, classic men’s haircut. You’ll learn how to use clippers and scissors to create a well-blended style, perfect for a fresh look at home.
- Time needed: 45-60 minutes
- Difficulty: Beginner
- What you’ll need: Hair clippers with various guards, sharp hair scissors, a fine-tooth comb, a spray bottle with water, a handheld mirror, and a hair cutting cape.
Step-by-Step Instructions
Step 1: Prepare Your Workspace and Tools
A clean, well-lit environment is crucial for a good haircut. Set up near a large mirror, ensuring you have plenty of natural or bright artificial light. This helps you see every detail.
Gather all your tools and lay them out neatly. Make sure your clippers are charged and clean, and your scissors are sharp. Have a spray bottle filled with water nearby to dampen the hair if needed.
Pro Tip: Place an old towel or newspaper on the floor to catch falling hair, making cleanup much easier.
Step 2: Start with the Sides and Back (Longest Guard First)
Begin by deciding on the desired length for the sides and back. It’s always best to start longer and go shorter if needed. Choose a longer guard, such as a #4 (1/2 inch) or #3 (3/8 inch), for your clippers.
Attach your chosen guard to the clippers. Start at the bottom of the sideburn area and move the clippers upwards in a smooth, scooping motion. Follow the natural curve of the head, lifting the clippers slightly away from the head as you reach the desired blend point.
Work your way around the back of the head, ensuring consistent length and an even line. Repeat this process on the other side, always moving against the direction of hair growth for the most effective cut.
Step 3: Gradually Shorten the Sides (Fading/Tapering)
To create a natural fade or taper, you’ll use progressively shorter guards. Select the next shorter guard, for example, a #2 (1/4 inch).
Start about an inch or two below where you stopped with the previous guard. Use the same upward, scooping motion, but stop a bit lower this time. This creates a subtle blend between the two lengths.
Continue this process with even shorter guards, like a #1 (1/8 inch), if a tighter fade is desired. Each time, start lower on the head and blend upwards, creating a smooth transition from very short to longer hair.
Step 4: Define the Neckline and Edges
Once the main clipper work is done, it’s time to clean up the edges. Remove the guard from your clippers, using them “bald” for precision.
Carefully define the neckline. You can choose a straight line across the back, a slightly rounded edge, or a tapered V-shape. Use a handheld mirror to check the back if you are cutting your own hair.
Trim around the ears and sideburns with caution. Use the corner of the clipper blade for crisp lines, ensuring they are even on both sides.
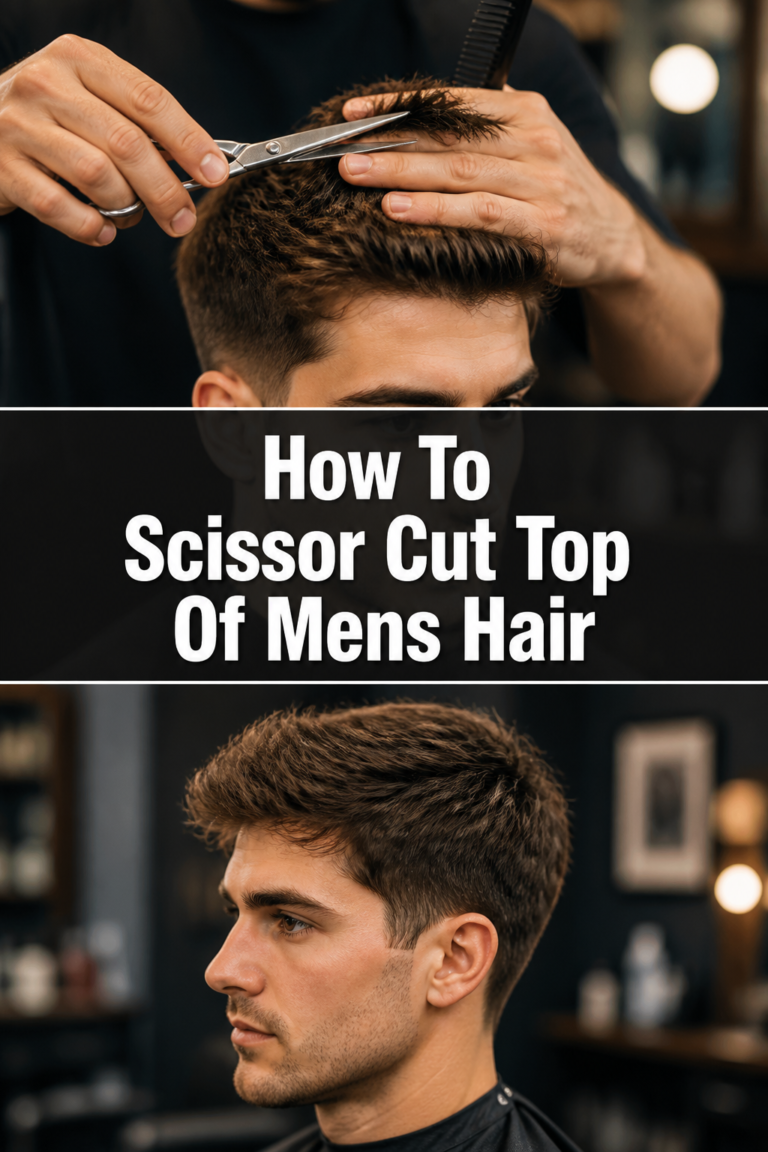
Step 5: Trim the Top Hair with Scissors
Dampen the top section of the hair thoroughly with your spray bottle. This makes it easier to control and cut with scissors.
Comb a small section of hair from the front, holding it between your index and middle fingers. Decide on the desired length, remembering that dry hair will appear shorter.
Cut straight across the section of hair you are holding. This first section will act as your guide for the rest of the top.
Step 6: Blend the Top to the Sides
Blending is key for a seamless haircut. Take a small section of hair from the top and a small section from the longest part of the sides.
Comb these sections together, holding them between your fingers. You’ll see where the longer top hair meets the shorter side hair.
Snip away the excess hair carefully, using a point-cutting technique (cutting into the hair at an angle) for a softer, more natural blend. Repeat this around the entire perimeter where the top meets the sides.
Step 7: Refine and Check for Evenness
Once the initial cut is complete, it’s time for the crucial refinement stage. Have the person stand up and move around, allowing the hair to fall naturally.
Look for any uneven spots, missed hairs, or harsh lines. Use your clippers with a guard, or your scissors, to gently trim these areas.
Comb the hair in different directions to reveal any inconsistencies. A handheld mirror is invaluable for checking the back and ensuring symmetry.
Step 8: Clean Up and Style
Brush off any loose hair from the neck and shoulders. A clean towel or a barber’s brush works well for this.
Apply a small amount of styling product, if desired, to complete the look. Comb or style the hair into its final shape.
Admire your handiwork! A well-executed haircut brings confidence and a fresh appearance.
Common Mistakes to Avoid
Rushing the Process
Attempting to cut hair too quickly often leads to uneven results and mistakes. Take your time with each section, making deliberate, controlled movements. Patience is essential for a polished outcome.
Using the Wrong Guard Size First
Starting with a guard that’s too short is a common error that’s hard to fix. Always begin with a longer guard than you think you need. You can always go shorter, but you can’t add hair back once it’s cut.
Ignoring Blending
A haircut with harsh lines between different lengths looks unprofessional. Proper blending, using a progression of guard sizes and the scooping motion, creates a smooth transition from short to long. This is critical for a natural appearance.
Not Checking for Evenness
Skipping the final check for symmetry and evenness can leave the haircut lopsided or patchy. Always take time to examine the haircut from all angles, using mirrors and combing the hair in different directions to catch any missed spots.
Troubleshooting
Uneven Spots
If you notice uneven patches or missed hairs, don’t panic. Re-comb the area and use the appropriate clipper guard or scissors to carefully trim the longer strands. Go slowly, taking off very small amounts at a time.
Harsh Lines
A harsh line often indicates a lack of proper blending between two guard sizes. To fix this, use a guard size in between the two lengths creating the line. Use a gentle, flicking motion over the harsh line, gradually softening it until it blends seamlessly.
Hair Too Short in One Area
If a section of hair ends up shorter than intended, the best immediate solution is often to blend the surrounding hair to match that shorter length. If the area is very small, you might be able to style over it. For significant errors, consider adjusting the overall style or waiting for it to grow out.
Key Takeaways
- Preparation is crucial: Gather all tools and ensure good lighting before starting.
- Start long, go short: Always begin with a longer clipper guard to avoid irreversible mistakes.
- Master the scoop: Use a smooth, upward scooping motion with clippers for even cuts and blending.
- Blend for seamlessness: Gradually transition between different guard sizes to avoid harsh lines.
- Dampen top hair: Cutting top hair with scissors is easier and more precise when wet.
- Refine and check: Take time to inspect the haircut from all angles for evenness and symmetry.
Frequently Asked Questions
How often should I cut men’s hair?
The frequency depends on the desired style and how quickly the hair grows. For shorter, crisp styles, a cut every 2-4 weeks is ideal. Longer styles might only need a trim every 4-8 weeks to maintain shape.
Can I cut wet hair with clippers?
It’s generally not recommended to cut wet hair with clippers. Wet hair can clog the blades, pull the hair, and lead to an uneven cut because wet hair lies differently than dry hair. Clippers work best on dry hair.
What’s the best way to clean clippers?
After each use, brush off loose hair from the blades. Then, apply a few drops of clipper oil to the blades and run the clippers for a few seconds. This lubricates the blades and prevents rust, extending their lifespan.
Should I use a mirror for the back?
Yes, a handheld mirror is essential for checking the back of the head, especially if you’re cutting your own hair. Use it in conjunction with a larger wall mirror to get a full view and ensure the neckline is neat and even.
Our Top Recommended Finds
- Quality Hair Clippers Set: A reliable set with various guard sizes is fundamental for any home barber. Look for a strong motor and sharp, self-sharpening blades.
- Professional Barber Shears: Investing in sharp, comfortable hair-cutting scissors makes a huge difference for the top section and blending. Avoid using regular household scissors.
- Hair Cutting Cape: A simple, waterproof cape protects clothing and makes cleanup significantly easier. It’s a small investment with a big payoff.
Your Next Great Cut Awaits
Cutting men’s hair at home is a skill that improves with practice. Don’t be discouraged by initial imperfections. Each haircut is an opportunity to refine your technique, gain confidence, and save money.
Embrace the learning process. With these step-by-step instructions and a bit of patience, you’re well on your way to mastering the art of the home haircut. Grab your tools today and give it a try!