🍐 How To Dress A Pear Body Shape
Understanding your unique body shape is the first step to truly loving your wardrobe. For years, I struggled to find clothes that felt right, often feeling frustrated in dressing rooms. Learning to dress my pear shape transformed my confidence and style.
This guide is built from personal experience and extensive research, designed to help you celebrate your silhouette. You’ll discover practical strategies to highlight your best features and create balanced, beautiful outfits.
Quick Overview
This guide will walk you through the essential steps to understand, flatter, and style your pear body shape. You’ll learn how to create a balanced silhouette and build a wardrobe that makes you feel incredible.
- Time needed: 1-2 hours for initial assessment, ongoing for wardrobe building
- Difficulty: Beginner
- What you’ll need: Full-length mirror, measuring tape, existing clothing items, an open mind
Step-by-Step Instructions
Step 1: Understand Your Pear Shape
The pear body shape is characterized by narrower shoulders and bust, with wider hips and thighs. Your waist is typically well-defined, creating a beautiful curve. The goal is often to balance your proportions, drawing attention upwards and elongating your lower half.
Measure your bust, waist, and hips to confirm your shape. Your hip measurement will be significantly larger than your bust or shoulder measurement. A defined waist is a key characteristic.
Identify your best features. Many pear shapes have beautiful décolletage, slender arms, and a lovely waistline. Focusing on these helps you choose flattering styles.
Pro Tip: Take a photo of yourself in a fitted outfit from the front and back. This can help you objectively see your proportions and identify areas you want to highlight or balance.
Step 2: Master Tops to Balance Your Silhouette
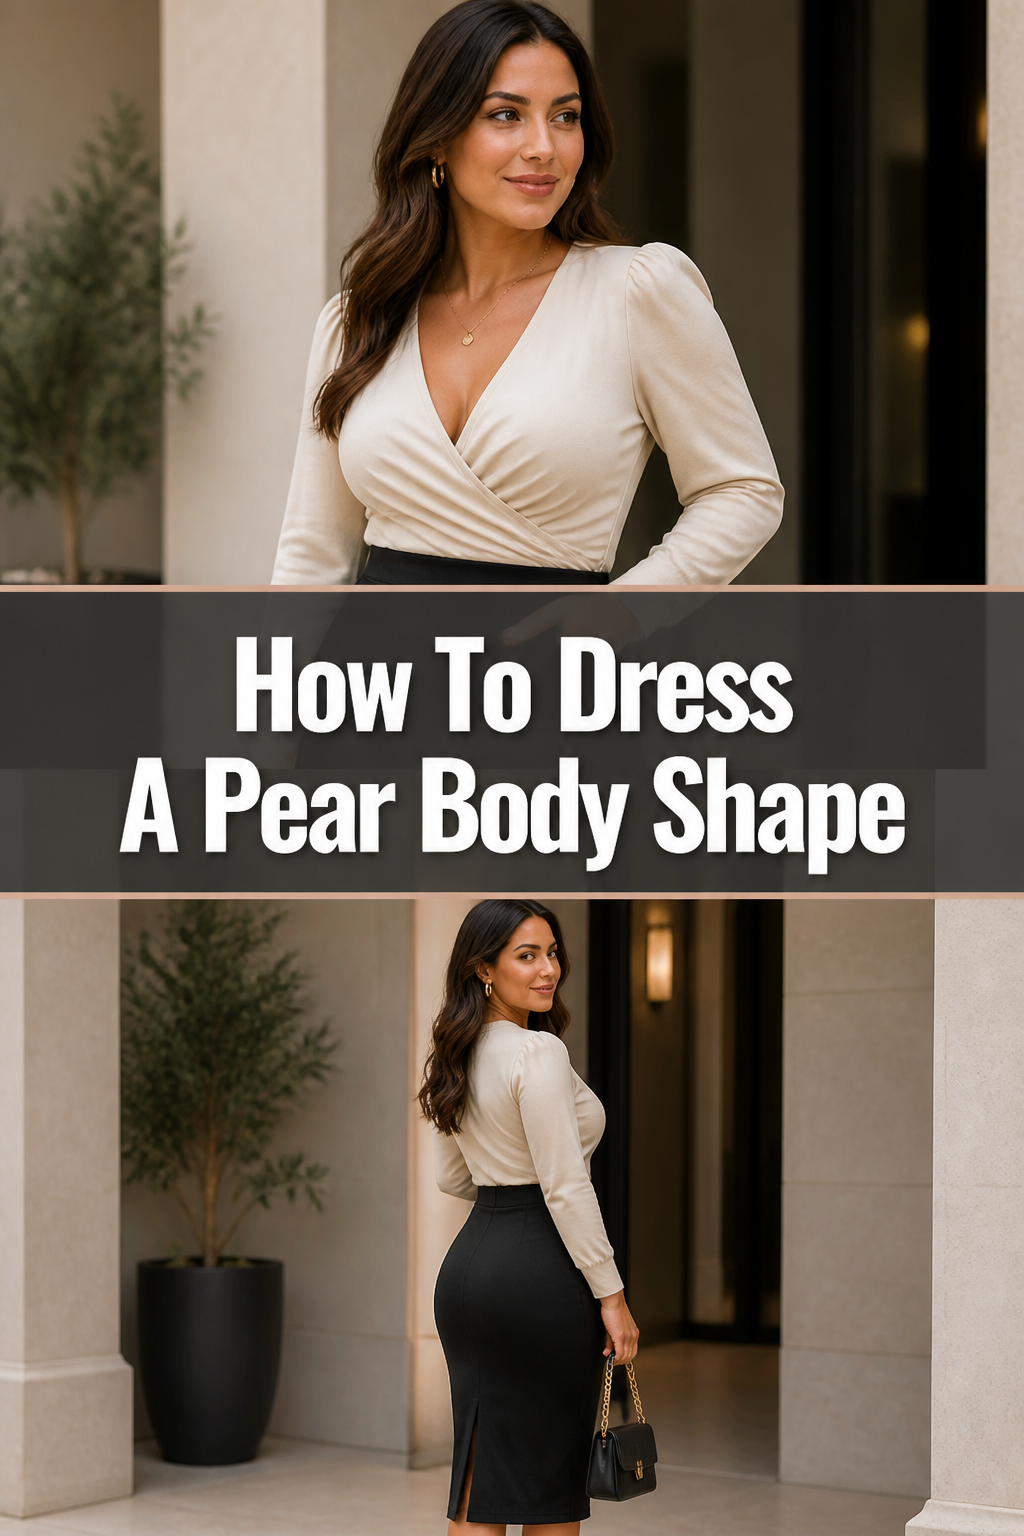
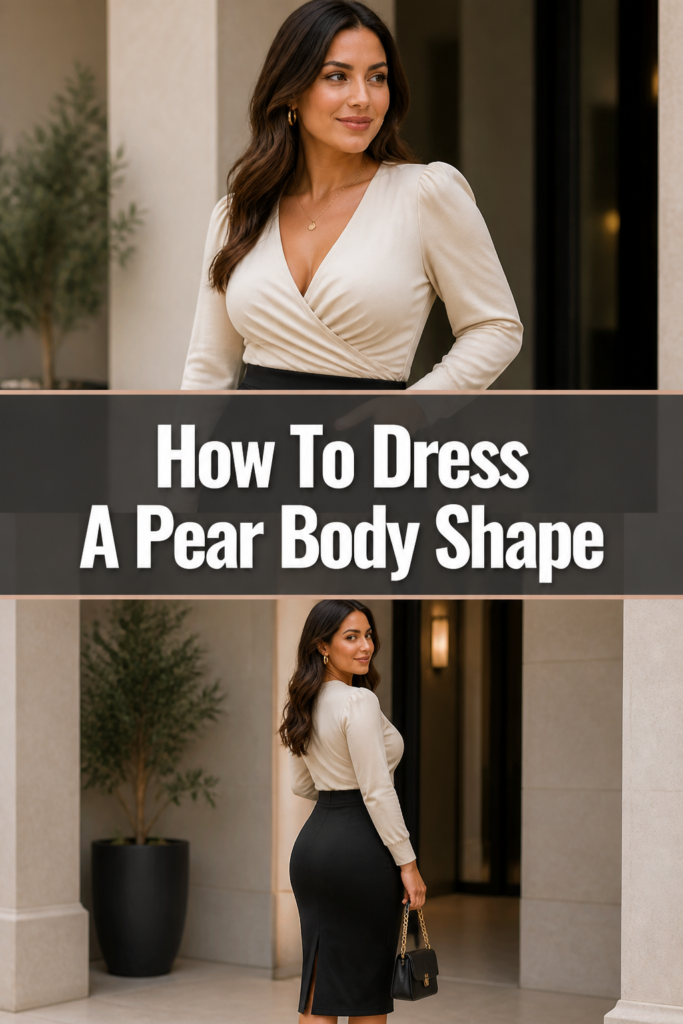
The key to dressing a pear shape is to add volume and interest to your upper body. This creates a visual balance with your wider lower half. Focus on styles that broaden your shoulders or draw the eye upwards.
- Choose tops with details around the neckline and shoulders. Think boat necks, off-the-shoulder styles, cowl necks, and embellished collars. These draw attention horizontally.
- Opt for lighter colors or patterns on your upper half. Bright colors and bold prints naturally attract the eye, helping to balance your figure.
- Experiment with structured sleeves like puff sleeves, cap sleeves, or subtle shoulder pads. These add gentle volume to your shoulders.
- Ensure your tops end at the widest part of your hips or higher, avoiding ending at the widest point of your hips, which can make them appear larger.
Pro Tip: A well-fitting bra can significantly enhance your upper body, providing lift and shape that contributes to a balanced silhouette. Invest in professional bra fittings.
Step 3: Select Bottoms That Flatter Your Lower Half
When choosing bottoms, the aim is to skim over your hips and thighs without adding bulk. Look for cuts that create a long, lean line and flatter your natural curves. The right fabric choice is also crucial.
- Embrace A-line skirts and dresses. They are incredibly flattering, flowing gently over your hips and thighs.
- Look for bootcut, flare, or straight-leg jeans and trousers. These styles help balance wider hips by adding width lower down the leg.
- Consider dark-wash denim or solid, darker colors for your bottoms. These recede visually, making your lower body appear more streamlined.
- Prioritize fabrics that drape well, such as rayon, silk blends, or quality cotton. Avoid stiff fabrics that can add unwanted volume.
- Ensure bottoms fit well at the waist. If you struggle with a waist gap, look for styles with a contoured waistband or consider tailoring.
Step 4: Choose Dresses and Skirts Wisely
Dresses and skirts are fantastic for pear shapes, allowing you to beautifully highlight your waist and flow over your lower body. The right cut can create an elegant, balanced look.
- Opt for A-line dresses and skirts. They are universally flattering for pear shapes, flaring out from the waist.
- Consider wrap dresses. They cinch the waist and drape beautifully over the hips, creating a lovely hourglass effect.
- Explore fit-and-flare dresses. These styles are fitted at the bust and waist, then flare out, mirroring the A-line effect.
- Look for empire waist dresses if you prefer a more relaxed fit. Ensure the skirt portion still flows rather than clinging.
- Choose skirts that hit just below the knee or at midi length. These lengths often create an elongating effect.
Pro Tip: When trying on dresses, pay attention to where the waistline hits. An empire waist can be tricky; make sure it doesn’t make you look pregnant. A natural waistline or slightly higher is often ideal.
Step 5: Accessorize Strategically
Accessories are powerful tools for guiding the eye and adding personality to your outfits. For a pear shape, they can be used to emphasize your upper body and waist.
- Wear statement necklaces, scarves, or bold earrings. These draw attention to your face and upper body, contributing to balance.
- Utilize belts to emphasize your waist. A medium to wide belt worn at your natural waist can create a beautiful hourglass shape.
- Choose handbags that sit higher on your body, such as shoulder bags or cross-body bags. This keeps the eye drawn upwards, away from your widest point.
- Experiment with colorful or patterned scarves draped around your neck. They add visual interest and color to your upper half.
Step 6: Layer with Confidence
Layering is an excellent way to add structure and interest, especially for pear shapes. Jackets and cardigans can broaden your shoulders and create flattering lines.
- Select structured jackets that end at your natural waist or mid-hip. Blazers, denim jackets, and moto jackets work well.
- Look for jackets with shoulder details or slight shoulder pads. This helps to balance your proportions.
- Choose cardigans that are open and flow vertically. This creates long, lean lines. Avoid bulky cardigans that add volume to your lower half.
- Layer with vests. A well-fitted vest can add visual interest to your torso and help create a defined waist.
Pro Tip: When layering, ensure the inner top is still flattering. The outer layer should complement, not hide, your carefully chosen base. An open blazer over a V-neck top is a classic, effective combination.
Step 7: Pick the Perfect Footwear
Footwear can play a significant role in elongating your legs and completing your balanced silhouette. The right shoes can make a noticeable difference in how your outfits appear.
- Opt for nude heels or pointed-toe flats. These visually extend your leg line, especially when worn with skirts or trousers.
- Choose wedges or block heels for comfort and stability. They provide lift without sacrificing ease of movement.
- Wear boots that end at a flattering point. Ankle boots can be tricky; ensure they don’t cut your leg at its widest point. Knee-high boots under skirts or dresses can look very elegant.
- Avoid chunky shoes with delicate clothing on your upper body, as they can unbalance your look. Aim for shoes that complement the overall outfit.
Common Mistakes to Avoid
Ignoring the Waist
Many pear shapes have a beautifully defined waist, but sometimes outfits can obscure it. Wearing shapeless tops or dresses that don’t cinch at the waist can make your entire figure appear boxy. Always look for ways to highlight this natural curve, whether through tailoring, belts, or design details.
Adding Bulk to Hips and Thighs
Wearing bottoms with large pockets, pleats, or ruffles directly on the hips can visually expand this area. While some volume can be fine, excessive bulk can unbalance your proportions. Stick to flat-front styles and smooth fabrics for your lower half.
Wearing Ill-Fitting Clothes
Clothes that are too tight or too loose can both be problematic. Too tight can emphasize areas you might prefer to skim, while too loose can hide your shape entirely. Invest in tailoring if needed; a well-fitting garment makes all the difference, especially in the waist and hip area.
Only Wearing Dark Bottoms
While dark colors are excellent for bottoms, don’t limit yourself. You can absolutely wear lighter or patterned bottoms, but choose styles and prints carefully. A subtle pinstripe or a small, dispersed pattern on a straight-leg trouser can be very chic, as long as the cut is right.
Troubleshooting
“My outfits feel shapeless.”
If your clothes feel shapeless, you’re likely missing waist definition or upper body interest. Try adding a belt to your dress or top. Look for tops with more structure or details around the shoulders and neckline. Ensure your tops are not too long, ending at a flattering point.
“I can’t find bottoms that fit both my waist and hips.”
This is a common challenge for pear shapes. Many brands don’t design for a significant difference between waist and hip measurements. Look for brands that offer “curvy fit” jeans or trousers, which are specifically cut for a smaller waist and wider hips. Tailoring is also a fantastic solution for closing a waist gap.
“I feel like I’m hiding my body.”
The goal isn’t to hide, but to flatter and celebrate. If you feel like you’re hiding, you might be choosing overly baggy clothes or shying away from color and pattern. Start by introducing a vibrant top or a statement necklace. Experiment with different skirt lengths or a well-fitting, structured jacket to add confidence without feeling exposed.
Key Takeaways
- Emphasize your upper body with details, lighter colors, and patterns to create balance.
- Choose bottoms that skim over your hips and thighs, such as A-line, bootcut, or straight-leg styles.
- Highlight your natural waist with belts and fitted silhouettes in dresses and tops.
- Use accessories like statement necklaces and higher-sitting handbags to draw the eye upwards.
- Layer with structured jackets and open cardigans to add shape and definition.
- Invest in good tailoring to ensure your clothes fit perfectly, especially at the waist and hips.
Frequently Asked Questions
Can pear shapes wear skinny jeans?
Yes, pear shapes can absolutely wear skinny jeans! The key is to balance them with your top. Pair skinny jeans with a voluminous top, a structured jacket, or an A-line tunic. This creates a balanced silhouette and prevents the lower body from feeling disproportionate.
What colors work best for pear shapes?
There are no “wrong” colors, but strategic use of color can enhance your shape. Lighter, brighter colors and bold patterns on your upper body draw attention upwards. Darker, solid colors on your lower body tend to recede visually, creating a streamlined look. However, don’t be afraid to experiment with color on your bottom half, just ensure the cut is flattering.
Should I avoid patterns on my lower body?
Not necessarily. While large, bold patterns on your lower half can draw attention and potentially add visual width, smaller, dispersed patterns or vertical stripes can be very flattering. The key is the overall effect and the cut of the garment. Always try it on and see how it makes you feel.
Our Top Recommended Finds
- Quality Full-Length Mirror: Essential for seeing your whole outfit and assessing proportions.
- Tailor’s Measuring Tape: Helps you accurately know your measurements for online shopping and understanding your body.
- Stylish Wide Belts: Perfect for cinching the waist and adding definition to various outfits.
Your Journey to Confident Styling
Dressing your pear shape is about understanding your unique proportions and making intentional choices. It’s a journey of discovery, celebrating your natural curves, and building a wardrobe that makes you feel incredible. Don’t be afraid to experiment and find what truly resonates with your personal style.
Start by trying one new tip today, perhaps experimenting with a different neckline or belting a dress you already own. Confidence in your style comes from practice and self-awareness. Embrace the beautiful silhouette you have and step out with pride!