🧱 How To Store Legos In A Small Space
The colorful chaos of Lego bricks can quickly take over any living area, especially when space is at a premium.
I’ve personally navigated the challenge of keeping a vast Lego collection organized in a compact apartment, and it’s entirely possible to create order without sacrificing playtime.
This guide shares practical, battle-tested strategies to transform your Lego sprawl into a tidy, accessible system, even in the tightest corners.
Quick Overview
You’ll learn how to tame your Lego collection, creating an efficient storage system that fits your small space and makes building enjoyable again.
- Time needed: 2-4 hours for initial setup, plus ongoing maintenance.
- Difficulty: Beginner
- What you’ll need: Various storage containers, labels, a sorting strategy, and a clear-out mindset.
Step-by-Step Instructions
Step 1: Conduct a Lego Audit
Before you buy any containers, understand the scope of your collection. Gather every single brick, minifigure, and instruction booklet into one central location.
This initial “Lego mountain” will give you a realistic picture of what you’re dealing with. It might seem daunting, but seeing it all together is the first step to conquering the clutter.
Step 2: Define Your Play Zone
Even in a small space, designate a primary area for Lego activities. This could be a corner of a desk, a specific spot on the floor, or a fold-down table.
Having a defined play zone helps contain the inevitable spread during building sessions. It also signals where bricks belong when playtime is over.
Step 3: Choose Your Sorting Strategy
Decide how you want to categorize your bricks. Common methods include sorting by color, by piece type (e.g., plates, bricks, minifigures, specialized pieces), or by set.
For small spaces, sorting by piece type often proves most efficient, as it makes finding specific components easier without needing many color-specific bins. A blend of type and a few broad color categories can also work well.
Pro Tip: Don’t over-sort initially. Start with broader categories and refine them as you use the system. It’s easier to combine than to separate.
Step 4: Select Smart Storage Containers
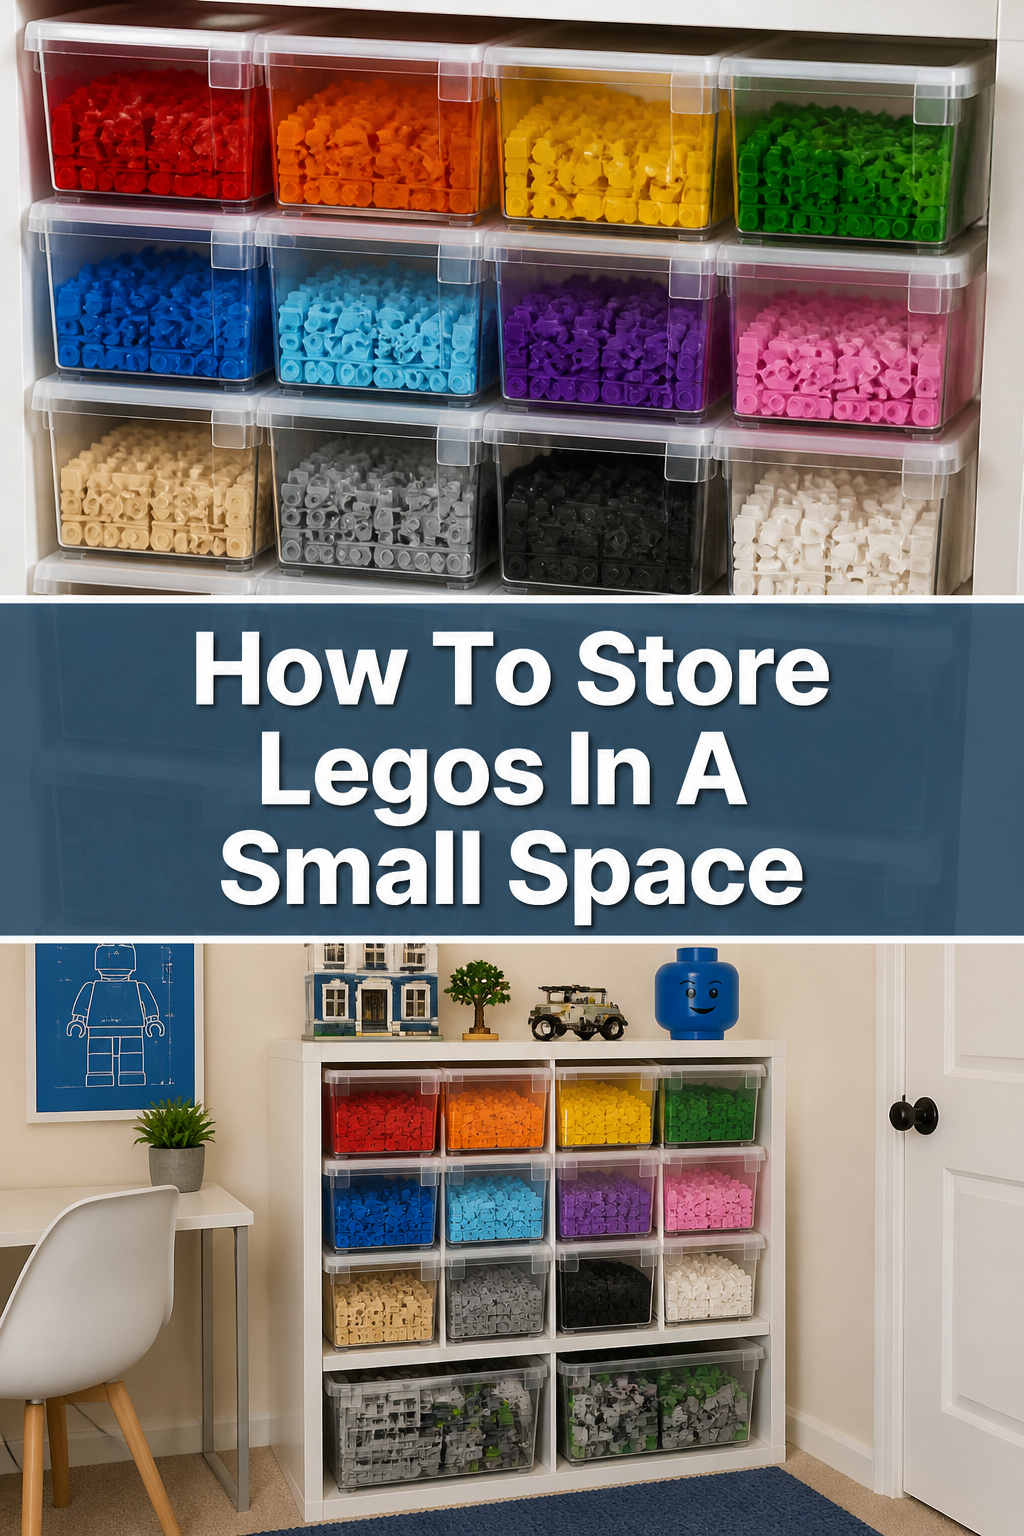
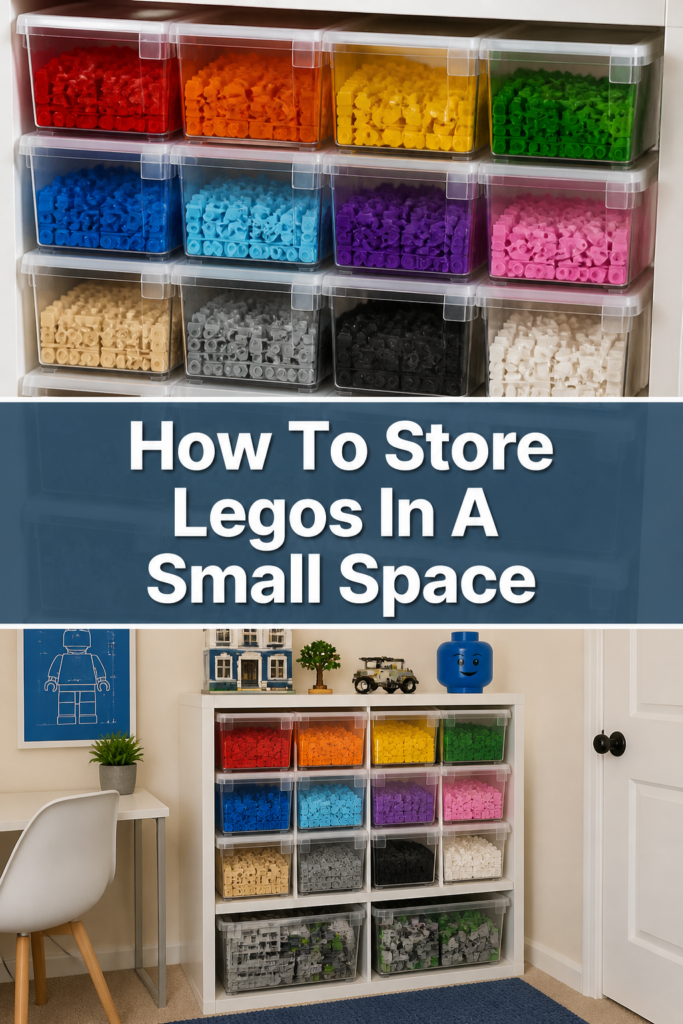
In a small space, containers must be efficient and often multi-functional. Look for clear, stackable bins, drawer units, or wall-mounted options.
Clear containers are invaluable because they allow you to see contents at a glance, reducing rummaging. Stackable designs maximize vertical space, a critical aspect of small-space living.
- Choose clear, shallow bins for specific piece types.
- Consider rolling drawer carts that can tuck under a desk or bed.
- Explore wall-mounted shelves or pegboards for displaying minifigures or storing smaller parts.
- Utilize under-bed storage boxes for larger, less frequently used sets or bulk bricks.
Step 5: Systematically Sort Your Bricks
This is the most time-consuming step but crucial for long-term organization. Start with large, obvious categories first (e.g., minifigures, large plates, wheels).
Then, break down the remaining pile into your chosen sub-categories. Work in small batches to avoid feeling overwhelmed.
- Begin with the easiest categories to sort, like minifigures or large baseplates.
- Create a “miscellaneous” bin for truly unique or odd pieces that don’t fit anywhere else, but keep it small.
- Use small plastic bags or jewelry organizers within larger bins for tiny, specialized pieces.
Step 6: Label Everything Clearly
Labels are your best friend in a small-space Lego storage system. They instantly tell you what’s inside each container, saving time and frustration.
Use clear, concise labels that accurately reflect the contents. You can use a label maker, handwritten labels, or even small pictures for younger builders.
Step 7: Optimize Vertical Space
Walls and tall furniture offer untapped storage potential. Look up and around for opportunities to store Legos without taking up precious floor space.
Floating shelves can hold completed models or bins of bricks. Over-the-door organizers with clear pockets are excellent for minifigures or small components.
- Install floating shelves above a desk or bed.
- Hang clear shoe organizers on the back of a door for minifigures or small accessories.
- Use stackable drawers that can go inside a closet or on a bookshelf.
Step 8: Create a “Work-in-Progress” Zone
Builders often have several projects going at once. Designate a specific, contained spot for active builds to prevent them from spreading.
A shallow tray, a pizza box, or a dedicated shelf can hold a partially built model and its associated loose pieces. This keeps current projects separate from stored bricks.
Step 9: Implement a Maintenance Routine
The best storage system won’t last without regular upkeep. Encourage builders to put away pieces after each session.
A quick 5-10 minute tidy-up at the end of playtime prevents large messes from accumulating. Periodically review your system to ensure it’s still working for your collection and space.
Common Mistakes to Avoid
Over-sorting from the Start
Trying to sort every single brick into hyper-specific categories can be overwhelming and unsustainable. It often leads to a system that’s too complex to maintain, especially in a small space.
Begin with broader categories and only create more specific ones if you consistently find yourself searching for particular pieces. Simplicity often wins in compact environments.
Ignoring Vertical Storage Opportunities
Many people focus only on floor-level storage, wasting valuable wall space. In a small area, every dimension counts.
Always look for ways to store items upwards, utilizing shelves, wall-mounted containers, and taller drawer units. This frees up floor space and keeps pathways clear.
Not Labeling Containers
Even if you know what’s in a bin today, you might forget tomorrow, or others won’t know at all. Unlabeled containers quickly become “mystery boxes” of mixed bricks.
Clear, consistent labeling is paramount for an efficient system. It saves immense time and reduces frustration when searching for specific pieces.
Buying Too Many Containers Too Soon
It’s tempting to buy a dozen matching bins before you even start sorting. However, you might end up with the wrong sizes or types for your actual collection.
Audit your bricks first, then purchase a few essential containers to start. You can always add more as your system evolves and you better understand your needs.
Troubleshooting
My Sorting System Feels Overwhelming
If your current sorting method feels like too much work, or you can’t remember where anything goes, it’s likely too complex.
Simplify your categories. Consolidate several small categories into one broader one. For example, instead of “1×1 Red Bricks” and “1×2 Red Bricks,” try a single “Red Bricks” container. You can always refine later if needed.
Bricks Are Still Spreading Everywhere
This often happens if the designated play zone isn’t clear enough, or the put-away process is too difficult. Re-evaluate your play space and the accessibility of your storage.
Ensure the play zone is well-defined and storage is immediately adjacent or easily reachable. Make the “put-away” steps simple and quick, especially for younger builders, so they are more likely to follow through.
Kids Aren’t Using the System
If the system isn’t adopted by its primary users, it won’t succeed. The storage needs to be intuitive and easy for them to use.
Involve children in the design process and ask for their input on categories and container placement. Make it a game, or a shared responsibility, and ensure labels are visual or easy to read for their age group.
Key Takeaways
- Start Small: Don’t try to sort everything perfectly at once.
- Maximize Vertical Space: Walls and tall furniture are your allies.
- Label Clearly: Good labels save time and frustration.
- Define a Play Zone: Contain the building chaos to one area.
- Simplify Your Sort: Broader categories are often better for small spaces.
- Maintain Regularly: A little effort daily prevents big messes.
Frequently Asked Questions
Should I sort my Legos by color or piece type?
For small spaces, sorting by piece type (e.g., plates, bricks, specialized pieces) is generally more efficient. This helps you find the exact component you need faster, rather than sifting through many different shapes in one color bin.
You can then organize these type-sorted bins within a color scheme if you have enough space, but type-sorting usually yields better functional access.
What should I do with Lego instruction booklets?
Keep instruction booklets organized separately. You can store them in clear plastic sleeves in a binder, or use a file box sorted by set number. For digital instructions, simply discard the physical booklet and rely on online versions to save space.
How do I handle partially built sets or “works in progress”?
Designate a specific, contained area for these. A shallow tray, a clear plastic shoebox, or even a dedicated shelf can hold the unfinished model and its associated loose pieces. This keeps them separate from the main sorted collection.
Is it okay to mix all my Legos into one big bin?
While convenient for initial storage, a single large bin quickly becomes a “dump bin” where finding specific pieces is incredibly frustrating and time-consuming. This often leads to less play and more searching.
Even in a small space, a minimal level of sorting (e.g., separating minifigures, large plates, and general bricks) will significantly improve usability and enjoyment.
Our Top Recommended Finds
- Clear Stackable Storage Bins: These allow you to see contents at a glance and build upwards, maximizing vertical space.
- Rolling Drawer Carts: Perfect for tucking under desks, tables, or beds, providing easily accessible, mobile storage for sorted bricks.
- Wall-Mounted Pegboards with Bins: Ideal for organizing small, frequently used pieces or displaying minifigures without taking up surface area.
Your Tidy Kingdom Awaits
Transforming your Lego chaos into an organized system is a rewarding project, especially when space is limited. It makes building more enjoyable and keeps your living area serene.
Start small, be patient with the sorting process, and remember that an adaptable system is a successful one.
Don’t let a small footprint deter your creativity. Begin decluttering and organizing your bricks today, and watch your building adventures flourish in a tidy space.