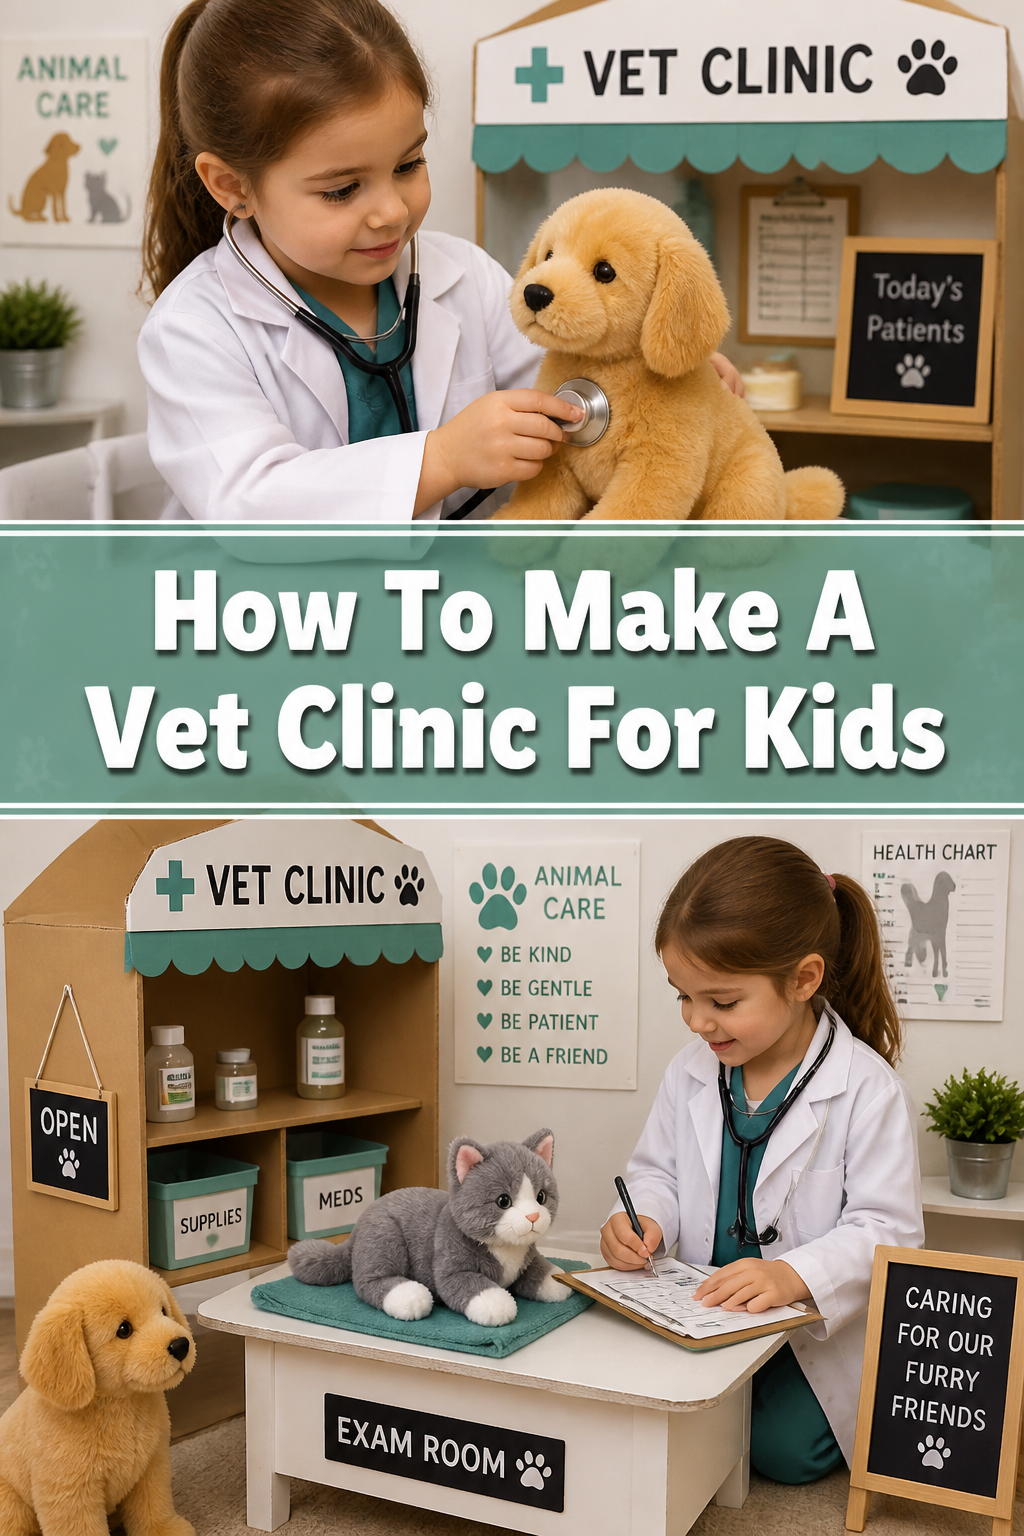
🐾 How To Make A Vet Clinic For Kids
Creating a pretend vet clinic is a fantastic way to spark imagination and teach empathy in children.
I’ve seen firsthand the joy and learning that comes from building a special play space like this.
This guide will help you craft an engaging and practical vet clinic, ensuring hours of fun and educational play.
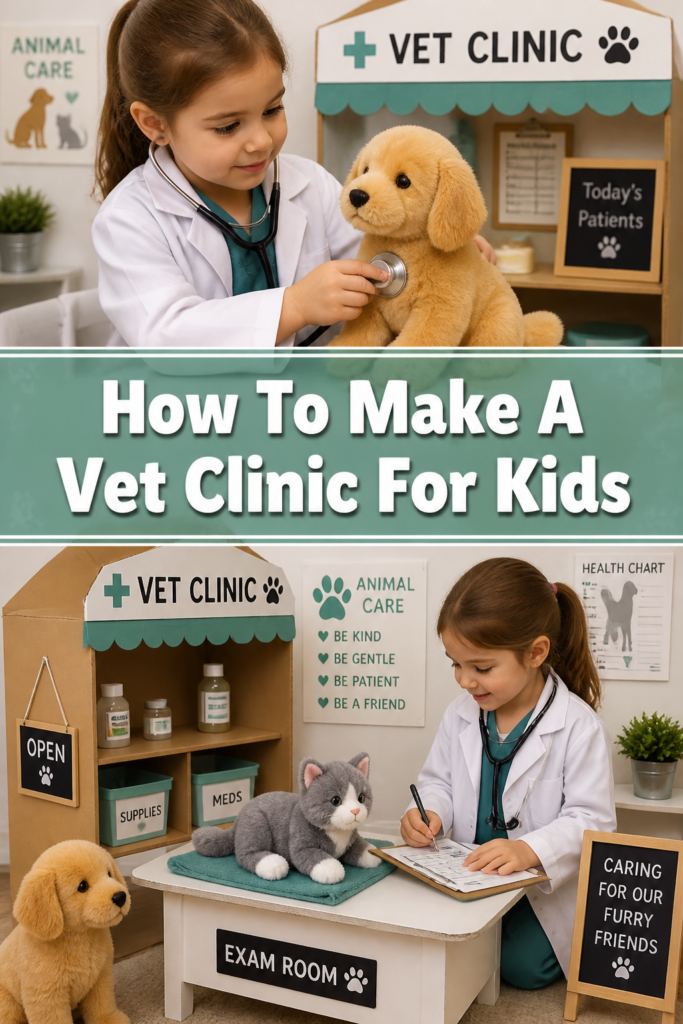
Quick Overview
You’re about to embark on a delightful project that transforms everyday items into a vibrant animal hospital.
This setup encourages role-playing, problem-solving, and caring for others.
- Time needed: A weekend project, roughly 4-6 hours of active crafting time.
- Difficulty: Beginner
- What you’ll need: Cardboard boxes, old sheets or blankets, basic craft supplies, and plenty of stuffed animal patients.
Step-by-Step Instructions
Step 1: Gather Your Essential Supplies
Collect all the materials you’ll need before you begin building. This saves time and keeps your creative flow going.
Look for large cardboard boxes, like those from appliances or moving. These will form the main structure of your clinic.
Find old sheets, blankets, or even shower curtains. These are perfect for walls, curtains, or examination tables.
Gather basic craft supplies such as scissors, tape (masking, painter’s, or duct tape work well), glue, markers, and crayons.
Include items for pretend medical tools: empty plastic bottles, toilet paper rolls, string, and small plastic containers.
Don’t forget your “patients” – a variety of stuffed animals of all shapes and sizes. They bring the clinic to life!
Step 2: Choose and Clear Your Clinic Location
Select a dedicated space for your vet clinic. A corner of a playroom, a spare bedroom, or even a large closet works wonderfully.
Ensure the area is safe and free from hazards. Remove any breakable items or sharp objects from the vicinity.
Consider a spot with good natural light if possible. This makes the play area feel more inviting and bright.
Clear the chosen area completely. Move furniture aside to give you ample room to build and play.
Pro Tip: Involve your child in choosing the location. This makes them feel like a co-creator and increases their excitement for the project.
Lay down an old blanket or rug if you’re building on a hard floor. This adds comfort and defines the play zone.
Step 3: Construct the Clinic Structure
Begin by setting up the main walls using your large cardboard boxes. You can tape them together to form a sturdy backdrop.
Cut out openings for a reception window or an entrance door. Use a utility knife (adult supervision crucial!) or strong scissors.
Drape sheets or blankets over chairs, tables, or tension rods to create additional walls or a roof. This gives the clinic a cozy, enclosed feel.
Secure all fabric and cardboard with tape or clothespins. Make sure everything is stable and won’t easily collapse during enthusiastic play.
Designate different areas within your clinic. Think about a waiting room, an examination room, and perhaps a recovery area.
Label these areas with simple signs made from paper and markers. This helps children understand the different functions.
Step 4: Craft Essential Medical Tools
Create a stethoscope using a toilet paper roll, two plastic cups, and some string. Poke holes in the cup bottoms, thread the string through, and attach the roll.
Fashion a pretend syringe from an empty, clean plastic bottle with the top cut off. You can use a smaller bottle or a marker cap for the plunger.
Make bandages from strips of old cloth or paper towels. Secure them with tape or smaller strips of fabric for easy application.
Assemble an “otoscopes” (ear checker) using a small flashlight and a cardboard cone. Remember to emphasize gentle use on stuffed animals only.
Turn empty pill bottles (cleaned thoroughly!) into medicine containers. Label them with pretend names like “Happy Paw Pills” or “Tail Wagger Drops.”
Pro Tip: Use a permanent marker to draw simple medical symbols or cross signs on your tools. This adds a realistic touch without being overly complex.
Cut out small, flat pieces of cardboard to serve as pretend thermometers. Draw a simple temperature gauge on them.
Step 5: Set Up the Examination and Recovery Areas
Designate a flat surface as your examination table. An overturned plastic bin, a small stool, or even a sturdy cushion works well.
Cover the examination table with a clean towel or a small blanket. This makes it more comfortable for the stuffed animal patients.
Place your crafted medical tools within easy reach of the examination area. A small basket or tray can keep them organized.
Create a recovery zone with soft blankets and pillows. This is where “recovering” patients can rest after their treatment.
Add small bowls for “food” and “water” in the recovery area. These can be actual pet bowls or small plastic containers.
Consider making a simple “scale” by placing a shoebox on top of another flat box. Kids can pretend to weigh their patients.
Step 6: Design the Waiting Room and Reception
Set up a small table or another cardboard box to serve as the reception desk. This is where patients check in.
Place a notepad and a pencil on the reception desk. Children can “write” patient names and appointment times.
Arrange a few small chairs or cushions for the “waiting room.” Stuffed animals can sit here, patiently awaiting their turn.
Hang a simple “Welcome to Paws & Claws Clinic” sign. This makes the entrance inviting and clear.
Add a few “magazines” (old picture books or comics) to the waiting area. This mimics a real clinic environment.
Create a “patient file” system using index cards or small notebooks. Each stuffed animal can have its own file.
Step 7: Incorporate Special Touches and Role-Playing Prompts
Make a pretend X-ray machine. Cut a large square hole in a cardboard box, cover it with clear plastic wrap, and draw bones on paper to slide behind it.
Print out simple charts of animal anatomy (or draw them). These can be hung on the clinic walls for a professional look.
Include a “pharmacy” shelf with your empty medicine bottles. Children can dispense “medication” to their patients.
Add a “toy box” filled with small toys. These can be used to distract nervous patients or reward good behavior.
Suggest different scenarios to your child. “This puppy has a tummy ache,” or “This kitten needs a check-up!”
Pro Tip: Keep a small basket of dress-up items nearby, like a doctor’s coat, a name tag, or a pair of play glasses. This enhances the role-playing experience.
Encourage your child to explain what’s happening to their patients. This develops their storytelling and communication skills.
Common Mistakes to Avoid
Overcomplicating the Setup
Many parents feel they need to buy expensive toys or create an elaborate, perfect clinic. This can lead to stress and takes away from the spontaneous fun.
The best vet clinics for kids are often the simplest, built with everyday items and fueled by imagination. Focus on functionality and creativity rather than perfection.
Forgetting Safety First
In the excitement of building, it’s easy to overlook potential hazards. Small parts, sharp edges on cardboard, or unstable structures can be dangerous.
Always supervise the use of scissors and utility knives. Ensure all tape and structural elements are secure, and avoid any tiny pieces that could be choking hazards for younger children.
Limiting Imaginative Play
Sometimes, we unintentionally guide play too much or provide too many rules. This can stifle a child’s natural creativity and problem-solving abilities.
Offer suggestions, but allow your child to lead the narrative. Let them decide what’s wrong with their patients and how to treat them. The clinic is their world to explore.
Skipping the Personal Touch
Building a clinic for your child is nice, but building it with them is truly special. Excluding them from the process removes a huge part of the learning and bonding experience.
Involve your child in every step, from choosing colors to cutting out shapes (age-appropriately, of course). Their ideas will make the clinic uniquely theirs.
Troubleshooting
Clinic Not Holding Up During Play
If your cardboard walls or fabric drapes keep falling down, it can be frustrating. This often happens if tape isn’t strong enough or anchors are too weak.
Reinforce all joints and connections with stronger tape, like duct tape, or even hot glue (adults only). Use clothespins or binder clips to secure fabric to furniture more firmly. Consider adding heavier objects to the base of cardboard walls for stability.
Child Loses Interest Quickly
It’s common for children’s attention spans to vary. If your child seems to lose interest in the clinic after a short time, they might need new inspiration or a fresh scenario.
Introduce new “patients” with unique “ailments” or suggest a new role for them to play, like a vet assistant. Change up the layout slightly or add a new DIY tool. Sometimes, simply taking a break and revisiting it later can reignite their enthusiasm.
Running Out of Supplies Mid-Project
Discovering you’re missing a crucial item can halt your progress and dampen spirits. This is especially true for specific craft items.
Improvise! The beauty of a kid’s vet clinic is its adaptability. Can’t find fabric for bandages? Use paper towels. No plastic cups for a stethoscope? Try small yogurt containers. Look around your house; everyday items often have hidden potential for play.
Key Takeaways
- Simplicity and everyday items are often more engaging than store-bought sets.
- Involving your child in every step fosters ownership and boosts creativity.
- Prioritize safety by using child-friendly materials and supervising tool usage.
- Encourage open-ended play; let your child lead the imaginative scenarios.
- The clinic can evolve; add new elements over time to keep the play fresh.
- This project teaches empathy, problem-solving, and communication skills in a fun way.
Frequently Asked Questions
What age is this vet clinic project best suited for?
This project is ideal for children aged 3 to 8 years old. Younger children will enjoy the sensory and imaginative play, while older kids can engage in more complex role-playing scenarios and help with crafting.
How can I make the vet clinic more durable?
To increase durability, use sturdier cardboard for the main structure, like appliance boxes. Reinforce all seams with strong tape or even small brads. Laminate paper signs or use washable markers on fabric to prevent quick wear and tear.
Can we use real pets as patients in the clinic?
It’s best to stick to stuffed animals for your vet clinic patients. This ensures the safety and hygiene of both your child and any real pets. Real animals can be unpredictable, and play vet activities might stress them out.
What if we don’t have many craft supplies at home?
Don’t worry! You can create a fantastic vet clinic using mostly household items. Think about repurposing empty food containers, old socks, paper towel rolls, and even kitchen utensils for tools. Imagination is your most important supply.
Our Top Recommended Finds
- Kids’ Doctor Kit: A pre-made kit can supplement your DIY tools and provide familiar, durable items like a plastic stethoscope or blood pressure cuff.
- Assorted Stuffed Animals: A variety of plush pets ensures your clinic has diverse patients, from fluffy puppies to scaly dragons, keeping play exciting.
- Washable Fabric Markers: These are excellent for decorating fabric walls, blankets, or even a play doctor’s coat, allowing for easy cleanup and customization.
Your Clinic Awaits!
Building a vet clinic for kids is more than just a craft project; it’s an invitation to a world of care, creativity, and compassion.
You’re not just making a play space; you’re nurturing valuable life skills and creating cherished memories.
So gather your supplies, invite your little doctor, and prepare for countless hours of imaginative veterinary adventures today!