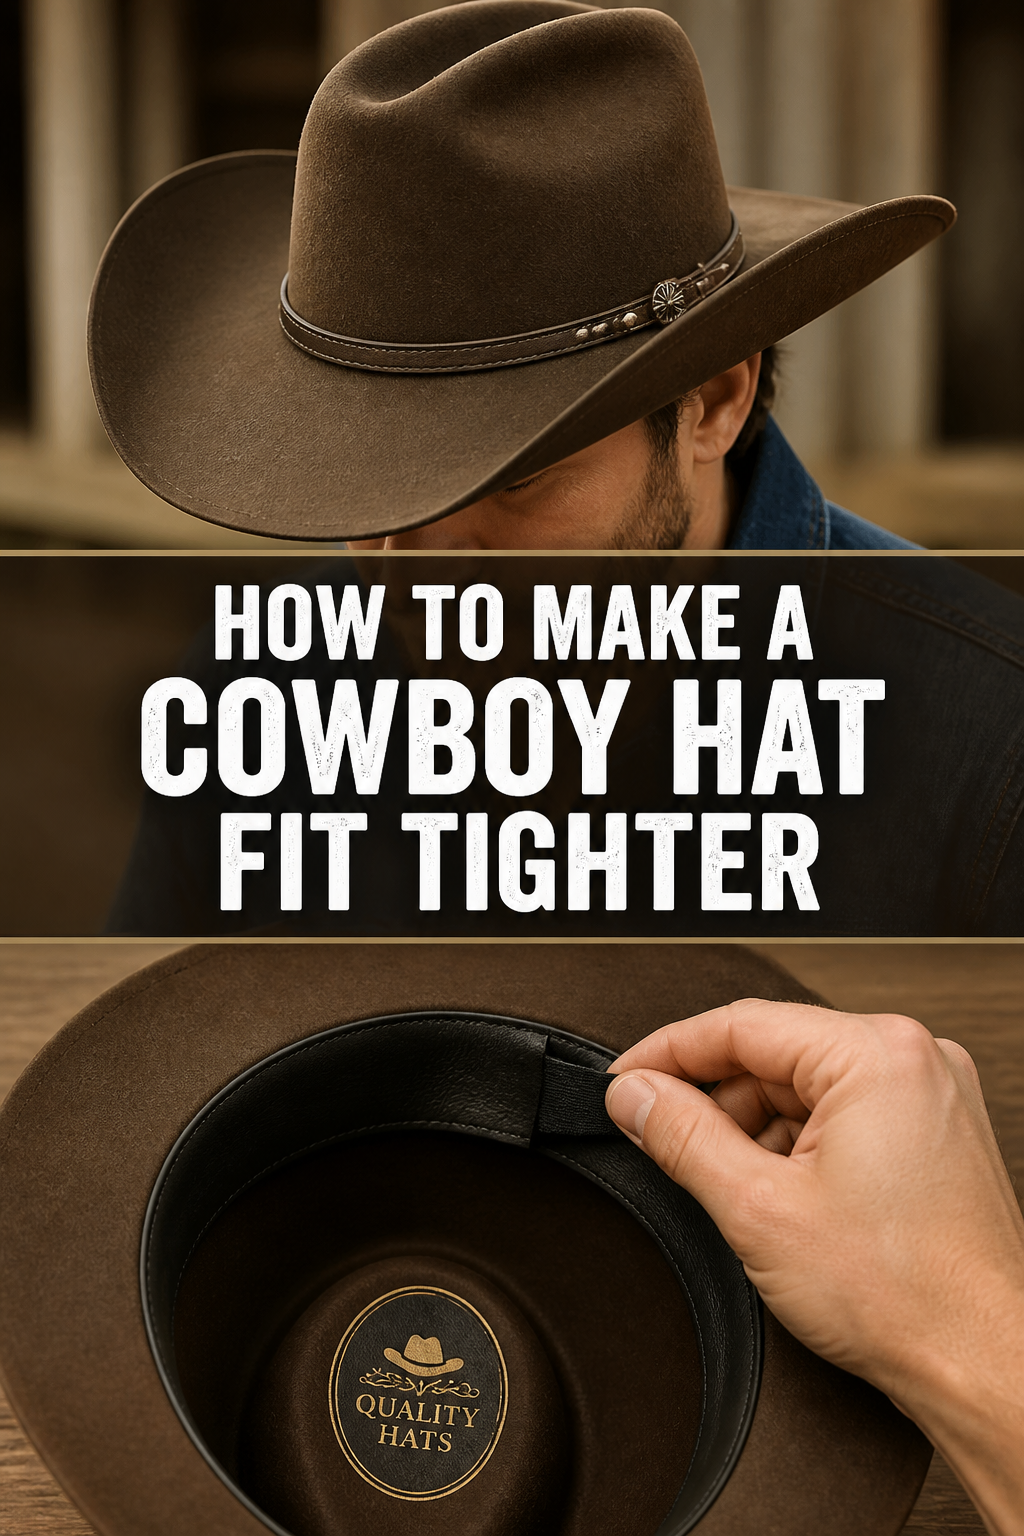
🤠 How To Make A Cowboy Hat Fit Tighter
There’s nothing quite like the feel of a well-worn cowboy hat. It becomes an extension of you, a part of your identity.
But sometimes, even your favorite hat can start to feel a little loose, slipping or wobbling when it should sit snug. I’ve been there, chasing a hat across a windy pasture more times than I care to admit.
A loose hat isn’t just annoying; it’s a distraction and can even be a hazard. This guide comes from years of practical experience, ensuring your hat stays where it belongs.
Quick Overview
Making your cowboy hat fit tighter is a rewarding task that extends its life and improves your comfort. You’ll learn several methods, from simple inserts to gentle shrinking techniques.
- Time needed: 30 minutes to 2 hours (depending on method and drying time)
- Difficulty: Beginner to Intermediate
- What you’ll need: Hat sizing tape, foam strips, steam iron or garment steamer, spray bottle, clean cloth, hat brush (optional)
Step-by-Step Instructions
Step 1: Assess the Current Fit and Material
Before you start, really feel how your hat sits. Does it just slide a little, or is it several sizes too big?
Understanding the degree of looseness helps you choose the best tightening method. Also, identify your hat’s material.
Felt (wool or beaver fur) responds differently to straw or leather. Knowing this is crucial for a successful adjustment.
Step 2: Start with Sizing Tape or Foam Strips
This is the least invasive and often most effective first step. Hat sizing tape or self-adhesive foam strips are designed to be placed under the sweatband.
They fill the gap between your head and the hat, creating a snugger fit. These are easy to apply and reversible.
Cut the sizing tape to the desired length. Most kits come with pre-cut strips.
Peel back the adhesive backing.
Press the tape firmly onto the inside of the sweatband, usually at the front, back, and sides. You can add more layers if needed for a tighter fit.
Pro Tip: Start with smaller pieces of tape at the front and back, then add to the sides if it’s still too loose. This helps maintain the hat’s natural shape.
Step 3: Gentle Steam Shrinking for Felt Hats
Felt hats (wool or fur) can often be gently shrunk with steam. This method requires care to avoid over-shrinking or damaging the felt.
It works by causing the fibers to contract slightly. Always test a small, inconspicuous area first if you’re unsure.
Boil water in a kettle or use a garment steamer to produce a steady stream of steam.
Hold the brim of your hat, carefully exposing the inside of the crown and sweatband area to the steam.
Rotate the hat slowly, allowing the steam to penetrate the felt for about 15-30 seconds per section. Do not saturate the hat.
Allow the hat to cool and dry completely on a clean, flat surface or a hat stand. Avoid wearing it while damp, as this can stretch it back out.
Step 4: Controlled Water Shrinking for Felt Hats
For a more noticeable shrinkage on felt, you can use water directly. This method is a bit more aggressive than steam, so proceed with caution. It’s especially useful for wool felt.
Prepare a spray bottle with clean, cool water.
Lightly mist the inside of the hat’s crown, focusing on the sweatband area. You want it damp, not soaking wet.
Gently work the damp felt with your hands, pushing the material inwards to encourage shrinkage.
Allow the hat to air dry completely. You can place it on your head periodically as it dries to mold it to your shape, but don’t wear it for extended periods until fully dry.
Pro Tip: When drying a felt hat, place it upside down on its crown or on a hat stand. This prevents the brim from flattening or losing its shape.
Step 5: Adjusting Straw Hats with Water and Sun
Straw hats require a different approach. They don’t shrink in the same way felt does. Instead, you’re looking to temporarily soften the straw fibers, reshape them, and then allow them to dry and stiffen in the new position.
Lightly mist the entire crown of the straw hat with clean water using a spray bottle.
Avoid soaking the hat; you just want to make the straw pliable.
Place the damp hat on your head.
Wear it for a short period (15-30 minutes) as it starts to dry. The hat will mold to your head shape.
Remove the hat and allow it to finish drying completely in a warm, sunny spot. The sun helps the straw stiffen as it dries.
Step 6: Reinforce with Hat Stiffener (Optional)
If your hat is a bit floppy or you want to give the shrinking a little extra hold, a hat stiffener can help. This is more common with straw or slightly worn felt hats. It adds body and can help maintain the new, tighter shape.
Read the instructions on your chosen hat stiffener carefully.
Apply the stiffener evenly to the inside of the crown, or the entire hat if desired, following product guidelines.
Allow the hat to dry completely in a well-ventilated area.
Step 7: Consider a New Sweatband or Liner
Sometimes, the existing sweatband might be stretched out or simply not thick enough. Replacing it with a new, slightly thicker sweatband can tighten the fit. Alternatively, you can add a thin liner underneath the existing sweatband.
Source a new sweatband that matches your hat’s style and material.
Carefully remove the old sweatband, often stitched in place.
Sew the new sweatband into position. This often requires basic sewing skills.
Alternatively, insert a thin, absorbent liner (like a terry cloth strip) under your current sweatband for a slight tightening and added comfort.
Step 8: Seek Professional Resizing
If you’ve tried all the DIY methods and your hat is still too loose, or if it’s a valuable or delicate hat, a professional hat shaper or haberdasher is your best bet. They have specialized tools and expertise to resize hats without damage.
Locate a reputable hat shop or Western wear store in your area.
Explain your hat’s fit issue.
Discuss the options available, which might include steaming, stretching, or adding custom liners.
Common Mistakes to Avoid
Over-Shrinking Your Hat
It’s easy to get carried away when trying to tighten a hat. Applying too much steam or water, or leaving it on your head for too long while drying, can make the hat uncomfortably small. It’s much harder to stretch a hat back out than to shrink it.
Always start with the least aggressive method and work your way up. Go slowly, and check the fit frequently. You can always apply more steam or add another strip of sizing tape, but you can’t easily undo too much shrinkage.
Ignoring Your Hat’s Material
Treating a delicate straw hat with the same shrinking method as a durable wool felt hat is a recipe for disaster. Different materials react uniquely to heat, water, and pressure. Straw can become brittle or lose its shape irreversibly if mishandled.
Always identify your hat’s material first and tailor your tightening technique accordingly. When in doubt, err on the side of caution or consult a professional.
Using Excessive Direct Heat
While steam is an effective tool for shrinking felt, direct, dry heat can be damaging. Placing a hat directly on a hot radiator, using a hairdryer on a high setting too close, or putting it in a hot oven can burn the felt, warp the brim, or melt adhesives.
Always use indirect steam or warm, gentle drying methods. Air drying is always the safest option. Protect your hat from extreme temperatures to preserve its integrity and longevity.
Skipping Proper Drying
The drying process is just as important as the shrinking process. If you wear a damp hat for an extended period, especially felt, it can stretch back out to its original size or even larger. Improper drying can also lead to mold or mildew.
Always allow your hat to dry completely and naturally, ideally on a hat stand or upside down on a clean surface. This ensures the fibers set in their new, tighter position and maintains the hat’s shape.
Troubleshooting
Hat Shrank Too Much
If you’ve overdone it and your hat is now too tight, don’t panic. You can often stretch felt hats back out slightly.
Use a hat stretcher, or carefully place the hat over your knee and gently apply pressure from the inside. A little steam can help make the felt more pliable before stretching. Work slowly and check the fit often.
Hat Still Too Loose
If your initial attempts haven’t yielded the desired tightness, revisit your chosen method. Perhaps you didn’t use enough sizing tape, or the steam wasn’t applied long enough.
Consider combining methods, such as adding more sizing tape after a gentle steam shrink. For straw hats, try re-misting and wearing it a bit longer as it dries.
Hat Lost Its Shape
Sometimes, during the shrinking or drying process, a hat might lose some of its original shape, especially the brim. This is often fixable.
For felt hats, a garment steamer can be used to gently reshape the brim. Hold the hat carefully, direct steam to the affected area, and then manually mold the brim back into place while it’s warm and pliable. Let it cool and dry completely to set the new shape.
Key Takeaways
- Always identify your hat’s material before attempting any shrinking methods.
- Start with non-invasive methods like sizing tape or foam strips for minor adjustments.
- Felt hats respond well to gentle steam or controlled water application for shrinking.
- Straw hats are best tightened by dampening, wearing to mold, and then air drying.
- Proper drying is crucial to set the new fit and maintain the hat’s shape.
- When in doubt or for valuable hats, consult a professional hat shaper.
Frequently Asked Questions
Can all types of cowboy hats be shrunk?
Most felt (wool or fur) and straw cowboy hats can be tightened using the methods described. Leather hats are generally harder to shrink effectively without professional tools and often require sizing inserts instead. Always test a small area first.
How often should I clean my hat after shrinking?
Shrinking a hat doesn’t change its cleaning frequency. You should clean your hat as needed, depending on how often you wear it and the conditions it’s exposed to. Regular brushing for felt hats and wiping for straw can keep them looking good.
Will shrinking my hat damage it?
When done correctly and cautiously, shrinking your hat should not damage it. The key is to use gentle methods, avoid excessive heat or water, and respect the hat’s material. Over-shrinking or improper drying are the main risks.
What if my hat is already custom-made?
Even custom-made hats can loosen over time with wear or changes in head size. The same principles apply, but you might want to be extra cautious. For a very expensive or sentimental custom hat, a professional hat shaper is often the safest choice.
Our Top Recommended Finds
- Hat Sizing Tape/Reducers: An essential for quick and reversible fit adjustments, perfect for minor looseness.
- Garment Steamer: Provides controlled, gentle steam ideal for reshaping and subtle shrinking of felt hats.
- Hat Brush: Helps maintain the nap of felt hats after handling and keeps them clean, extending their life.
Ride On with Confidence
A well-fitting cowboy hat isn’t just about style; it’s about comfort, practicality, and the confidence that comes with knowing your gear is just right. You now have a comprehensive toolkit to tackle a loose hat, ensuring it stays firmly where it belongs.
Don’t let a wobbly hat detract from your day. Take these steps, experiment gently, and find the perfect fit. You’ll appreciate the difference on your next ride, ranch chore, or night out.