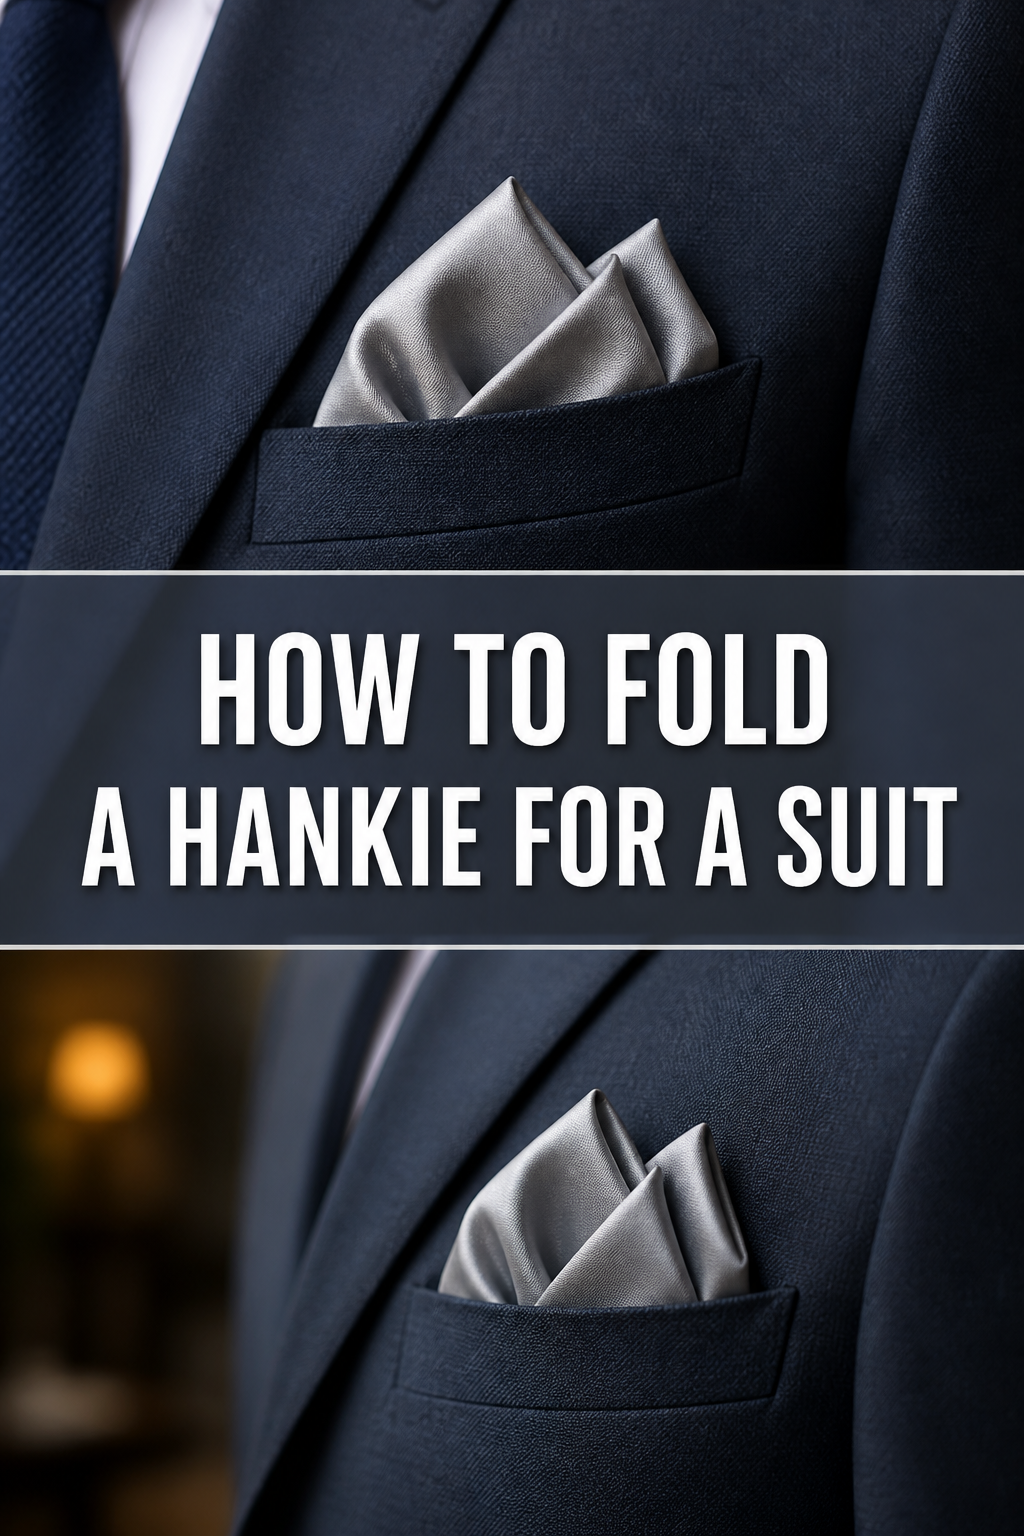
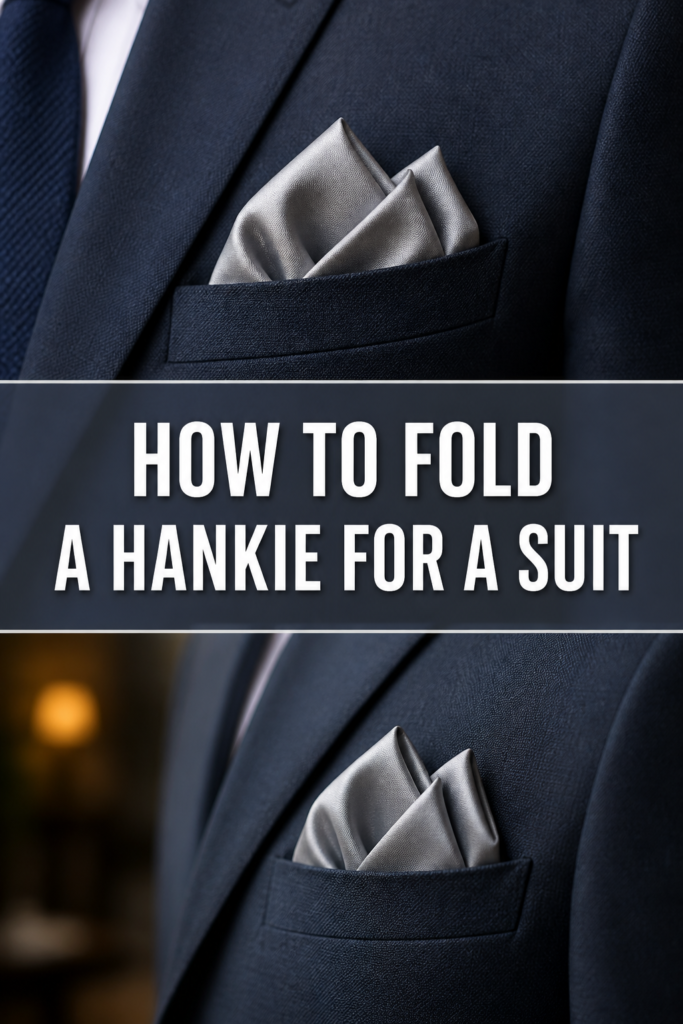
👔 How To Fold A Hankie For A Suit
A well-chosen pocket square adds a touch of sophistication to any suit. It’s a small detail that speaks volumes about your attention to style. I’ve spent years refining my own approach to this subtle art, learning what truly elevates an outfit.
This guide will share those practical insights, ensuring your pocket square always looks impeccable. You’ll master the techniques that make a real difference.
Quick Overview
You’re about to master several classic pocket square folds that enhance your suit’s presentation. These techniques will give you confidence in any setting.
You’ll learn how to achieve crisp, elegant lines or soft, flowing textures. This guide equips you with versatile skills for different occasions.
- Time needed: 10-15 minutes (for initial learning), 1-2 minutes (once mastered)
- Difficulty: Beginner to Intermediate
- What you’ll need: A clean pocket square (silk, linen, or cotton), a suit jacket
Step-by-Step Instructions
We’ll cover three essential folds: The Presidential (Square) Fold, The Puff Fold, and The One-Point Fold. Each offers a distinct aesthetic for various occasions.
Step 1: Prepare Your Hankie
Select your pocket square based on your suit and desired look. Silk offers a luxurious sheen and drapes beautifully for puff folds.
Choose linen or cotton for a crisp, structured look, ideal for square or pointed folds. Ensure it is clean and wrinkle-free for the best results.
Lay the pocket square flat on a clean, smooth surface. This provides the best starting point for any fold.
Pro Tip: Always consider the fabric. A crisp linen square needs a sharper fold, while a soft silk one lends itself to more relaxed styles.
Step 2: The Presidential (Square) Fold
This fold is the epitome of classic elegance and formality. It’s perfect for business suits and black-tie events, offering a clean, understated look.
Lay your pocket square completely flat. Ensure it is perfectly smooth with no creases.
Fold the square in half vertically, bringing one side edge to meet the other. This creates a rectangle.
Fold the rectangle in half again horizontally, from bottom to top. You now have a smaller square or rectangle, depending on the original dimensions.
Adjust the final folded width to fit your suit jacket’s breast pocket. It should sit snugly without bulging or sinking too low.
Insert the folded square into your breast pocket. Only about a quarter to a half-inch of the top edge should be visible.
Ensure the visible edge is perfectly straight and horizontal. This creates the signature clean line of the Presidential fold.
Pro Tip: For a truly crisp edge, iron the pocket square lightly after each fold. This helps maintain its sharp structure throughout the day.
Step 3: The Puff Fold
The Puff Fold offers a softer, more relaxed, yet still elegant look. It’s versatile for both formal and casual suits, adding a touch of sprezzatura.
Lay your pocket square completely flat. Orient it so a corner points towards you, like a diamond.
Pinch the center of the pocket square between your thumb and forefinger. Lift it gently upwards.
Gather the fabric naturally around the pinched center. Let the corners and edges fall loosely downwards.
Form a “pouch” or “puff” with the gathered fabric. Gently adjust the fullness to your liking.
Bring the four loose corners and edges together underneath the puff. Hold them firmly to create a base.
Fold the gathered base upwards, about one-third of the way. This creates a more stable foundation.
Insert the folded base into your suit jacket’s breast pocket. Position it so the “puff” is visible above the pocket line.
Gently arrange the visible puff. Aim for a natural, unstudied appearance, not too symmetrical.
Pro Tip: Don’t overthink the puff. The beauty of this fold lies in its organic, slightly imperfect shape. A little asymmetry adds character.
Step 4: The One-Point Fold
This fold provides a sharp, smart appearance that’s less formal than the Presidential but more structured than the Puff. It’s excellent for adding a defined accent.
Lay your pocket square completely flat. Orient it so a corner points towards you, like a diamond.
Fold the bottom corner upwards to meet the top corner. This creates a triangle.
Fold the left corner of the triangle inwards towards the right. Align it so it sits slightly past the center, but not overlapping the right edge.
Fold the right corner of the triangle inwards towards the left. This creates a neat, pointed shape at the top.
Adjust these side folds so the overall width fits your breast pocket. The goal is a snug fit.
Fold the bottom edge of the entire shape upwards. This creates the base that will sit inside your pocket.
Continue folding the base upwards until the visible point is at your desired height. Usually, about one inch of the point is visible.
Insert the folded pocket square into your breast pocket. Ensure the single point stands upright and centered.
Smooth out any visible creases in the exposed point. Maintain its crisp, sharp definition.
Pro Tip: Practice makes perfect with the one-point fold. Achieving a consistently sharp point takes a little finesse. Use a linen or cotton square for the best results.
Step 5: The Two-Point Fold (Optional Variation)
For a slightly more intricate look, consider the two-point fold. It adds a touch more flair while maintaining structure.
Start by laying your pocket square flat, diamond-style. Fold the bottom corner up to the top corner, forming a triangle.
Shift the top point slightly to the left. Now, fold the bottom corner up again, but this time aim for a second point to appear to the right of the first.
Adjust these two points so they are distinct and visually appealing. They should be roughly symmetrical in height.
Fold the left side of the pocket square inwards towards the center. This creates a clean side edge.
Fold the right side inwards, mirroring the left. This narrows the base to fit your pocket.
Fold the bottom edge upwards to create the pocket-insertable base. Adjust this fold to control the height of your two points.
Place the folded square into your breast pocket. Arrange the two points so they stand up neatly.
Ensure both points are visible and well-defined. This fold adds a sophisticated, tailored detail to your suit.
Step 6: The Three-Point Fold (Optional Variation)
This fold is more advanced and brings a dramatic, elegant flourish. It’s ideal for special occasions where you want to make a statement.
Begin by laying your pocket square flat, diamond-style. Fold the bottom corner up to meet the top corner, forming a triangle.
Fold the left corner upwards and slightly to the right of the top point. This creates your second distinct point.
Fold the right corner upwards and slightly to the left of the top point. This forms your third point.
Adjust all three points carefully. They should be evenly spaced and of similar height, forming a small crown.
Fold the left edge of the square inwards, creating a straight side. This tidies the fold.
Fold the right edge inwards, mirroring the left side. This narrows the base to fit your pocket.
Fold the bottom edge upwards to create the base. Adjust this fold so your three points are displayed at the desired height.
Carefully insert the folded square into your breast pocket. Arrange the points to stand proud and distinct.
Take a moment to smooth any creases and ensure the points are sharp. This fold commands attention and showcases your meticulous style.
Step 7: Final Adjustments and Placement
Regardless of the fold you choose, proper placement is key. The pocket square should complement, not overpower, your suit.
Insert the folded hankie into your breast pocket. Gently push it down until it sits at the desired height.
Ensure the visible portion is neat and secure. It should not slump or fall too deep into the pocket.
Check your appearance in a mirror. Make any final minor adjustments to the fold or its position.
Consider the occasion and your overall outfit. A formal event usually calls for a crisp, structured fold, while a casual gathering allows for more relaxed styles.
Common Mistakes to Avoid
Even experienced dressers can make small errors with pocket squares. Avoiding these common pitfalls ensures your look remains polished.
Overstuffing the Pocket
Trying to fit too much fabric into the breast pocket creates an unsightly bulge. This distorts the clean lines of your suit jacket.
Always ensure your fold is tailored to the pocket’s size. If the hankie is too large, consider a different fold or a smaller square. The goal is a subtle accent, not a protruding lump.
Choosing the Wrong Fabric for the Fold
Certain fabrics are better suited for specific folds. A stiff linen square will resist a soft puff, resulting in a clumsy appearance.
Conversely, a very thin silk square might lack the body needed for a crisp, structured fold. Match your fabric to the desired fold for optimal results. Silk excels in puffs, while linen and cotton are perfect for points and squares.
Mismatching Color or Pattern
Your pocket square should complement, not directly match, your tie. A common mistake is using a pocket square made from the exact same fabric as your tie.
Instead, choose a color that picks up a subtle hue from your shirt, tie, or suit. A pattern should harmonize, not clash, with other elements of your outfit. Aim for visual interest and cohesion.
Ignoring the Occasion
A highly formal fold, like a three-point, might look out of place at a casual brunch. Similarly, a relaxed puff fold can feel too informal for a strict business meeting.
Always consider the event’s formality when selecting your fold. The pocket square should align with the overall tone of your attire and the setting.
Troubleshooting
Even with careful folding, sometimes things don’t go quite as planned. Here are solutions to common pocket square dilemmas.
The Hankie Keeps Slipping Down
If your pocket square constantly sinks into your breast pocket, it’s likely too narrow or too small for the pocket’s depth. The fold might also be too loose at the base.
Try folding the base more compactly or adding an extra fold to increase its height within the pocket. You can also place a small, flat piece of cardboard or a firmer fabric scrap at the bottom of your pocket as a subtle riser. This gives the hankie something to rest on.
The Fold Looks Messy or Unstructured
A messy fold often results from using the wrong fabric for the desired style or not having a clean, flat starting point. Wrinkles in the fabric also contribute to a disheveled look.
Ensure your pocket square is ironed flat before you begin folding. If you want a crisp fold, use a stiffer fabric like linen or cotton. For a puff fold, sometimes a little more gentle gathering, rather than firm creasing, can achieve that desired soft effect.
The Points Aren’t Sharp Enough
Achieving truly sharp points requires attention to detail and often the right fabric. If your points look dull or rounded, the fabric might be too soft, or your folds aren’t precise enough.
Use a linen or cotton pocket square, as these fabrics hold a crease better. When folding, ensure each crease is pressed firmly. You can even lightly iron the individual folds as you go to set the points. Take your time with each step to ensure accuracy.
Key Takeaways
- Always start with a clean, wrinkle-free pocket square.
- Match the fold style to the occasion and your suit’s formality.
- Select the right fabric for your chosen fold; silk for puffs, linen/cotton for points.
- Ensure the pocket square fits snugly in the breast pocket without bulging or slipping.
- Practice different folds to find what suits your personal style best.
- The pocket square should complement your outfit, not overpower it.
Frequently Asked Questions
Should my pocket square match my tie?
No, your pocket square should not perfectly match your tie. This can look too coordinated and less sophisticated. Instead, choose a pocket square that complements a color in your tie, shirt, or suit. It should harmonize with your outfit, adding visual interest without being identical.
What size should a pocket square be?
Pocket squares typically range from 10 to 17 inches (25 to 43 cm) square. The ideal size depends on the fabric and your jacket’s breast pocket. A larger, softer square is better for puff folds, while a smaller, stiffer one might work for precise, structured folds. It should fit without bulging or disappearing.
Can I wear a pocket square with a casual blazer?
Absolutely. A pocket square can significantly elevate a casual blazer. For a more relaxed look, consider a linen or cotton square with a puff or a simple, slightly less precise square fold. It adds a touch of intentional style without being overly formal.
How do I prevent my pocket square from falling into my pocket?
To prevent slipping, ensure your fold creates enough bulk at the base to fill the pocket width. You can also fold the bottom edge of the square up higher to create a firmer base. Some people use a small piece of double-sided tape on the back of the square, or a pocket square holder, though a proper fold usually suffices.
Our Top Recommended Finds
- Linen Pocket Square Set: Versatile for crisp folds and adding texture. Great for formal and business wear.
- Silk Pocket Square Collection: Perfect for elegant puff folds and adding a luxurious sheen. Ideal for evening events.
- Pocket Square Holder Inserts: Simple plastic or cardboard inserts that keep your folds upright and secure all day.
Elevate Your Style Today
Mastering the art of the pocket square is a simple yet impactful way to refine your personal style. It’s a subtle flourish that communicates confidence and attention to detail.
Experiment with these folds, find what resonates with your individual taste, and watch how it transforms your entire look. Don’t wait to add this touch of sophistication to your wardrobe.