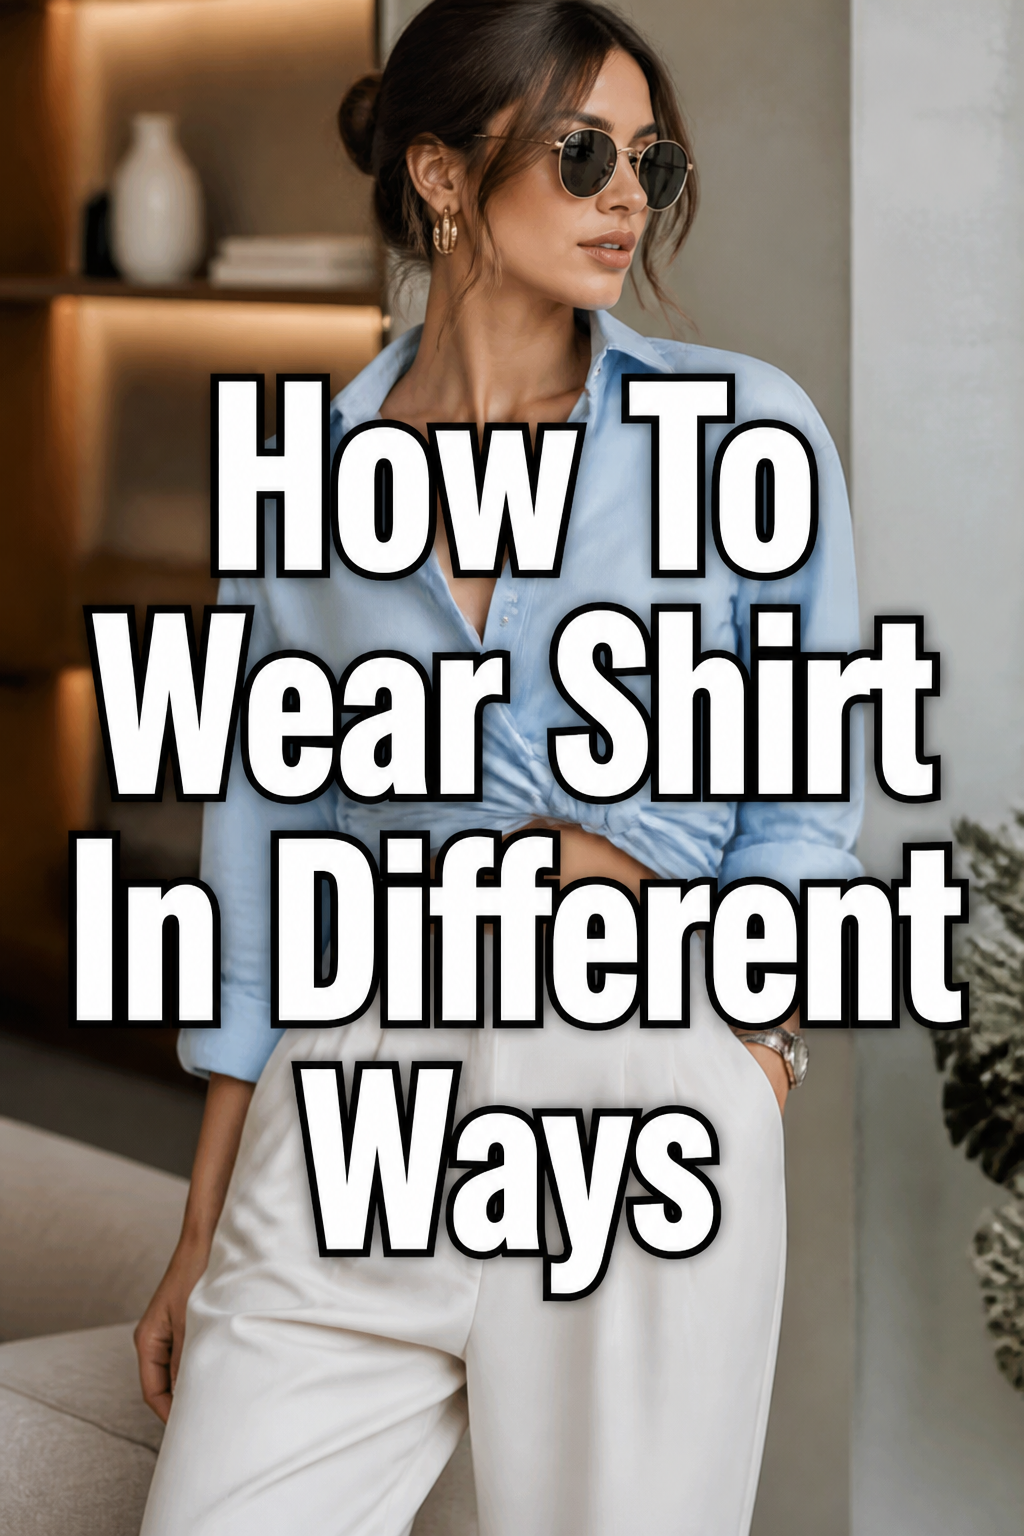
👕 How To Wear Shirt In Different Ways
Do you ever feel like your shirts are stuck in a style rut?
That favorite button-down or simple tee holds so much untapped potential.
I’ve spent years experimenting with different shirt styles, discovering how small adjustments can completely transform an outfit and boost confidence.
Quick Overview
This guide will show you how to revitalize your wardrobe by styling shirts in fresh, engaging ways.
You’ll learn practical techniques to make your shirts work harder for your personal style.
- Time needed: 20-40 minutes (to read and try a few styles)
- Difficulty: Beginner
- What you’ll need: A variety of shirts (button-down, t-shirt, blouse), a belt, a mirror
Step-by-Step Instructions
Step 1: Master the Classic Full Tuck
A full tuck offers a polished, professional look perfect for formal settings or a neat casual outfit.
It defines your waistline and creates a streamlined silhouette.
- Button your shirt completely, or to the desired level.
- Pull the shirt taut and smooth it down around your body.
- Tuck the bottom hem into your trousers or skirt, ensuring it’s even all the way around.
- Adjust by raising your arms above your head and then lowering them; this allows the shirt to settle naturally.
- Create a small pleat on each side of your hips if your shirt is slightly loose, folding the excess fabric inwards before tucking.
Pro Tip: For a super crisp tuck, use the “military tuck” method. Pinch the side seams of your shirt, fold the excess fabric back to create a sharp diagonal crease, and then tuck it in.
Step 2: Embrace the Effortless Untuck
The untucked look is inherently casual, relaxed, and modern.
It works best with shirts designed to be worn out, often with a straight hemline and a shorter length.
- Ensure the shirt’s length hits around the middle of your fly or just below your belt loops.
- Check the fit; an untucked shirt should not be overly baggy or too tight.
- Pair with casual bottoms like jeans, chinos, or shorts.
- Consider the fabric; lighter, more relaxed fabrics often look better untucked.
Pro Tip: An untucked shirt should never be longer than your fingertips when your arms are relaxed at your sides. Too long, and it looks sloppy.
Step 3: Perfect the Stylish French Tuck (Half-Tuck)
The French tuck, or half-tuck, strikes a balance between formal and casual.
It offers an effortlessly chic vibe, highlighting your waist without fully committing to a tucked-in style.
- Tuck only the very front section of your shirt into your waistband.
- Allow the sides and back to hang loose and relaxed.
- Gently pull out a small amount of fabric from the tucked portion to create a slight drape.
- Ensure the tucked part isn’t too wide; aim for about 4-6 inches across the center.
Pro Tip: The French tuck works beautifully with both button-downs and t-shirts, especially those with a slightly oversized fit, as it provides structure to an otherwise relaxed silhouette.
Step 4: Master the Art of Sleeve Rolling
Rolling your sleeves instantly changes the formality of a shirt and can add a touch of rugged charm.
There are a few ways to achieve this, each with a slightly different look.
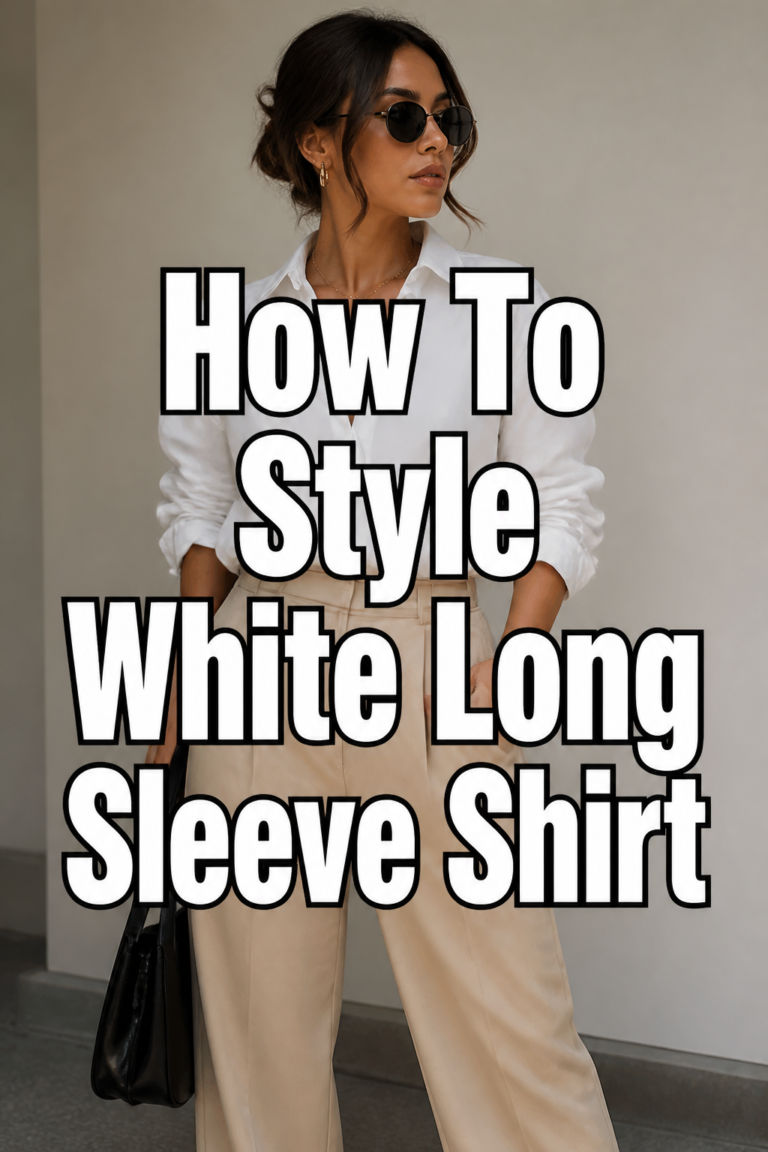
- The Basic Roll: Unbutton the cuff and any placket buttons. Fold the cuff back once, then continue rolling up in even sections. Stop just below or above the elbow.
- The Master Roll: Unbutton the cuff and roll it up to just below your elbow. Then, fold the bottom part of the sleeve up to just cover the cuff. This creates a neat, sturdy roll.
- The Casual Scrunch: Simply push the sleeves up your arms, letting them gather naturally for a relaxed, lived-in feel.
Pro Tip: For the master roll, ensure the cuff is fully visible at the top of the roll. This technique keeps sleeves from unrolling easily and looks intentionally stylish.
Step 5: Layer an Open Shirt as a Light Jacket
Wearing a button-down shirt unbuttoned over another top is a versatile layering technique.
It adds warmth, texture, and visual interest to a simple outfit.
- Choose a shirt that isn’t too heavy or bulky. Flannel shirts, denim shirts, or lightweight cotton button-downs work well.
- Pair it with a fitted t-shirt, tank top, or even a thin long-sleeve shirt underneath.
- Ensure the undershirt is a complementary color or a neutral tone.
- Leave the shirt completely unbuttoned, or button just one or two buttons at the bottom for a different look.
Pro Tip: This style is excellent for transitional weather. You can easily remove the top layer if it gets warmer, or add it back for a cooler evening.
Step 6: Cinch Your Shirt with a Belt
Belting an oversized shirt or a shirt dress creates definition and a more structured silhouette.
It’s a fantastic way to add shape to a loose garment.
- Wear an oversized button-down shirt or a long tunic-style shirt.
- Place a belt around your natural waist, over the shirt.
- Adjust the shirt fabric above the belt, gently pulling it out a little to create a bloused effect.
- Experiment with different belt widths – a skinny belt for a delicate touch, or a wider belt for a bolder statement.
Pro Tip: This method works particularly well with stiffer fabrics that hold their shape, preventing the shirt from looking like it’s just hanging.
Step 7: Tie a Front Knot for a Cropped Look
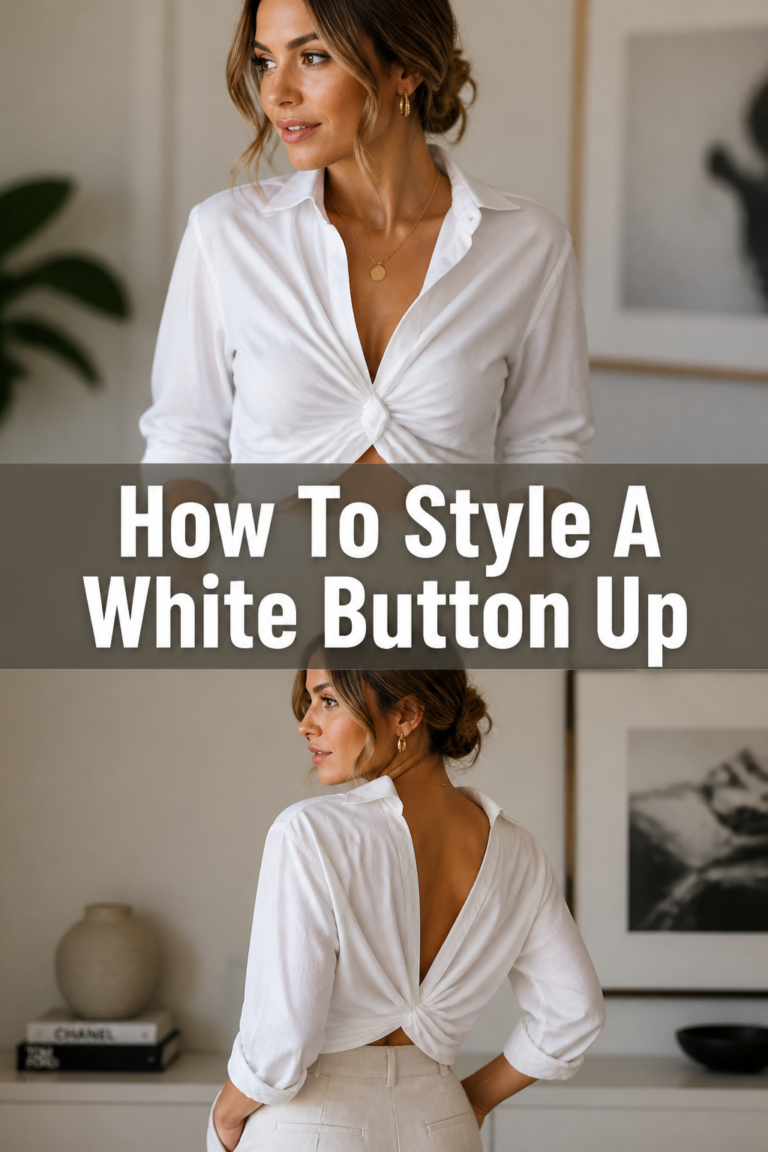
Tying the front of your shirt is a playful and trendy way to create a cropped effect.
It’s perfect for high-waisted bottoms and adds a touch of casual flair.
- Gather the bottom front corners of your shirt.
- Tie them into a knot. You can do a simple single knot or a double knot for more security.
- Adjust the knot’s tightness and position to achieve your desired crop length.
- Consider a side knot for a slightly different, asymmetrical look.
Pro Tip: This style works best with softer, more pliable fabrics like jersey cotton t-shirts, chambray, or lightweight blouses. Stiffer fabrics can look bulky.
Common Mistakes to Avoid
Ignoring Shirt Fit
Many people try to force a style onto a shirt that simply doesn’t fit correctly for that purpose.
An oversized shirt might look sloppy when fully tucked, while a too-tight shirt will pull awkwardly when knotted.
Always consider the shirt’s cut and fabric when choosing a styling method to ensure it complements the garment’s natural drape.
Sloppy Sleeve Rolls
Uneven or constantly unrolling sleeves can detract from an otherwise polished look.
A poorly executed roll makes your outfit appear unkempt rather than effortlessly cool.
Take an extra moment to create a neat, symmetrical roll that stays in place. The master roll is your friend here.
Over-Tucking or Under-Tucking
Tucking too much fabric into your pants can create unsightly bulges around your waist.
Conversely, not tucking enough can lead to the shirt constantly coming undone.
Find the sweet spot where the shirt is secure but still allows for comfortable movement and a smooth silhouette.
Mismatching Style to Occasion
Wearing a deeply knotted t-shirt to a formal business meeting would be inappropriate.
Similarly, a full military tuck might feel out of place at a casual beach gathering.
Always consider the context and dress code of your environment when choosing how to style your shirt.
Troubleshooting
My Tucked Shirt Looks Bulky Around My Waist
This often happens with shirts that are too loose or made of thick fabric.
Try the military tuck method, folding the excess fabric at the sides inwards before tucking.
You might also need a slightly more fitted shirt for a cleaner tucked look.
My Sleeves Keep Unrolling
The basic roll can sometimes come undone with movement.
Switch to the master roll; it’s designed to be more secure and resistant to unraveling.
Ensure the fabric is tightly folded and pushed up high enough on your arm to stay put.
My Front Knot Looks Messy and Uneven
This is common with stiffer fabrics that don’t drape well.
Practice with a softer, more pliable shirt first, like a jersey tee or a thin chambray.
Try tying a double knot for extra security, and gently pull at the fabric around the knot to even out the drape.
Key Takeaways
- Experiment with different tucking techniques to find what best suits your shirt and occasion.
- Sleeve rolling can instantly transform a shirt’s formality and add character.
- Layering an open shirt is a versatile way to add warmth and style.
- Belting provides definition and shape to oversized or loose shirts.
- Front knots offer a playful, cropped look ideal for high-waisted bottoms.
- Always consider the shirt’s fit, fabric, and the overall context when choosing a styling method.
Frequently Asked Questions
What shirts work best for tucking?
Button-down shirts, especially those made from dress shirt fabrics like poplin or twill, are ideal for a full tuck.
For a French tuck, slightly oversized t-shirts, blouses, and casual button-downs often work best.
Look for shirts with a curved hemline if you plan to tuck them in, as it helps prevent bulking.
How do I know if a shirt should be untucked?
Generally, casual shirts with a straight hemline and a length that hits between your belt and mid-fly are designed to be worn untucked.
Dressier shirts with a long, curved hem are typically meant for tucking.
Ultimately, personal preference and the overall look you’re going for play a big role.
Can I knot any shirt?
While you can technically knot most shirts, it works best with softer, more lightweight fabrics that gather easily without looking bulky.
Think cotton t-shirts, chambray, linen blends, or rayon blouses.
Stiff fabrics like heavy denim or thick oxford cloth will create a large, unwieldy knot.
Are these styles suitable for all body types?
Absolutely! The key is to adapt the techniques to flatter your specific body shape.
For instance, a French tuck can be great for defining a waist, while an open-shirt layer can create vertical lines that lengthen a torso.
Experiment to find what makes you feel most comfortable and confident.
Our Top Recommended Finds
- Quality Wooden Hangers: Preserve the shape of your shirts and prevent shoulder bumps.
- Fabric Steamer: Quickly remove wrinkles and keep your shirts looking crisp without the hassle of ironing.
- Lint Roller: Essential for a polished finish, removing any stray fibers or dust before you head out.
Unlock Your Shirt’s Full Potential
You now have a toolkit of versatile styling techniques at your fingertips.
Don’t let your shirts sit idly in your closet, waiting for a single purpose.
Start experimenting today and discover how these simple adjustments can transform your entire wardrobe.
Try a new tuck with your favorite jeans, or layer that button-down you rarely wear.