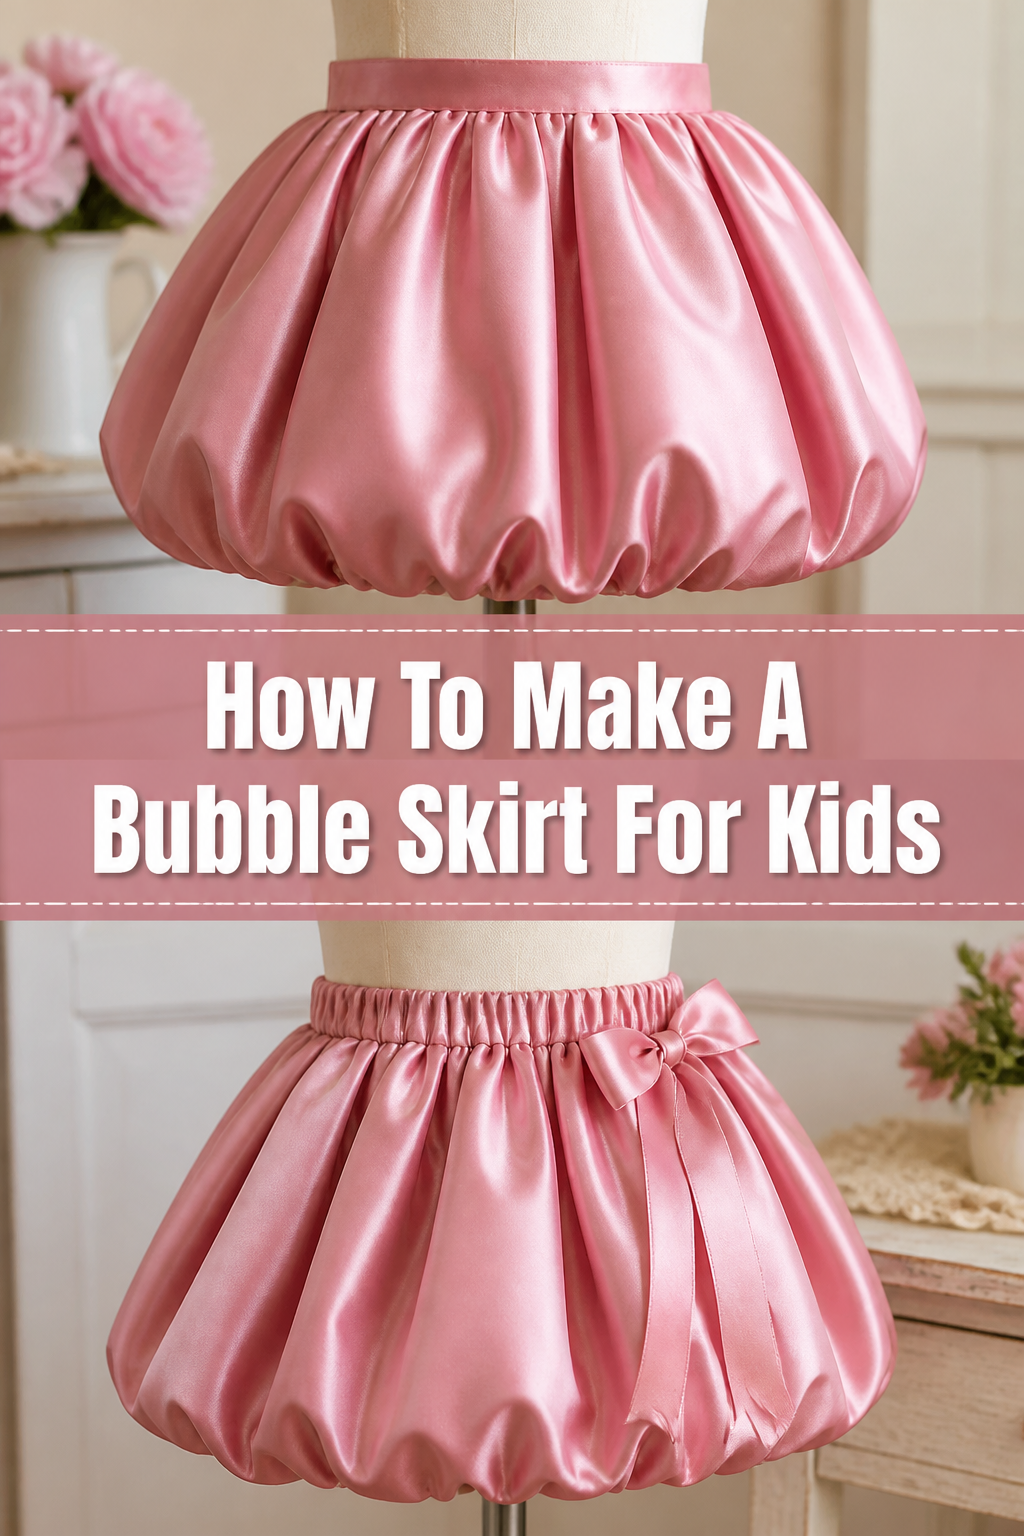
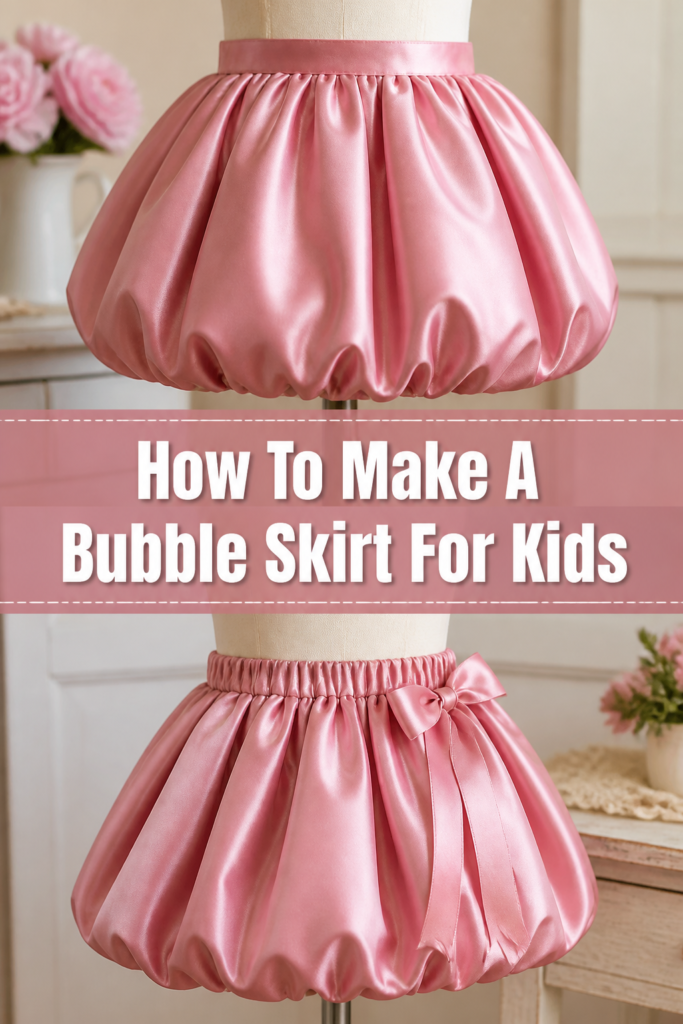
👗 How To Make A Bubble Skirt For Kids
I remember the first time I made a bubble skirt for my daughter’s third birthday.
She spent the entire afternoon spinning in circles just to see how the fabric bounced and puffed.
You can trust this guide because I have spent years refining this specific pattern to make it simple, durable, and comfortable for active children.
Quick Overview
This project transforms basic fabric into a high-fashion, playful garment that looks much more complex than it actually is.
- Time needed: 2 to 3 hours depending on your sewing speed
- Difficulty: Beginner to Intermediate
- What you’ll need: Main fabric, lining fabric, 1-inch elastic, matching thread, sewing machine, and basic cutting tools
Step-by-Step Instructions
Step 1: Select Your Fabric and Supplies
Choose a lightweight to medium-weight woven fabric for the outer layer of the skirt.
Cotton lawn, quilting cotton, or even a lightweight satin work beautifully for this project because they hold the “bubble” shape well.
Pick a soft, breathable fabric for the lining, such as a lightweight cotton voile or a basic polyester lining material.
Ensure you have a high-quality all-purpose polyester thread that matches your main fabric color.
Pro Tip: If you want an extra-puffy skirt, consider using a slightly stiffer fabric like taffeta for the outer layer.
Step 2: Take Accurate Measurements
Measure the child’s waist exactly where they usually wear their skirts, typically right at the belly button.
Determine the desired finished length of the skirt by measuring from the waist down to just above the knee.
Calculate the dimensions for your fabric pieces using a simple formula to ensure a perfect fit.
For the outer fabric, the width should be 2 times the waist measurement to allow for plenty of gathering.
The outer fabric length should be the desired finished length plus 3 inches for the waistband and hem allowance.
Step 3: Cut the Lining Fabric
Cut the lining fabric so it is slightly narrower and shorter than the main outer fabric.
The width of the lining should be about 1.5 times the waist measurement, which reduces bulk at the waistline.
Make the lining length exactly the desired finished length of the skirt.
This difference in length between the outer fabric and the lining is what creates the “bubble” effect when they are joined.
Check your edges with a rotary cutter and ruler to ensure every cut is perfectly straight and square.
Step 4: Sew the Side Seams
Place the outer fabric right sides together, matching the short ends to create a large loop.
Stitch down the side using a 1/2-inch seam allowance and backstitch at both ends to secure the thread.
Repeat this process for the lining fabric so you have two fabric tubes of slightly different sizes.
Press the seams open with an iron to ensure the skirt lays flat and looks professional.
Pro Tip: Use a zigzag stitch or a serger on the raw edges of the seams to prevent the fabric from fraying during play.
Step 5: Prepare the Gathering Stitches
Set your sewing machine to the longest possible straight stitch, often called a basting stitch.
Sew two parallel rows of stitches along the top edge and the bottom edge of the outer fabric tube.
Leave long thread tails at the beginning and end of your stitching lines so you have something to pull.
Avoid backstitching here, as you need the threads to slide freely through the fabric.
Step 6: Create the Bubble Hem
Turn the outer fabric tube right side out and keep the lining tube wrong side out.
Slide the lining tube inside the outer fabric tube so the right sides of the fabrics are touching at the bottom edge.
Pull the gathering threads on the bottom of the outer fabric until it matches the width of the lining’s bottom edge.
Pin the two layers together frequently, ensuring the gathers are distributed evenly around the entire circle.
Stitch the bottom edges together using a standard straight stitch and a 1/2-inch seam allowance.
Step 7: Connect the Waistband
Pull the lining up and through the center of the outer fabric so the top raw edges meet.
Notice how the outer fabric now folds under itself at the bottom, creating the signature bubble look.
Gather the top edge of the outer fabric until it matches the top edge of the lining fabric.
Baste these two top edges together with a 1/4-inch seam allowance to hold them in place for the waistband construction.
Step 8: Construct the Elastic Casing
Fold the top joined edge down toward the inside of the skirt by 1.5 inches to create a channel for the elastic.
Pin this fold carefully all the way around the waist, making sure the fabric is smooth.
Sew close to the raw edge of the fold, leaving a 2-inch opening to insert the elastic later.
Verify that the casing is wide enough for your 1-inch elastic to slide through easily without bunching.
Pro Tip: Use a safety pin attached to the end of the elastic to help guide it through the casing more quickly.
Step 9: Insert the Elastic and Finish
Thread the elastic through the casing, being careful not to let the trailing end slip inside the hole.
Overlap the ends of the elastic by about an inch and sew them together with a sturdy zigzag stitch.
Tuck the joined elastic into the casing and sew the 2-inch gap closed with your sewing machine.
Distribute the fabric gathers evenly around the waistband by stretching the elastic a few times.
Common Mistakes to Avoid
Using Heavyweight Fabrics
Heavy fabrics like denim or thick corduroy do not drape well for a bubble skirt.
They create a bulky, stiff shape that looks more like an inner tube than a soft bubble.
Stick to lightweight cottons or silks to get that airy, floating appearance.
Matching Lining and Outer Lengths
If the lining and the outer fabric are the same length, the “bubble” will not happen.
The outer fabric must be longer so it is forced to curve under when attached to the shorter lining.
Always ensure your outer fabric is at least 3 inches longer than your lining for a noticeable puff.
Forgetting to Press Seams
Skipping the ironing board is a common mistake that leads to a homemade, messy look.
Pressing your side seams and the waistband casing makes the construction much more precise.
Crisp edges help the bubble shape look intentional and high-quality.
Troubleshooting
The Skirt Isn’t Poofy Enough
This usually happens if the outer fabric isn’t wide enough or if the lining is too wide.
To fix this, you can add a layer of stiff tulle between the lining and the outer fabric.
The tulle acts as a structural support that pushes the outer fabric outward.
The Elastic Keeps Twisting
Twisted elastic is uncomfortable and makes the waistband look lumpy.
To prevent this, ensure your casing is only slightly wider than the elastic itself.
You can also “stitch in the ditch” at the side seams through the elastic to lock it in place permanently.
Uneven Gathers Around the Hem
If one side of the skirt looks flatter than the other, your gathers aren’t distributed correctly.
Undo the stitching at the hem and use four marking points (center front, center back, and sides) to align the fabrics.
Gather each quadrant individually to ensure the volume is consistent all the way around.
Key Takeaways
- The bubble effect is created by sewing a long outer fabric to a shorter inner lining.
- Always use gathering stitches on both the top and bottom of the outer fabric layer.
- Choose lightweight fabrics to ensure the skirt has movement and a soft silhouette.
- Leave a small gap in the waistband casing to insert the elastic, then sew it shut last.
- Pressing your fabric at every step is the secret to a professional-looking garment.
Frequently Asked Questions
Can I make this skirt without a lining?
Technically, a bubble skirt requires a lining to create the tucked-under hem.
Without a lining, you would just have a regular gathered skirt with a standard hem.
The lining is the functional “anchor” that pulls the outer fabric into the bubble shape.
How much fabric do I need for a toddler size?
For most toddlers, one yard of main fabric and one yard of lining fabric is plenty.
You will likely have scraps left over that can be used for matching hair bows or doll clothes.
Always buy a little extra if you are planning to match patterns like stripes or plaids.
Is this skirt machine washable?
Yes, as long as you choose washable fabrics like cotton or polyester blends.
Because of the bubble construction, it is best to wash the skirt on a gentle cycle.
Hang it to dry or use a low heat setting to prevent the elastic from losing its stretch over time.
Can I add pockets to a bubble skirt?
Adding pockets to the side seams is possible but can be tricky because of the gathers.
If you want pockets, it is best to sew them into the side seams of the outer fabric before you start the gathering process.
Keep the pockets lightweight so they don’t weigh down the bubble shape.
Our Top Recommended Finds
- Rotary Cutter and Mat: This tool allows for much straighter cuts than scissors, which is vital for long skirt panels.
- Fabric Marking Pens: Use these to mark your quadrants for even gathering without leaving permanent stains on your fabric.
- Walking Foot Attachment: This sewing machine foot helps feed multiple layers of fabric evenly, preventing the lining from slipping.
Bring Your Creative Vision To Life
Now that you understand the mechanics of the bubble skirt, you can experiment with different colors and textures.
Consider making a matching headband or a simple tank top to complete the outfit for a special occasion.
Once you master this technique, you might want to try adding a layer of lace or embroidery to the outer fabric for a custom look.
Grab your fabric and start cutting today to create a piece your favorite little one will cherish.