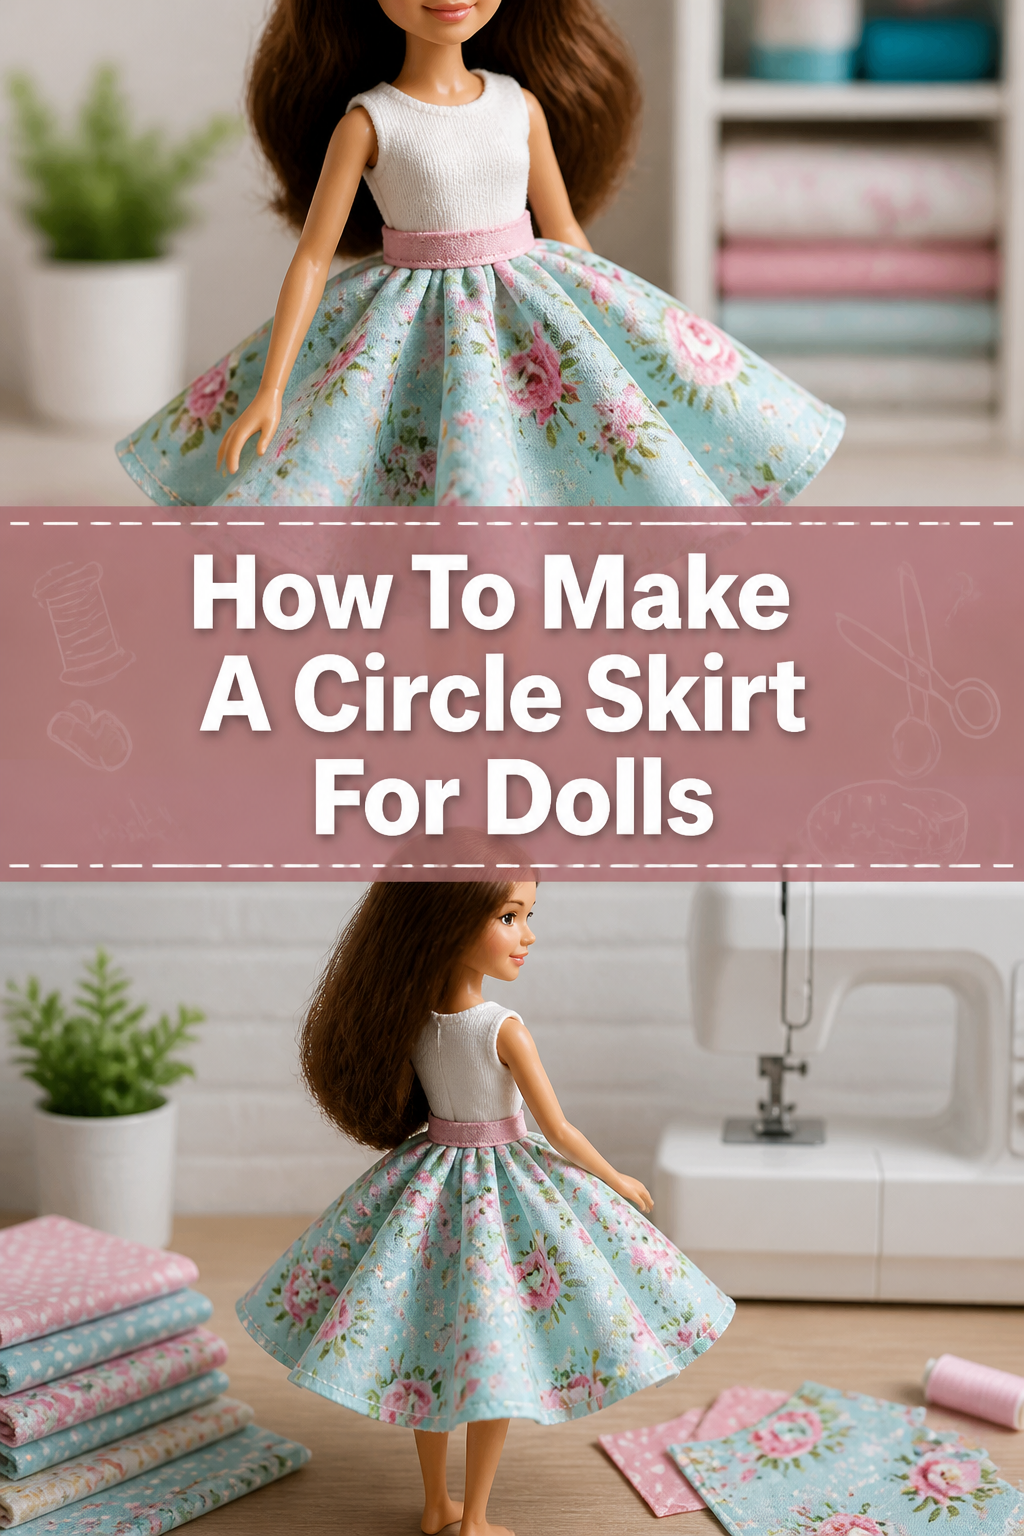
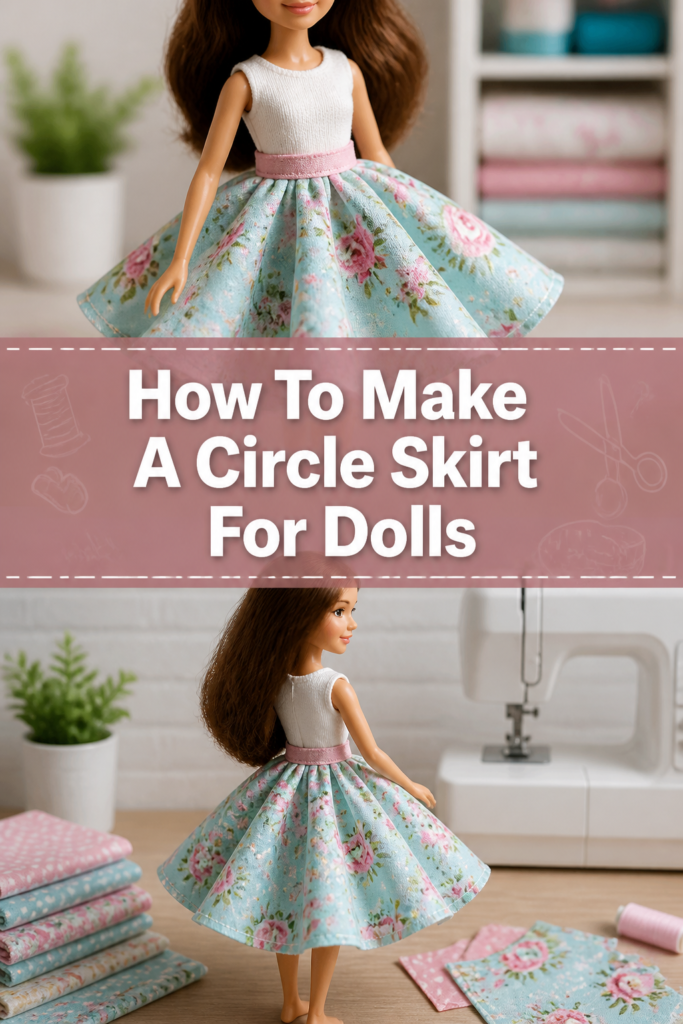
🧵 How To Make A Circle Skirt For Dolls
I remember the joy of dressing up my dolls as a child, often wishing for more unique outfits. Crafting a simple circle skirt for your doll is a delightful way to add a personal touch to their wardrobe.
This guide will walk you through each step, making the process easy and enjoyable, even for beginners.
I’ve made countless tiny garments over the years, and I’m excited to share the straightforward method that yields perfect little skirts every time.
Quick Overview
You’re about to create a charming, custom-fitted circle skirt for your doll. This project is perfect for using up fabric scraps and developing basic sewing skills.
- Time needed: 1-2 hours
- Difficulty: Beginner
- What you’ll need: Fabric, scissors, measuring tape, thread, needle/sewing machine, closure (snap/Velcro/elastic).
Step-by-Step Instructions
Step 1: Gather Your Supplies
First, collect all necessary tools and materials. Having everything ready before you start will make the process much smoother.
Find a piece of lightweight fabric, like cotton or broadcloth. Scraps work perfectly for this small project.
Grab sharp fabric scissors, a flexible measuring tape, and a fabric marker or tailor’s chalk. You will also need a sewing machine or a hand-sewing needle, matching thread, and a small closure like a snap, hook and eye, a tiny piece of Velcro, or a narrow elastic.
Pro Tip: Pre-wash and iron your fabric before cutting. This prevents shrinkage later and makes the fabric easier to work with, ensuring your doll’s skirt maintains its size and shape.
Step 2: Measure Your Doll
Accurate measurements are key to a well-fitting skirt. Take your time with this step to ensure a perfect fit.
Measure your doll’s waist circumference. Wrap the measuring tape snugly, but not too tightly, around where the skirt will sit.
Determine the desired skirt length. Measure from the doll’s waist down to where you want the hem to fall. Add about 1/2 inch (1.25 cm) for the hem allowance later.
Jot down these two measurements immediately so you do not forget them.
Step 3: Calculate Fabric Dimensions
The magic of a circle skirt lies in its simple geometry. We need to calculate two radii for cutting.
Calculate the waist radius (R1). Divide your doll’s waist circumference by 6.28 (which is 2 * pi). This gives you the radius for the inner circle of the skirt.
Calculate the total skirt radius (R2). Add your desired skirt length (including the hem allowance) to the waist radius (R1). This gives you the radius for the outer circle.
For example, if the waist is 6 inches and desired length is 4 inches (plus 0.5 inch hem), R1 = 6 / 6.28 = 0.95 inches. R2 = 0.95 + 4.5 = 5.45 inches.
Step 4: Prepare Your Fabric
Folding the fabric correctly ensures you cut a perfect circle with minimal effort.
Fold your fabric in half, then fold it in half again. This creates a square or rectangular piece of fabric folded into quarters.
Align the raw edges neatly. The corner where all four folds meet will be the center point for your skirt’s waist opening.
Smooth out any wrinkles or creases after folding to ensure a flat surface for marking.
Step 5: Mark and Cut the Skirt
Now, transfer your calculated measurements onto the folded fabric and cut out the skirt shape.
Place your measuring tape at the folded corner (the center point). Mark the waist radius (R1) along the folded edges and across the fabric in an arc.
Draw a smooth curve connecting these marks with your fabric marker. This will be the doll’s waist opening.
Measure from the same folded corner again. Mark the total skirt radius (R2) in an arc across the fabric. Draw another smooth curve connecting these marks for the skirt’s hemline.
Carefully cut along both marked curves. You should now have a donut-shaped piece of fabric when unfolded, with a perfect circle cut out for the waist and a larger circle for the hem.
Step 6: Hem the Skirt
A neat hem gives your doll skirt a professional finish and prevents fraying.
Press the raw edge of the skirt’s hem up by about 1/4 inch (0.6 cm) all the way around. Use an iron to create a crisp fold.
Fold it up another 1/4 inch (0.6 cm) and press again. This creates a double-folded hem, enclosing the raw edge.
Stitch close to the inner folded edge. You can use a sewing machine with a narrow hem foot or hand-sew with small, even stitches.
Pro Tip: For very tiny doll skirts, a rolled hem foot on your sewing machine can create a perfectly neat, narrow hem with ease. Alternatively, use a zig-zag stitch over the raw edge before folding once.
Step 7: Prepare the Waistband
The waistband will finish the top edge of the skirt and provide a way to add a closure.
Cut a rectangular strip of fabric. Its length should be the doll’s waist circumference plus 1 inch (2.5 cm) for seam allowance and overlap.
Make the width about 1.5 inches (3.8 cm). This will create a finished waistband approximately 1/2 inch (1.25 cm) wide.
Fold the waistband strip in half lengthwise, wrong sides together, and press firmly. This creates a center crease.
Fold each long raw edge in towards the center crease by 1/4 inch (0.6 cm) and press. This hides all raw edges when attached.
Step 8: Attach the Waistband
Attaching the waistband requires careful pinning to ensure an even finish.
Open up one of the 1/4 inch folds on your waistband strip. Pin this raw edge of the waistband to the raw waist edge of the skirt, right sides together.
Overlap the waistband ends by about 1/2 inch (1.25 cm) at the back of the skirt. Stitch with a 1/4 inch (0.6 cm) seam allowance all the way around.
Press the seam allowance up towards the waistband. Now, fold the waistband along its original center crease, wrapping it around the raw edge of the skirt’s waist.
Pin the folded edge of the waistband to the inside of the skirt, ensuring it covers the stitching line from the previous step. Stitch in the ditch from the right side, or hand-stitch invisibly.
Step 9: Add a Closure
A closure allows the doll to easily wear and remove the skirt.
Fold the ends of the waistband under to create neat finished edges. Stitch these ends down.
Sew a small snap, a piece of hook and loop tape (Velcro), or a tiny hook and eye to the overlapping ends of the waistband at the back of the skirt.
Alternatively, if using elastic, cut a piece slightly shorter than the doll’s waist. Stitch the ends of the elastic together to form a loop. Insert it into the waistband casing created in the previous step, then stitch the waistband ends closed.
Step 10: Final Touches
A few last steps make all the difference in presentation.
Trim any loose threads from your skirt. Neatness is important for a polished look.
Give the skirt a final press with an iron. This smooths out any wrinkles and sets the seams, making the skirt look crisp and professional.
Dress your doll in her new, custom-made circle skirt. Admire your handiwork and perhaps plan the next outfit!
Common Mistakes to Avoid
Incorrect Measurements
A common pitfall is taking imprecise measurements. If the waist circumference or skirt length is off, the skirt won’t fit well or will look disproportionate.
Always double-check your doll’s waist and desired length. Use a flexible tape measure and ensure it’s snug but not tight. Re-calculate your radii if you are unsure.
Uneven Cutting
Cutting freehand or with dull scissors can lead to wobbly edges, especially on the curved lines of a circle skirt. This makes hemming difficult and results in an unprofessional finish.
Use sharp fabric scissors and take your time. Follow your marked lines precisely. Rotating the fabric as you cut can help maintain a smooth curve.
Skipping Pressing Steps
Many beginners skip pressing seams and folds as they go, thinking it saves time. This often leads to bulky seams, misaligned edges, and a less crisp final product.
Pressing is a crucial step in sewing. It helps shape the fabric, sets stitches, and creates sharp, professional-looking edges. Always press after each major sewing step.
Poor Hem Technique
The hem of a circle skirt can be tricky due to its curved nature. An improperly folded or stitched hem can pucker, wave, or look messy.
Take your time with the hem. Pressing twice creates a clean edge. For curved hems, sometimes a slightly narrower fold works better, or you can use a gathering stitch to ease in fullness before pressing.
Troubleshooting
Skirt is Too Big Around the Waist
If the skirt slips off your doll, the waist opening is too large. This usually happens if the waist circumference measurement was incorrect, or if the waist radius was miscalculated.
You can try to take in the waistband slightly by creating a small pleat or dart at the back. For future skirts, re-measure the doll’s waist and recalculate the waist radius carefully. A narrower seam allowance when attaching the waistband can also help if the fit is just slightly off.
Skirt Hem Looks Wavy or Puckered
A wavy or puckered hem on a circle skirt is a common issue, often caused by trying to force a straight hem onto a curved edge, or by not easing the fabric sufficiently.
To fix this, unpick the hem in the problematic areas. Press the raw edge up by a very narrow amount (e.g., 1/8 inch or 3mm), then press again. For very tight curves, a gathering stitch along the raw edge before the first fold can help ease the fabric into a smooth curve. Always press thoroughly before stitching.
Waistband Doesn’t Lie Flat
If your waistband is bulky, twisted, or doesn’t sit smoothly against the doll’s waist, it might be due to uneven pressing, inconsistent seam allowances, or not trimming corners.
Unpick the waistband and re-attach it. Ensure all raw edges are neatly tucked in and pressed flat before the final stitch. Trim any excess fabric from the seam allowance inside the waistband to reduce bulk. Make sure your stitching line is consistent.
Key Takeaways
- Accurate measurements are the foundation of a well-fitting doll skirt.
- Folding fabric into quarters simplifies cutting a perfect circle.
- Pressing at each step is essential for professional-looking results.
- A double-folded hem provides a neat and durable finish for the skirt.
- Customizing the closure allows for easy dressing and undressing.
- Patience and attention to detail will yield a charming, handmade garment.
Frequently Asked Questions
What type of fabric is best for a doll circle skirt?
Lightweight cotton, broadcloth, or even quilting cottons are ideal. They are easy to cut, sew, and press, and they hold their shape well. Avoid bulky or slippery fabrics for your first project.
Can I make this skirt without a sewing machine?
Absolutely! All steps can be completed by hand. Use a backstitch for strong seams and a slip stitch or blind hem stitch for invisible hems and waistband attachment. It will take a bit longer but the results can be just as beautiful.
How do I adjust the pattern for different doll sizes?
The beauty of this method is its adaptability. Simply measure your specific doll’s waist and desired length, then follow the same calculation steps. The technique remains the same, regardless of the doll’s size.
What if I don’t have a fabric marker?
You can use tailor’s chalk, a sharp pencil (on the wrong side of the fabric), or even a thin piece of soap. The goal is to have a clear, visible line to follow for cutting that won’t permanently mark your fabric.
Our Top Recommended Finds
- Sharp Fabric Shears: Essential for clean, precise cuts that prevent fraying and make sewing easier.
- Fabric Measuring Tape: Flexible and accurate, perfect for taking curved measurements on dolls.
- Doll-Sized Snaps or Velcro: Tiny closures that are easy to sew on and perfect for small doll garments.
Craft a Tiny Masterpiece Today
Making a circle skirt for your doll is a rewarding project that builds confidence and creativity. It’s a fantastic way to personalize your doll’s world or create a thoughtful gift.
Don’t wait to start your sewing adventure. Gather your materials and begin crafting a custom wardrobe for your doll right now.
Consider experimenting with different fabric prints or adding embellishments like lace trim to make each skirt truly unique.