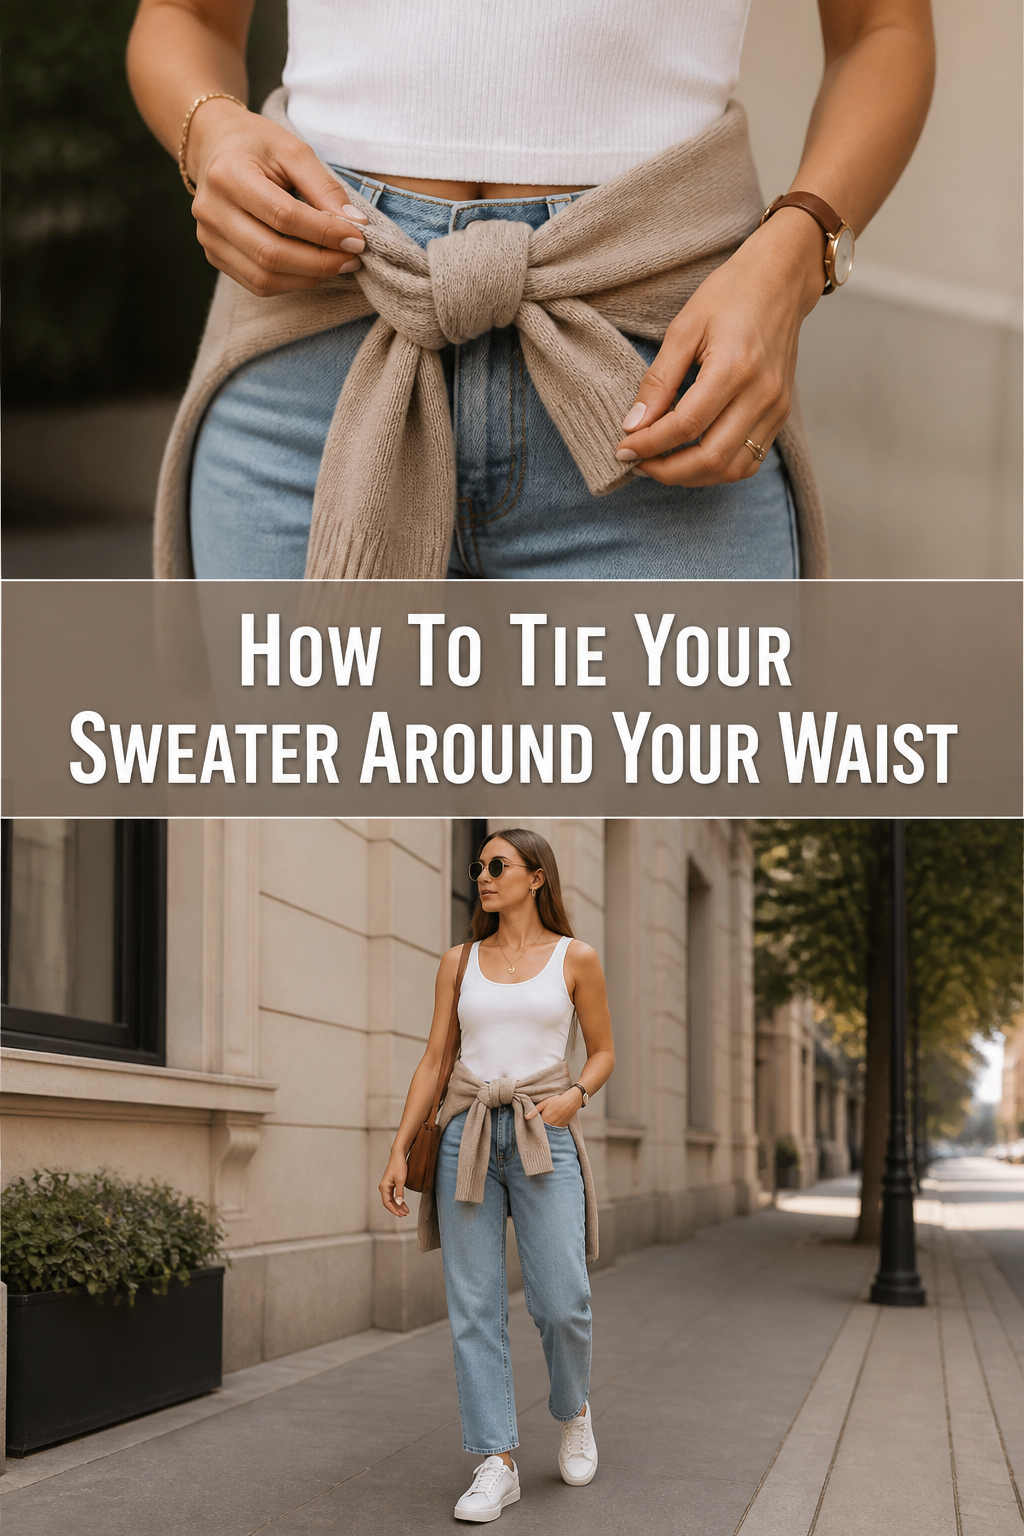
🧶 How To Tie Your Sweater Around Your Waist
I used to think tying a sweater around my waist was just a lazy way to carry an extra layer when the sun came out.
Then I realized that every high-end street style photographer was capturing this exact look on the runways of Paris and New York.
After years of trial and error with bulky fabrics and slipping knots, I have mastered the art of the perfect drape that stays secure all day.
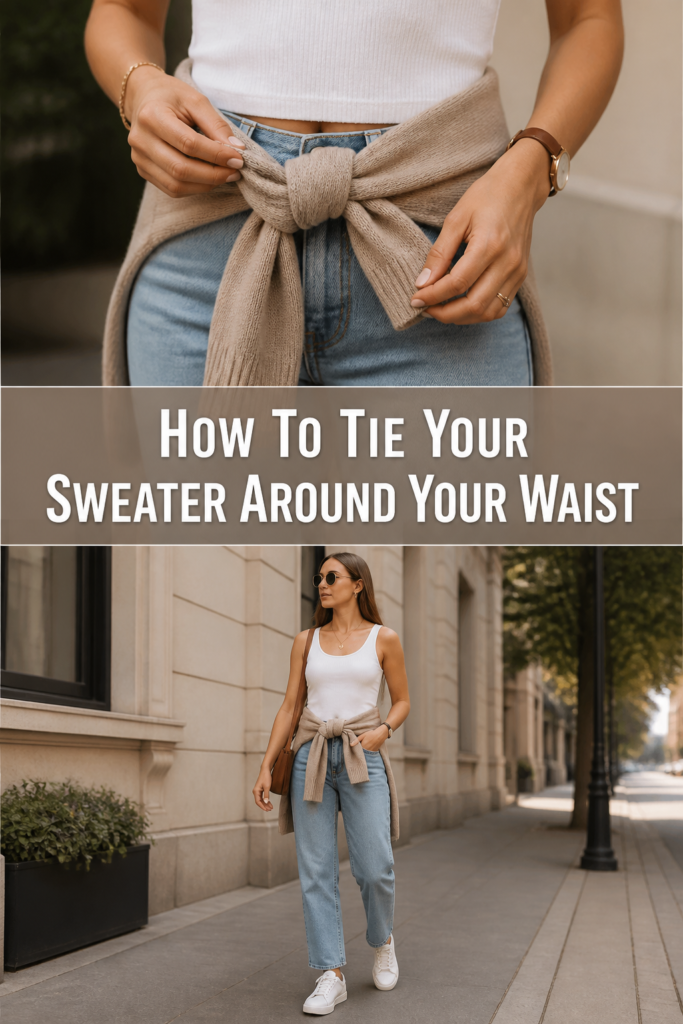
Quick Overview
This guide will help you transform a functional necessity into a deliberate style choice that enhances your silhouette.
- Time needed: 45 seconds
- Difficulty: Beginner
- What you’ll need: A lightweight or medium-weight sweater and a pair of high-waisted or mid-rise bottoms.
Step-by-Step Instructions
Step 1: Choose the Right Fabric
Select a sweater that is not overly thick or chunky, as excessive bulk can create an unflattering shape around your midsection.
Look for materials like fine-gauge cashmere, lightweight cotton, or thin merino wool that offer flexibility and a soft drape.
Avoid heavy cable knits or thick fleece hoodies for this specific styling technique, as they tend to add several inches to your hip profile.
Pro Tip: If you are wearing a hoodie, make sure the fabric is thin enough that the hood doesn’t create a large lump against your lower back.
Step 2: Prepare the Sweater
Hold the sweater by the shoulders and let it hang vertically to ensure there are no hidden tangles in the sleeves.
Fold the body of the sweater in half horizontally if it is particularly long, which helps prevent the bottom hem from hitting the back of your knees.
Smooth out any wrinkles or bunched fabric along the torso area so the layer sits flat against your back when you begin the wrap.
Step 3: Determine Your Placement
Decide whether you want the sweater to sit at your natural waist or lower on your hips based on your outfit’s proportions.
Place the center of the sweater’s back against your spine, ensuring the sleeves are spread out evenly to your left and right.
Align the top edge of the sweater with the waistband of your pants or skirt to create a seamless transition between the two garments.
Step 4: Execute the First Cross
Pull both sleeves forward toward your belly button, keeping the tension tight so the sweater doesn’t sag immediately.
Cross the right sleeve over the left sleeve, making sure the fabric remains flat and doesn’t twist into a rope-like shape.
Hold the intersection firmly against your stomach to maintain the desired height before you proceed to the final knot.
Pro Tip: Crossing the sleeves slightly off-center can create a more effortless, asymmetrical look that feels modern and relaxed.
Step 5: Secure the Knot
Loop the top sleeve under and through the bottom sleeve to create a basic overhand knot, similar to how you start tying your shoes.
Tighten the knot by pulling the sleeve ends in opposite directions, ensuring it feels snug enough to stay put while you walk.
Check that the knot is not so tight that it restricts your movement or causes the waistband of your pants to bunch up uncomfortably.
Step 6: Refine the Drape
Adjust the “tails” of the sleeves so they hang naturally down your thighs rather than sticking straight out to the sides.
Tuck any excess fabric from the sweater’s body under the knot if it looks too voluminous or messy around your hips.
Finesse the way the sleeves lay by smoothing them flat against your legs, which helps maintain a streamlined and intentional aesthetic.
Step 7: Perform a Movement Test
Walk a few steps and sit down to see if the sweater shifts significantly or begins to slide down toward your knees.
Re-tighten the knot if you feel any loosening, or shift the placement slightly if the fabric feels like it is pulling on your clothes.
Ensure the sweater doesn’t interfere with your stride or get caught on objects as you move through your daily environment.
Common Mistakes to Avoid
The Diaper Effect
Using a sweater that is too thick or wide creates a massive bundle of fabric right at the base of your spine.
This adds unnecessary visual weight and can make your lower half look disproportionately large compared to your torso.
Always opt for thinner knits and fold the sweater carefully to keep the profile as slim as possible.
The Low-Slung Sag
Letting the sweater slide down past your hips often results in a sloppy appearance that cuts off your leg line.
When the sweater hangs too low, it can make you appear shorter and disrupt the flow of your outfit.
Keep the knot secured at your natural waist or the top of your hip bone to maintain a balanced silhouette.
Uneven Sleeve Lengths
Failing to center the sweater before tying results in one sleeve tail hanging much lower than the other.
This lack of symmetry can make the outfit look accidental rather than a deliberate styling choice.
Take an extra second to ensure the back of the sweater is centered on your spine before you pull the sleeves forward.
Troubleshooting
The Sweater Keeps Slipping
If your sweater is made of a slippery material like silk-blend or smooth synthetic fibers, the knot may loosen as you walk.
Try tying a double knot instead of a single overhand knot to provide extra friction and security.
You can also try pinning the inside of the sweater to your belt loops with a small safety pin for a completely invisible hold.
The Knot Looks Too Bulky
A bulky knot usually happens when you twist the sleeves into tight coils before crossing them.
Keep the sleeves as flat and wide as possible when you make the initial cross and the subsequent loop.
Flattening the knot with your palm after tying can also help it sit closer to your body for a sleeker look.
The Sleeves Are Too Short
Some cropped sweaters have sleeves that aren’t long enough to wrap around the waist and tie comfortably.
If you encounter this, try tying the sweater diagonally across your chest like a sash instead of around your waist.
This alternative style is very popular in contemporary fashion and solves the problem of limited sleeve length.
Key Takeaways
- Choose lightweight fabrics like cashmere or thin cotton to avoid adding bulk to your frame.
- Center the sweater on your spine and align it with your waistband for the most flattering placement.
- Keep the sleeves flat while crossing and knotting to ensure a clean, professional-looking finish.
- A single overhand knot is usually sufficient, but a double knot adds security for slippery fabrics.
- The goal is to enhance your silhouette, so always check your side profile in a mirror before leaving.
- Don’t be afraid to adjust the knot slightly off-center for a more relaxed and stylish vibe.
Frequently Asked Questions
Can I tie a hoodie around my waist?
Yes, you can tie a hoodie around your waist, but you need to be mindful of the hood and the front pocket.
Fold the hood inward so it sits flat against your back, and try to keep the front pocket area from bunching up under the knot.
Hoodies work best with casual outfits like leggings or distressed denim where a bit of extra volume is acceptable.
Is tying a sweater around the waist still in style?
This styling technique is a timeless classic that frequently cycles back into high-fashion trends.
It is currently very popular in “athleisure” and “quiet luxury” aesthetics because it adds texture and layers to a simple look.
It serves as a practical way to transition between different temperatures while keeping your hands free.
How do I prevent the sweater from wrinkling?
Wrinkling is often inevitable with certain fabrics like linen or 100% cotton when they are tied tightly.
To minimize this, choose synthetic blends or wools that have natural wrinkle resistance and high elasticity.
When you untie the sweater, give it a good shake and hang it up immediately to allow the fibers to relax.
Should I tie the sweater over or under a jacket?
Tying a sweater around your waist works best when it is your outermost layer or tied directly over a shirt or dress.
Tying it over a bulky jacket usually creates too much volume and can be uncomfortable to wear.
If you are wearing a coat, keep the sweater tied underneath it around your base layer for a hidden pop of color.
Our Top Recommended Finds
- Lightweight Merino Wool Crewneck: This fabric is the gold standard for waist-tying because it is incredibly thin yet durable.
- Classic Cotton Long-Sleeve Tee: If a sweater feels too heavy, a long-sleeve cotton shirt provides the same look with zero bulk.
- High-Waisted Straight-Leg Denim: These provide the perfect “anchor” point for a tied sweater, helping to define your waistline.
Level Up Your Layering Game
Now that you have mastered the waist tie, you can start experimenting with other ways to wear your extra layers.
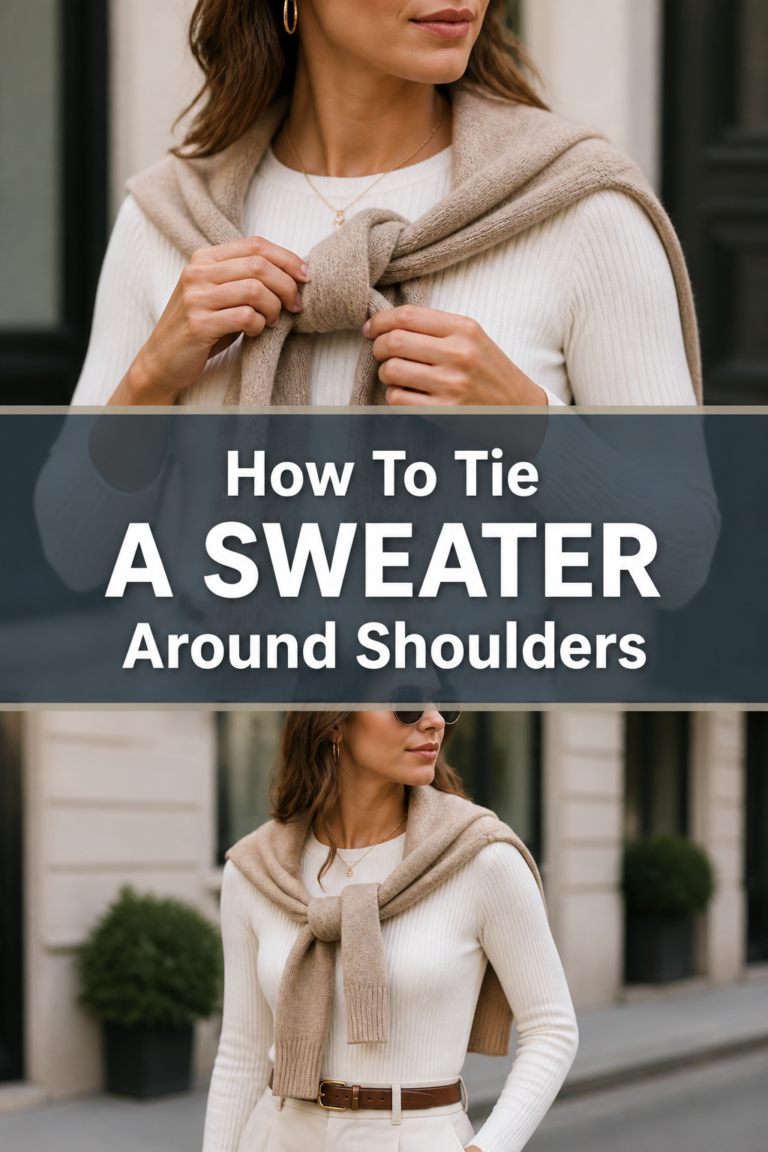
Try the “French Shoulder Toss” where you drape the sweater over your shoulders and tie the sleeves loosely over your chest.
You can also explore the asymmetrical crossbody wrap for a more avant-garde look that works well with oversized pieces.
Grab your favorite lightweight knit today and practice these steps in front of a mirror to find the drape that works best for your body type.