👕 How To Tie A Sweater Around Shoulders
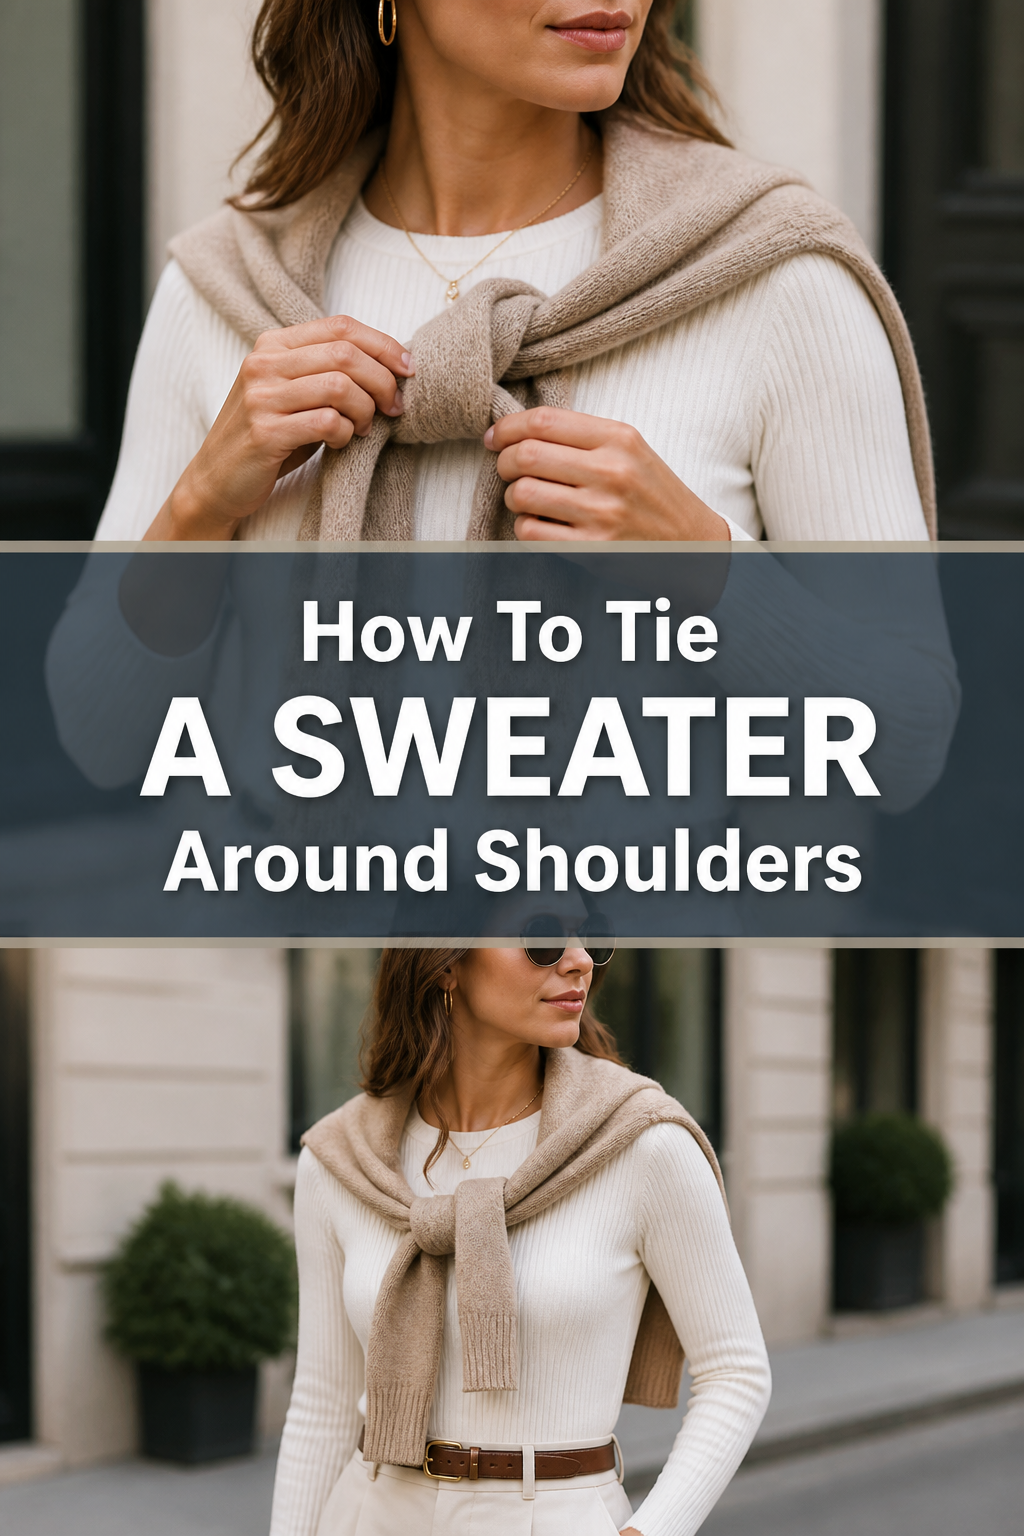
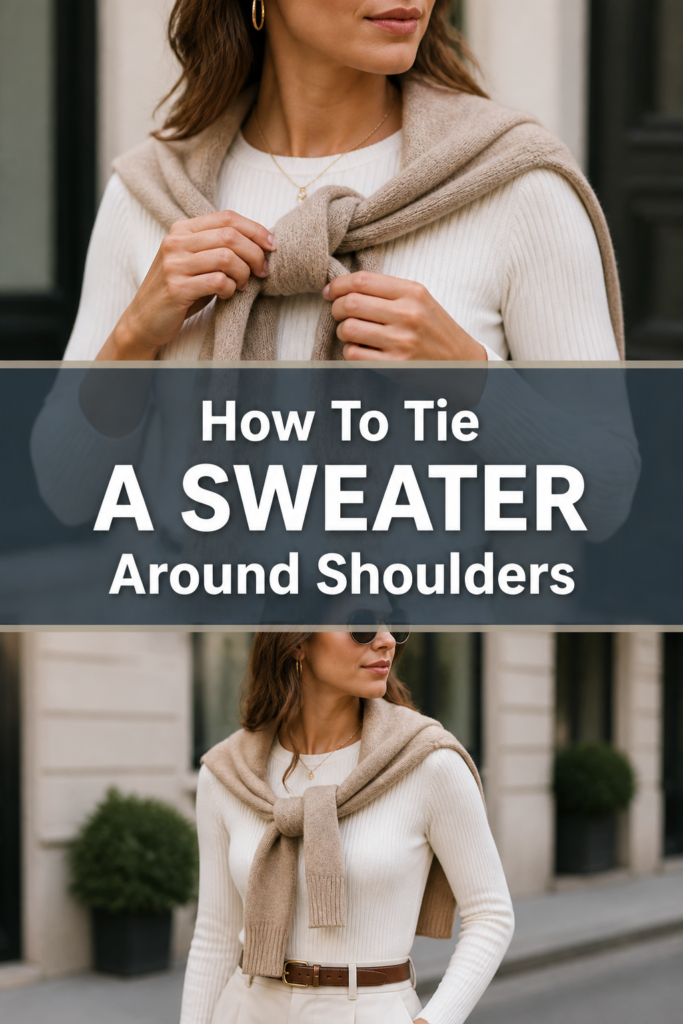
Learning to tie a sweater around your shoulders is more than just a functional choice; it’s a statement of effortless style.
I’ve personally relied on this technique for years, whether for a sudden chill or to complete a chic ensemble, making it a truly versatile skill.
This guide will walk you through every nuance, ensuring your sweater looks perfectly draped and feels comfortable.
Quick Overview
You’re about to master a timeless styling trick that adds both practicality and panache to any outfit.
- Time needed: 2-5 minutes
- Difficulty: Beginner
- What you’ll need: One sweater (crew neck or V-neck recommended)
Step-by-Step Instructions
Step 1: Choose Your Sweater Wisely
Select a sweater that complements your outfit and the occasion. Lighter knits like cotton or merino wool often drape best, offering a more refined look.
Heavier, bulkier sweaters can feel cumbersome and create an awkward silhouette. Consider the color and texture, too, ensuring it enhances your overall aesthetic.
Step 2: Prepare the Sweater for Draping
Lay your sweater flat on a clean surface, like a bed or table. Smooth out any wrinkles, especially on the sleeves and the main body.
This initial smoothing prevents lumps and ensures an even, neat drape once it’s on your shoulders. A well-prepared sweater is key to a polished finish.
Step 3: Position the Sweater Correctly
Hold the sweater by its main body, allowing the sleeves to hang down. Center the sweater so the front of the sweater (typically the chest area) is facing your back.
The neck opening should be positioned roughly at the nape of your neck. This is the foundation for a balanced and comfortable tie.
Pro Tip: For a more relaxed, casual look, you can allow the sweater to hang slightly lower on your back. For a preppier, neat style, keep the neck opening closer to your actual neckline.
Step 4: Drape Over Your Shoulders
Gently lift the sweater and drape it over your shoulders. The body of the sweater should rest across your upper back, just below your neck.
Ensure the sleeves are hanging evenly over each shoulder, one on the left and one on the right. Symmetry at this stage is crucial for a balanced final look.
Step 5: Bring the Sleeves Forward
Take the end of one sleeve and bring it forward, across your chest. Do the same with the other sleeve, bringing it across your chest from the opposite side.
The sleeves should cross each other in the front, typically around your collarbone or slightly lower, depending on your preference and the sweater’s length.
Step 6: Create the First Knot
Tie the two sleeves together with a simple overhand knot. Imagine tying your shoelaces but only doing the first loop.
Pull the knot gently but firmly to secure the sweater. Avoid pulling too tightly, as this can make the sweater feel restrictive or look bunched up.
Step 7: Adjust for Comfort and Style
Fine-tune the placement of the knot and the drape of the sweater. You want it to feel secure without digging into your neck or shoulders.
Adjust the body of the sweater on your back to ensure it lays flat and isn’t twisted. Experiment with how high or low the knot sits on your chest.
Step 8: Secure with a Second Knot (Optional but Recommended)
For added security and to prevent the knot from loosening, tie a second overhand knot. This creates a double knot, ensuring your sweater stays perfectly in place all day.
Again, pull gently. The goal is stability, not tightness. Tuck any excess sleeve length under the knot or let it hang naturally for a relaxed vibe.
Common Mistakes to Avoid
Tying Too Tightly
One frequent error is pulling the knot too taut. This can create an uncomfortable choke-like sensation, especially around your neck and shoulders.
It also makes the sweater look stiff and unnatural. Aim for a firm but relaxed tie that allows for movement and a natural drape.
Uneven Sleeve Lengths
If one sleeve is significantly longer than the other when draped, your entire look will appear lopsided. This often happens by not centering the sweater properly at the beginning.
Always ensure the sweater is balanced on your back before bringing the sleeves forward. Adjust as needed during Step 4 and 5.
Using the Wrong Sweater Type
Attempting to tie a very bulky, chunky knit sweater can lead to disappointment. These sweaters tend to create an awkward, lumpy silhouette when tied around the shoulders.
Stick to lighter to medium-weight knits. Materials like fine merino, cashmere, or lightweight cotton blends are ideal for achieving that effortless, chic look.
Ignoring Wrinkles
Starting with a wrinkled sweater means ending with a wrinkled, messy-looking accessory. The creases will be amplified when the sweater is tied and draped.
Always take a moment to smooth out your sweater before you begin. A quick steam or iron can make a significant difference in the final presentation.
Troubleshooting
Sweater Keeps Slipping Off
If your sweater consistently slides down or feels loose, the initial knot might not be secure enough, or the fabric is very slippery.
Ensure you’ve tied a firm double knot. If the fabric is particularly silky, consider a slightly tighter initial pull, or try looping the sleeves around each other an extra time before the knot.
Knot Feels Uncomfortable or Bulky
A bulky or uncomfortable knot usually means it’s positioned incorrectly or the sweater material is too thick for a tight knot.
Try repositioning the knot slightly lower on your chest, or adjust the sweater’s body on your back to distribute the weight better. Ensure you’re not using an overly thick sweater.
Drape Looks Messy or Uneven
An untidy drape often stems from an uneven initial placement or a twisted sweater body.
Untie the sweater and start from Step 3. Pay close attention to centering the sweater on your back and ensuring both sleeves hang evenly before bringing them forward. Smooth out the back of the sweater after tying.
Key Takeaways
- Choose lighter knits for the best drape and comfort.
- Always smooth your sweater before tying to avoid wrinkles.
- Center the sweater properly on your back for a balanced look.
- Tie a firm but gentle double knot for security and comfort.
- Adjust the drape to suit your personal style and outfit.
- Avoid bulky sweaters that can create an awkward silhouette.
Frequently Asked Questions
Can I tie any type of sweater around my shoulders?
While you can technically tie any sweater, lighter to medium-weight pullovers (crew neck or V-neck) work best. Bulky or very heavy knits tend to be less comfortable and can look awkward when draped.
Where should the knot be positioned on my chest?
The ideal position is subjective and depends on your preference and the sweater’s length. Generally, aim for around your collarbone area or slightly lower on the sternum. Experiment to find what feels most comfortable and looks best with your outfit.
How do I prevent the sweater from wrinkling the shirt underneath?
The key is to avoid tying the sweater too tightly. A gentle but secure knot, combined with ensuring the sweater itself is smooth and not bunched up on your back, will minimize any creasing on your underlying garment.
Is this look only for casual outfits?
Absolutely not! While it’s perfect for casual wear, tying a fine-gauge merino or cashmere sweater over a crisp button-down shirt or a blazer can elevate a business-casual or even semi-formal ensemble, adding a touch of preppy sophistication.
Our Top Recommended Finds
- Lightweight Merino Wool Sweater: Excellent for its soft feel, breathability, and elegant drape, making it perfect for shoulder tying.
- Pima Cotton V-Neck Pullover: A versatile choice that offers comfort and a clean look, ideal for both casual and smart-casual outfits.
- Sweater Comb/De-piller: Essential for keeping your chosen sweater looking pristine and free from unsightly pills, extending its life and appearance.
Embrace Your Effortless Style
You now possess the knowledge to confidently tie a sweater around your shoulders, transforming a simple garment into a versatile style accessory.
This technique offers both practical warmth and a timeless aesthetic, ready for any occasion.
Practice these steps, experiment with different sweaters, and make this classic look your own today.