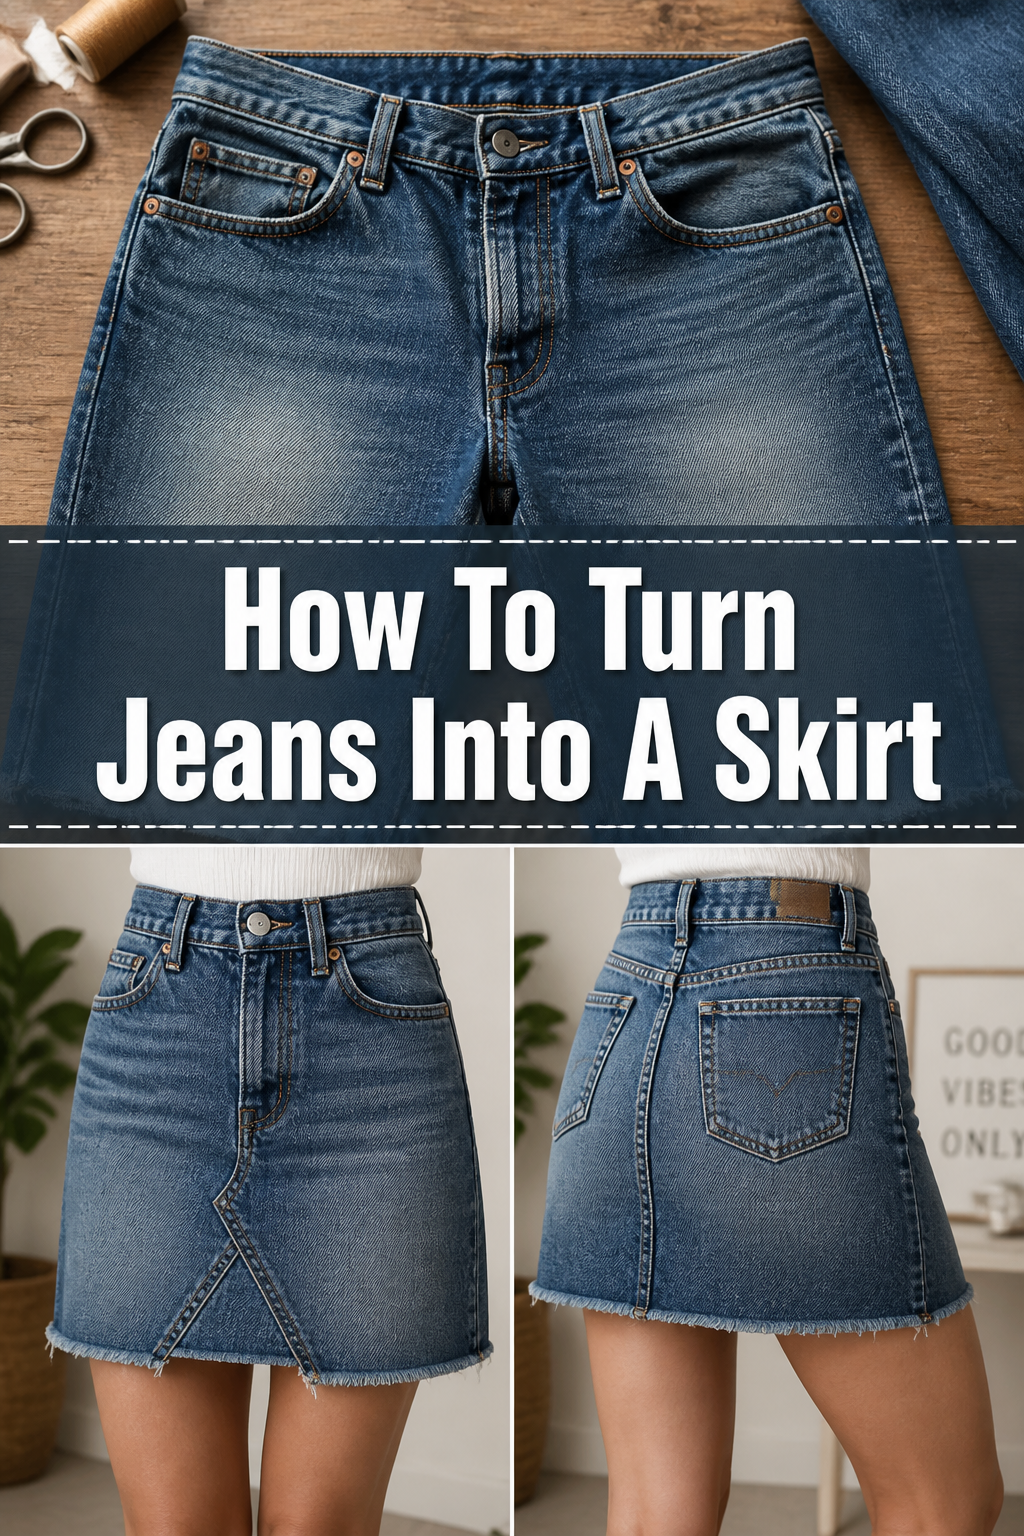
👖 How To Turn Jeans Into A Skirt
Ever looked at an old pair of jeans and wished you could give them a second life?
Transforming denim is a fantastic way to update your wardrobe and practice sustainable fashion.
I’ve personally upcycled countless pairs, and I’m excited to share the practical steps to create a custom denim skirt you’ll love.
Quick Overview
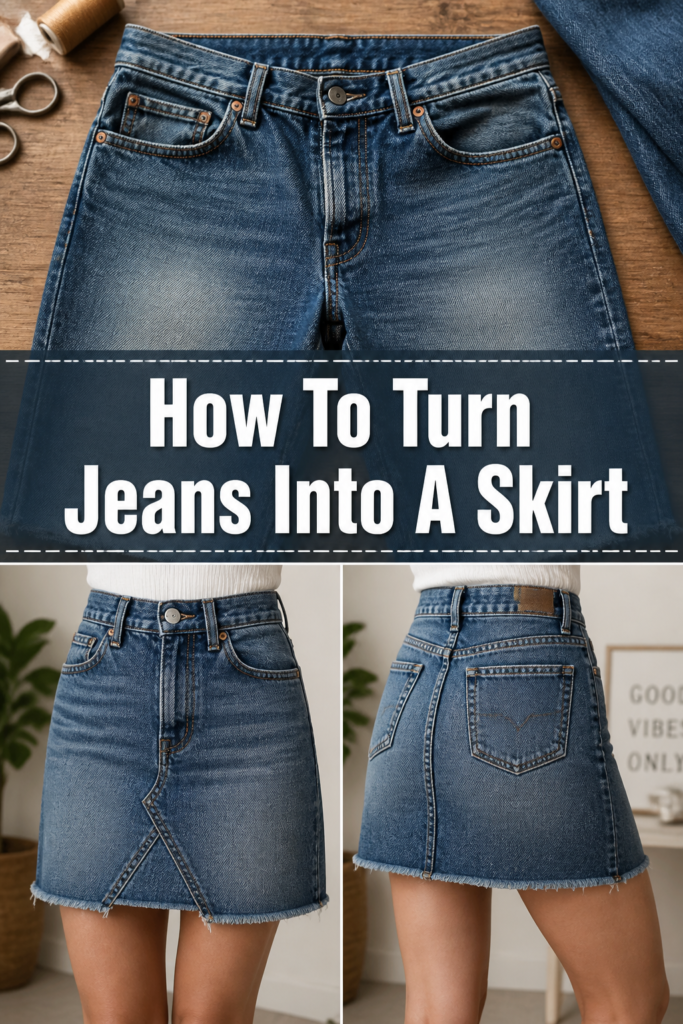
This guide will walk you through turning your old jeans into a stylish, custom-fit skirt.
It’s a rewarding project that combines creativity with practical sewing skills.
- Time needed: 3-6 hours (depending on skill level and detailing)
- Difficulty: Intermediate
- What you’ll need: Old jeans, fabric scissors, seam ripper, sewing machine, denim needles, thread, pins, measuring tape, fabric chalk.
Step-by-Step Instructions
Step 1: Choose Your Jeans Wisely
Selecting the right pair of jeans is the first crucial step for a successful skirt transformation.
Look for jeans that fit well around your waist and hips, as this will be the foundation of your skirt.
Straight-leg or bootcut jeans often work best because they offer more fabric to work with, especially for the center panels.
Pro Tip: Avoid skinny jeans for your first project. The tapered leg offers less material, making it harder to create a flattering A-line or straight skirt shape. A little stretch in the denim is fine, but 100% cotton denim is generally easier to sew.
Step 2: Gather Your Essential Tools
Before you begin cutting, make sure you have all your necessary tools laid out and ready.
Having everything at hand prevents interruptions and makes the process much smoother.
You’ll need sharp fabric scissors, a sturdy seam ripper, a sewing machine equipped with a denim needle, and strong polyester thread that matches your denim.
Don’t forget plenty of pins, a measuring tape, and fabric chalk or a washable marker for marking your lines.
Step 3: Prepare the Jeans for Transformation
Start by washing and drying your chosen jeans.
This pre-shrinks the fabric and removes any lingering dirt or sizing, ensuring your measurements are accurate and your finished skirt won’t shrink unexpectedly.
Once dry, lay the jeans flat on a large, clean work surface, smoothing out all wrinkles and folds.
Ensure the front and back pockets are aligned, and the side seams are perfectly stacked.
Step 4: Mark Your Desired Skirt Length
Decide on the length you want for your finished skirt. This could be mini, knee-length, midi, or maxi.
Put the jeans on and mark where you want the hem to fall, adding an extra 1 to 2 inches for the hem allowance if you plan a traditional folded hem.
If you prefer a raw edge, add about half an inch for fraying.
Take the jeans off and lay them flat again, using a ruler and fabric chalk to draw a straight, even line across both legs at your marked length.
Pro Tip: Always cut longer than you think you need. You can always shorten a skirt, but you can’t add fabric back on. When in doubt, add an extra inch.
Step 5: Make the Initial Cut
Carefully cut across both legs of the jeans along the chalk line you just drew.
Use sharp fabric scissors for a clean, precise cut.
Make sure you are cutting through both layers of denim evenly.
This initial cut removes the lower part of the jeans, leaving you with the upper section that will form the basis of your skirt.
Step 6: Open Up the Inseams
Now, grab your seam ripper.
Carefully unpick the inseam (the seam running down the inside of each leg) of both jean legs, starting from the crotch point all the way down to the newly cut hem.
Be gentle to avoid tearing the denim fabric.
Repeat this process for the back inseam as well, opening up both legs completely.
You will now have two separate, wide denim pieces connected at the outer side seams and the front/back crotch seams.
Pro Tip: A good quality seam ripper with a sharp blade makes this task much easier and faster. Take your time to avoid accidental cuts in the main fabric. Remove all loose threads as you go for a tidier workspace.
Step 7: Create the Front Panel Insert
Lay the opened jeans flat again, with the front side facing up.
You’ll notice a gap in the center where the crotch seam used to be.
To fill this, you need to use the excess denim from the legs you cut off earlier.
Cut a roughly triangular or trapezoidal piece from the denim scraps that is wider at the bottom and tapers towards the crotch point.
This piece should be large enough to comfortably fill the front gap, with about a 1/2 inch seam allowance on all sides.
Pin this new denim piece into the front gap, aligning its edges with the raw edges of the opened front crotch seam.
Step 8: Form the Back Panel
Flip the jeans over so the back side is facing up.
Similar to the front, you’ll have a gap in the center back where the inseam was unpicked.
Often, the back gap is wider and curves more significantly than the front.
You can either use another piece of denim scrap to fill this, or you can simply overlap the existing back panels.
To overlap, bring the two raw edges of the back panels together, overlapping them by about 1 to 2 inches, creating a straight line down the center back.
Pin them securely in place, ensuring the overlap is even and creates a smooth silhouette.
Pro Tip: Overlapping the back panels can be simpler than inserting a new piece, and it often creates a nice, subtle design detail. Experiment with the overlap amount to see what looks best on your body. If you insert a piece, ensure it’s cut on the grain to prevent warping.
Step 9: Pin and Sew the Panels Securely
With both the front and back panels pinned, it’s time to sew.
Using your sewing machine and a denim needle, stitch the inserted front panel into place, sewing along the pinned edges with a straight stitch.
Use a sturdy thread and go over the seam twice for added durability, especially at the stress points near the crotch.
For the back, sew down the overlapped panels, again using a strong straight stitch and reinforcing it.
Trim any excess fabric from the seam allowances, leaving about 1/4 to 1/2 inch, and finish the raw edges with a zigzag stitch or a serger to prevent fraying.
Step 10: Hem the Skirt Perfectly
Try on your skirt to check the length one last time.
Make any final adjustments to the hemline if needed.
For a traditional hem, fold the raw edge up by 1/2 inch, press it, then fold it up another 1 inch and press again.
Pin this double-folded hem all the way around the skirt.
Stitch the hem in place with your sewing machine, using a straight stitch close to the top folded edge.
If you prefer a raw, frayed hem, simply leave the edge as is or machine-wash the skirt once or twice to encourage natural fraying.
Pro Tip: When sewing a traditional hem on thick denim, use a walking foot on your sewing machine if you have one. This helps feed the multiple layers of fabric evenly and prevents skipped stitches. Slow down over thick seams to avoid breaking your needle.
Step 11: Add Finishing Touches and Personalize
Now for the fun part: making the skirt uniquely yours!
Consider distressing the denim with sandpaper, a cheese grater, or even a razor blade for a worn-in look.
You can add patches, embroidery, fabric paint, or decorative studs to express your style.
If you have a raw hem, you can gently pull out some threads to create a more controlled fringe effect.
Don’t be afraid to experiment and truly make this skirt your own fashion statement.
Common Mistakes to Avoid
Cutting Too Short Initially
Many beginners make the mistake of cutting their jeans too short right from the start.
Once you cut the fabric, there’s no going back, and you might end up with a skirt that’s shorter than intended after hemming or adjusting.
Always add extra length for seam allowances and potential adjustments; you can always trim more later.
Not Opening Seams Completely
When unpicking the inseams, it’s crucial to open them all the way to the crotch point.
Leaving even a small section of the original seam intact can cause the fabric to bunch awkwardly when you try to flatten it for the skirt shape.
Take your time with the seam ripper to ensure every stitch is gone.
Rushing the Pinning Process
Pinning is tedious, but it’s where the shape of your skirt truly comes together.
Rushing this step often leads to uneven seams, puckering, or a crooked overall silhouette.
Use plenty of pins, spaced closely together, and ensure all raw edges are aligned perfectly before you begin to sew.
Ignoring Fabric Stretch and Grain
Denim, especially with stretch, can behave differently when cut and sewn.
If you’re inserting new panels, try to cut them on the same grain as the main skirt body to ensure consistent stretch and drape.
Sewing against the grain or without considering stretch can lead to a warped or ill-fitting skirt.
Troubleshooting
Uneven Hem
An uneven hem is a common issue, often due to the fabric shifting while cutting or sewing.
To fix this, put the skirt on and have a friend help you mark a new, even hemline while you’re wearing it.
Alternatively, lay the skirt flat on a large surface, measure from the waist down at several points, and redraw your hemline before re-hemming.
Gaps in the Front/Back Seam
If you find small gaps or puckering where you sewed in the front or back panels, it usually means the edges weren’t perfectly aligned or enough seam allowance wasn’t used.
Carefully unpick the problematic section of the seam, re-pin the fabric with more precision, ensuring a generous overlap or seam allowance, and then re-stitch.
Reinforcing with a second line of stitching can also help.
Skirt Feels Too Tight/Loose After Sewing
If the skirt feels off around the hips or waist, it might be due to the original fit of the jeans or how you shaped the new seams.
For a too-tight skirt, you might need to carefully unpick the side seams slightly and add small denim gussets, or try to stretch the fabric with steam.
If it’s too loose, you can take in the side seams slightly, but be cautious not to distort the fit of the waist.
Key Takeaways
- Choose wisely: Start with jeans that fit well at the waist and hips for the best foundation.
- Measure twice, cut once: Always add extra length for the hem and potential adjustments.
- Seam ripper is your friend: Take your time to carefully open all necessary seams without damaging the fabric.
- Pinning is paramount: Thorough pinning ensures straight, even seams and a smooth silhouette.
- Reinforce seams: Use a denim needle and double stitch critical seams for durability.
- Personalize your creation: Don’t be afraid to add unique touches to make the skirt truly yours.
Frequently Asked Questions
What type of jeans work best for this project?
Straight-leg, bootcut, or relaxed-fit jeans are generally ideal because they provide ample fabric in the legs to create the necessary front and back panels. Jeans with a good amount of cotton content are also easier to work with than very stretchy denim.
Can I do this without a sewing machine?
While possible, hand-sewing denim is very challenging due to its thickness and durability. It would require significant time, strong needles, and a thimble. A sewing machine with a denim needle is highly recommended for strong, professional-looking seams.
How do I deal with different denim washes if I use scraps from other jeans?
Mixing different denim washes can create a unique, patchwork effect, which is a popular design choice. If you prefer a uniform look, try to match the wash and weight of your insert fabric as closely as possible to the main jeans. Slight variations can often be blended with distressing.
What if I don’t like the raw edge hem?
If the raw edge isn’t your style, you can easily create a traditional folded hem. Simply fold the raw edge up twice (e.g., 1/2 inch then 1 inch) and stitch it down. You can also add a decorative trim or binding to the hem for a cleaner finish.
Our Top Recommended Finds
- Heavy-Duty Fabric Scissors: A sharp pair of scissors cuts through thick denim cleanly, preventing jagged edges.
- Denim Needles for Sewing Machine: These needles are stronger and sharper, designed to penetrate multiple layers of denim without breaking.
- Quality Seam Ripper: Essential for quickly and safely unpicking seams without damaging your fabric.
Craft Your Signature Denim Style
You now have all the tools and knowledge to transform those old jeans into a fashionable, custom-fit skirt.
This project is more than just sewing; it’s about giving new life to forgotten garments and expressing your personal style.
Embrace the creative process, take your time with each step, and watch your vision come to life.
Don’t let those jeans sit in your closet any longer—start your upcycling journey today and wear your unique creation with pride!